Supplies of the Ship Modeler's Handbook are running out. Get your copy NOW before they are gone! Click on photo to order.
×


mtaylor
-
Posts
26,270 -
Joined
-
Last visited
Content Type
Profiles
Forums
Gallery
Events
Everything posted by mtaylor
-
I'm with Brian... you'll need a band saw for that thick of wood. Er.. maybe... that seems to be for the 3" blade. You might go here: http://www.byrnesmodelmachines.com/tablesaw1.html Check it out and contact Jim. He could tell you for certain.
-
Per the specs on Jim's site.. 15/16" using the 4" blade (23.8 mm using the 101.6mm blade).
-
Very well done, Janet. I'm looking forward to more. By the way, I merged your two topics on this. To keep things together, just scroll the bottom and use the box labeled "reply to this topic".
-
Hi Janet, Was this a test? If not, I can move it to the Latest Full Profile Photograph of your Build - Topic.
-
Generally, on English ships, the gunport sides matched the frames (thus vertical) and the sills matched the sheer of the deck. The catch is: but not always. It might help if we knew which ship?
-
Looking fantastic, Vivian. I love that battery box/light switch combination.
-
Wonderful.. or perhaps: wunderbar to the Bierhalle!!!!! (yeah... my German sucks, I've forgot almost all my grandparents taught me. )
-
Sweet looking boat, Grant. In the lower pic, it looks like the lower riser is lower than on the left. Could be camera angle/distortion though.
-
Ben, Goto the youtube video and get the link. Then you can paste it into your post. Also, have a look here: http://modelshipworld.com/index.php/topic/4513-how-to-upload-short-movies/ Also here: http://modelshipworld.com/index.php/topic/1822-youtube/
-
Cutty Sark by NenadM
mtaylor replied to NenadM's topic in - Build logs for subjects built 1851 - 1900
Nenad, Wonderful rudder hinges. I have no doubt in your ability to do the metal work for the masts. I'll also wish you good luck in your war with the carpenter ants. Hopefully they haven't eaten too much of the wood. We wouldn't want them to go after Cutty, so make them all dead.- 4,152 replies
-
- 1
-

-
- cutty sark
- tehnodidakta
- (and 1 more)
-
Sweet bridle port Danny. The full pics probably don't do her justice as one can't zoom in, but wow!!!!
-
Pandora by marsalv - FINISHED - 1:52
mtaylor replied to marsalv's topic in - Build logs for subjects built 1751 - 1800
Beautiful wood and craftsmanship. I'd hate to see all that covered by paint, but that's my opinion. -
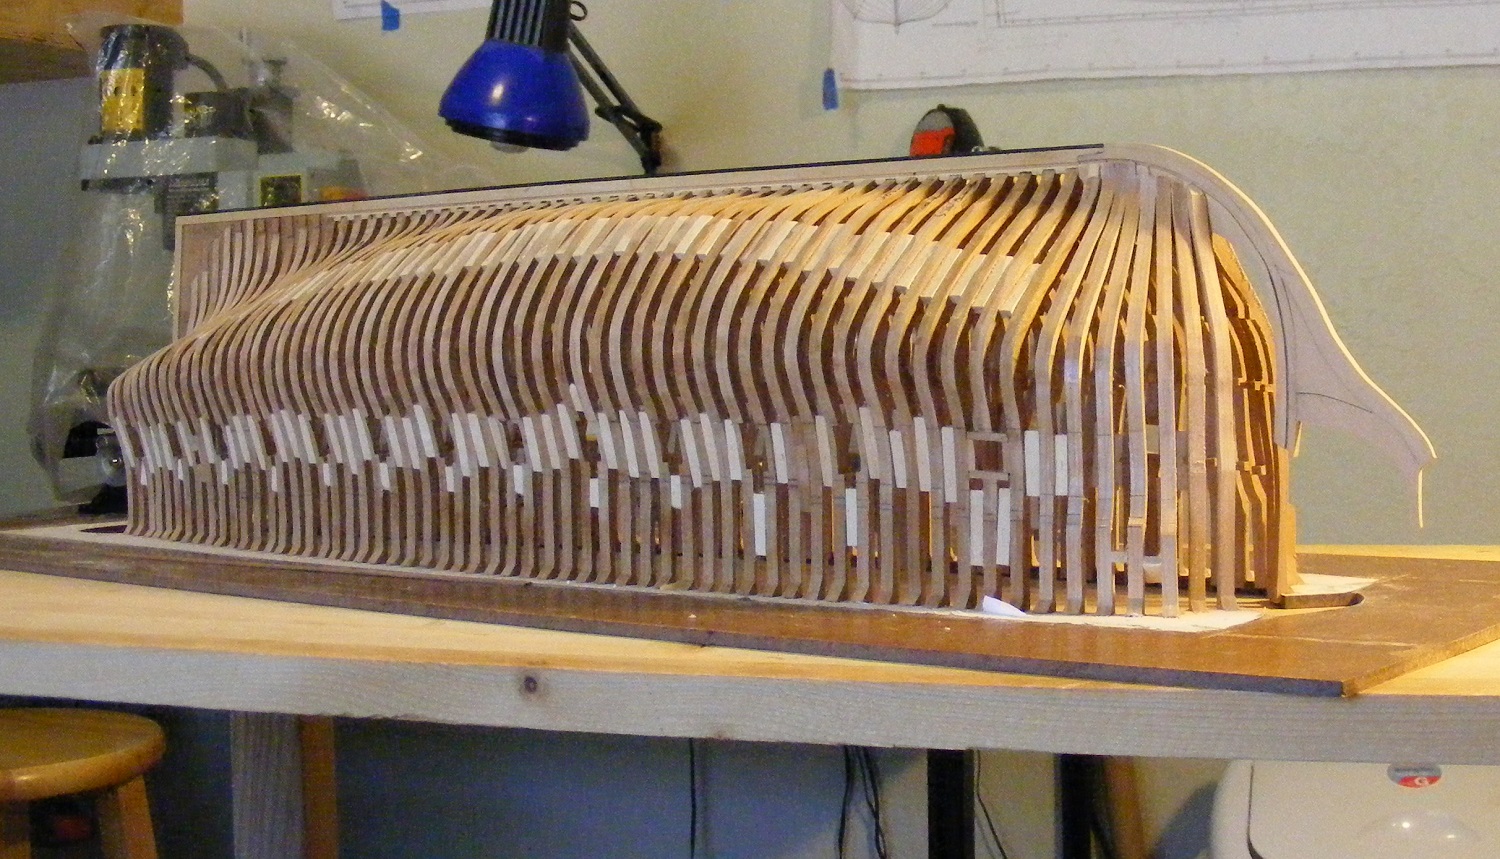
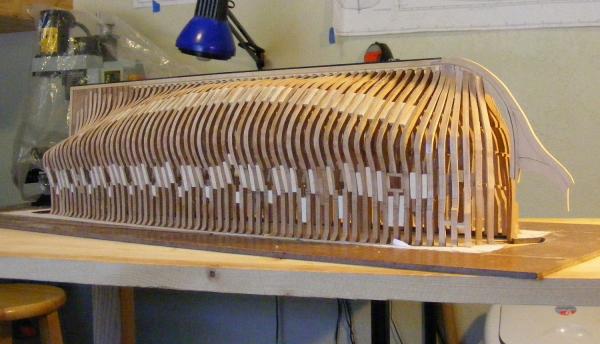
Slowly trucking right along.... fore cant frames are in and need fairing. A lot of fairing but that's what I planned. I'm working on cutting out and fitting the hawse timbers as this is being written. Much research still going in in the background. Probably more research than work right now... I fully believe that Mr. Delacroix is spot on about using the Belle Poule monograph for details and rigging which is not what Hahn used. Hahn used Le Venus which is too late in the period and things were done differently in the planking, rigging, and details area. Le Renommee is too early with the wales, quarter galleries and stern areas as well some minor details. I fully suspect that Licorne was built originally along the lines of Le Renommee per the bow, stern, wales and gallery drawings I've seen but that there was a major rebuild somewhere before she was captured as she has much of the Belle Poule features. I'm still sorting out the odd yard dimensions which match Le Venus but not Belle Poule. Again, this may have been part the transition period so the rigging will probably be the spar and yard dimensions per the NMM (as captured) but use the Belle Poule rigging plan as that seems more appropriate for the time frame. I still have a long way to go before I even think about rigging, but its something that needs to be sorted out for the hull sheave placement. My plan, subject to change, is to carry on and once the hull is framed and faired, plank the exterior per the NMM/Hahn drawings with mods from Belle Poule. By all means, feel free to click the pic for a larger view. Critiques (negative, corrective, etc.) are always welcome as I'm still trying to get a handle on this beast.
-
While a Dremel has a lot of uses, here's what I've been using for most of my sanding... they don't take as much off as fast as with Dremal. http://modelshipworld.com/index.php/topic/341-micro-power-sanders/ Having said that, what the others have said about speed, power vs. battery, and the flexshaft are very true.
-
Zheng He's Massive Ship from Ming Dynasty
mtaylor replied to mkmossop's topic in Wood ship model kits
Texas A&M has three thesis on Chinese ships. Might be of some help or maybe not.... http://nautarch.tamu.edu/Theses/abstracts/inoue.html http://nautarch.tamu.edu/Theses/abstracts/herron.html http://nautarch.tamu.edu/Theses/abstracts/sasaki.html For a full list of what they have: http://nautarch.tamu.edu/academic/alum.htm -
Nice work, Foxy. And you are flying along on this build.
-
Excellent coppering Sjors. By all means fill the gaps to keep the worm out of your hull. It's either that or do the klompen dans on them.
- 1,616 replies
-
- 1
-
-
- caldercraft
- agamemnon
- (and 1 more)
-
Great work on the yards and rigging, Tony. That is an excellent rule of thumb... tie off as you go. When it can't be done for some reason, I tape a piece of paper to the fly end with the pin number on it. Makes it a tad easier to figure out where it's going.
- 1,279 replies
-
- 3
-
-
- agamemnon
- caldercraft
- (and 1 more)
-
The water-glue mix dries clear. I've used this method on both my Wasa (cloth flags) and my Constellation (paper flags). I'm sure there's as many methods as there are builders. I guess the question is, what kind of flags? Decals? Cloth? Paper? You will need to test any method to check for color fastness of the printing on the flag, however;
-
The alcohol is for removing, debonding PVA or carpenter's glue. CA needs acetone as the alcohol won't do it. It might get CA off the fingers though.
-
I'm curious, Mark. Have you read this one: http://modelshipworld.com/index.php/topic/353-planking-instructiontutorial-by-jack-nastyface/ ???? There's also several in the Database where JPett listed them.
-
Announcing the Model Ship World Ship Kit Database Project
mtaylor replied to SkerryAmp's topic in Wood ship model kits
Adam, Excellent work and I think everyone is happy to see this. Before actually doing any work on plans.... Hit me or one of the moderators with the places you'll be getting plans as there are some pirate sites (imagine that) that I would hate to see you index and then have to remove. -
Cristiano, Those appear to be ventilation ports though sometimes they were used during repairs or reprovisioning to loading wood, spars, etc. The other possibility is that they were stern chase ports if they're an appropriate height for any guns on that deck. If no guns on that deck, then ignore the chase port idea.
-
Have look here... http://modelshipworldforum.com/ship-model-rigging-and-sails.php The article by John Tilley.
-
General Scroll Saw use
mtaylor replied to jdbradford's topic in Modeling tools and Workshop Equipment
One big help to me was a book I bought. The Big Book of Scroll Saw Woodworking from the publishers of Scroll Saw Woodworking and Crafts Magazine. ISBN 978-1-56523-426-0. The first 17 pages are gold mine of info on blades and setting up the saw.