dgbot
-
Posts
3,993 -
Joined
-
Last visited
Content Type
Profiles
Forums
Gallery
Events
Everything posted by dgbot
-
 Outstanding work Gary. David B
 -
Elmers is the glue to use., David B
-
This is where dainty hands and fingers come in handy. My hands would be a little too big to get in there. David B
-
Your Niagara looks good. I like your technique with the airbrush. If you use ME paints what are you thinning them with and what is your ratio. I have always had trouble. David B
-
Call me old fashion but I always liked funstion with beauty. Yachts like the Endeavor were the epitome of their type. The modern racing vessels with there lines and high tech materil may blow the J class yacht out of the water. But the J Class has lines grace and style. I would lone to be aboard one of them today let alone own one. Does anyone have an unending bank account? David B
-
Mark If you whish to show the glue line have yoy experimentws with a little ink or stain with the glue? David B
-
Keep up the good work. Something I have done when I am bending I wou;d just multple planks is to make a fixture and after soaking put the planks in it. The next day they would be ready to go. David B
- 55 replies
-
- 1
-

-
- corel
- shenandoah
- (and 1 more)
-
Dan you are a wonder. I leave you for about a week and you still amaze me. Great Work David B
-
My advice would be to go throught some of the logs. Everyone has there own method that works for them. It depends on the wood and the dimensions. Dependinf the the shape I have soaked a plank and put in in a form to dry. Wet and take an iron to it. I have even use a mirowave. .All you have to remeber is it is easier to bend with the grain and not against it. David B
-
Thanks for the comments. Dan? what woul be a good artist pencil to simulate the grays David B
-
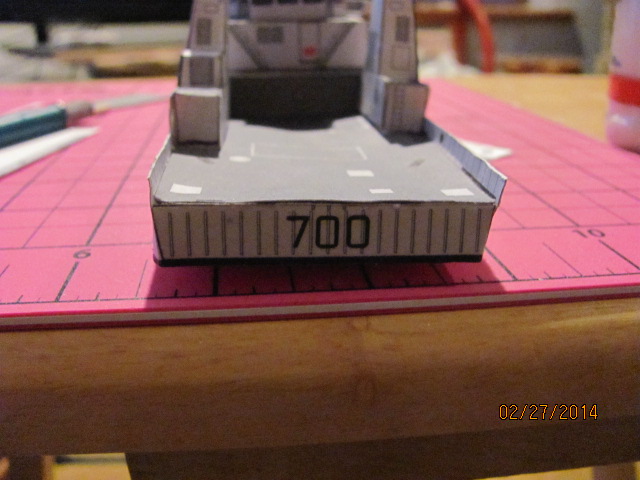
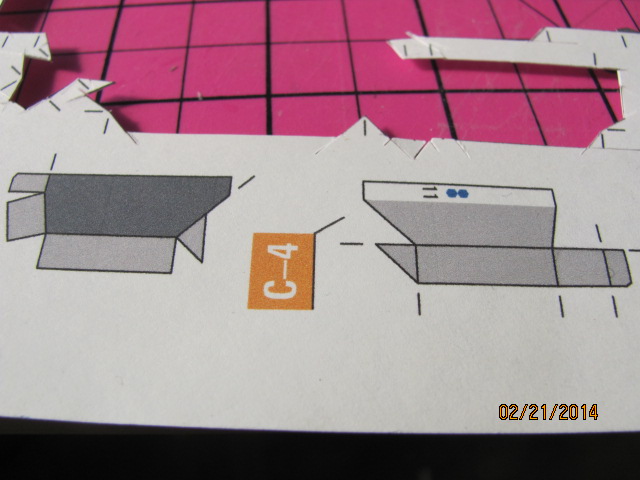
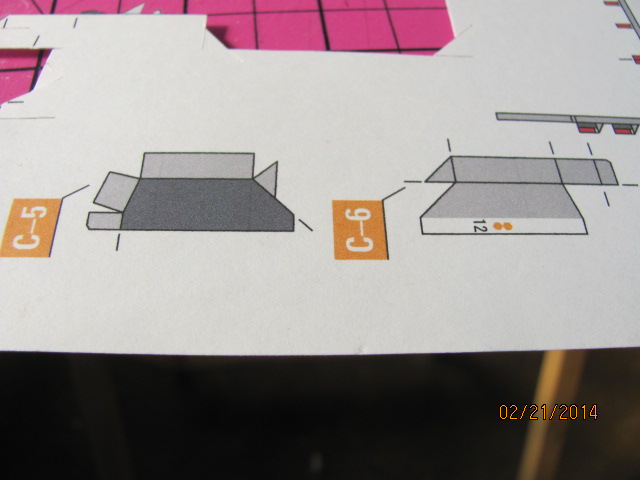
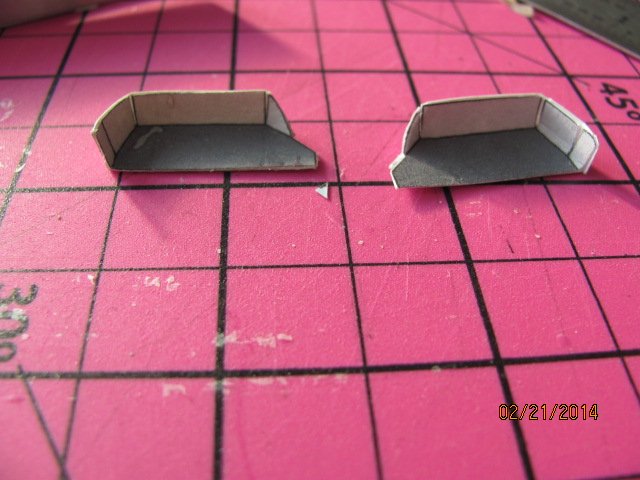
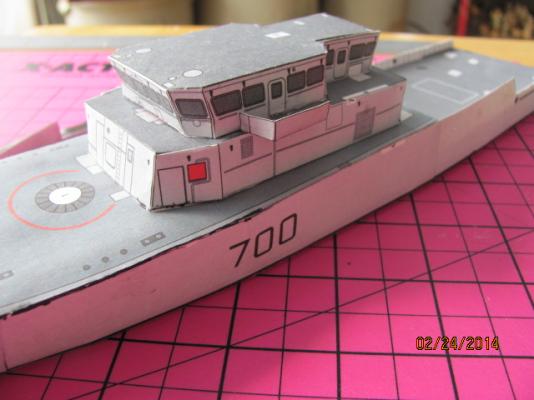
The funnels were pretty straight forward. The problem I had was not with them. When I tried to glue them to the gundeck I realized I had used a thinner stock and the deck was a little warped. After cutting out a new deck and making sure of the fit I glued the funnels to the new deck and then glued that over the orignal one. David B


- 50 replies
-
- 2
-
-
- kingston class mcvd
- finished
- (and 1 more)
-
I like your inventivness Bob. David B
-
The first thing I see clearly in about a week and I am looking at this. Bless you it was worth the wait. David B
-
I like the result. Subdued yet just enough to give a since of oil lanterns or candles. David B
- 803 replies
-
- 3
-
-
- colonial cutter
- modellers shipyard
- (and 1 more)
-
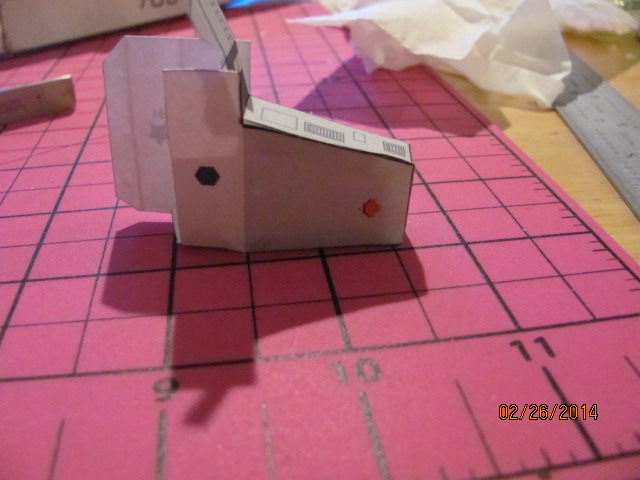
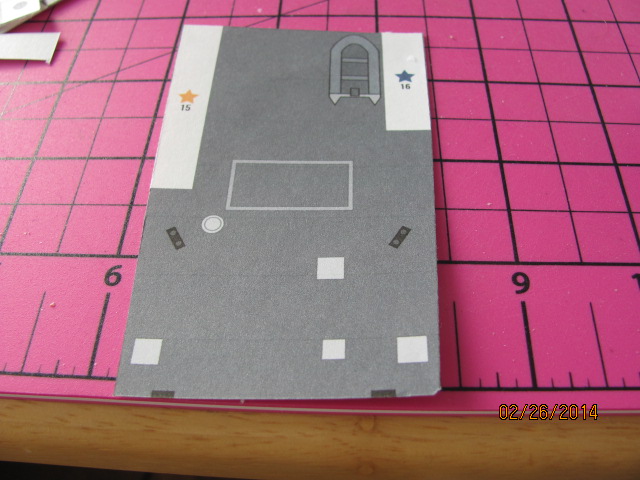
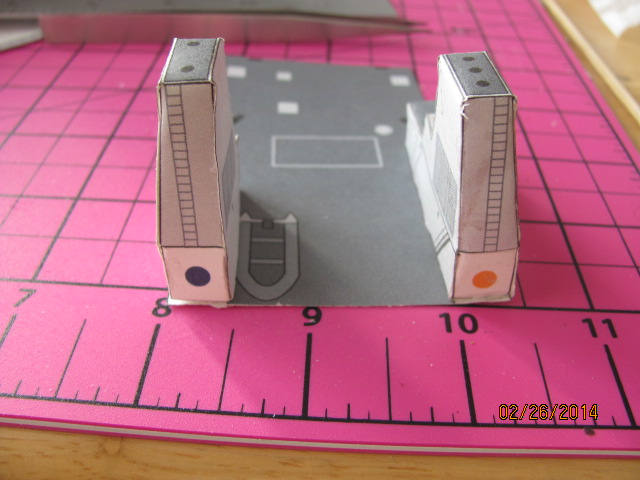
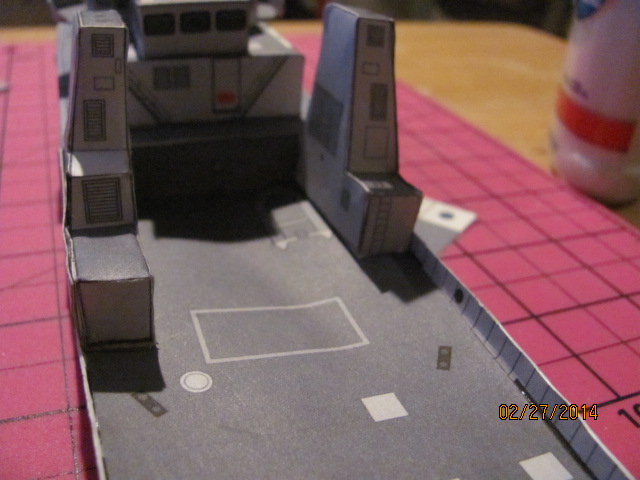
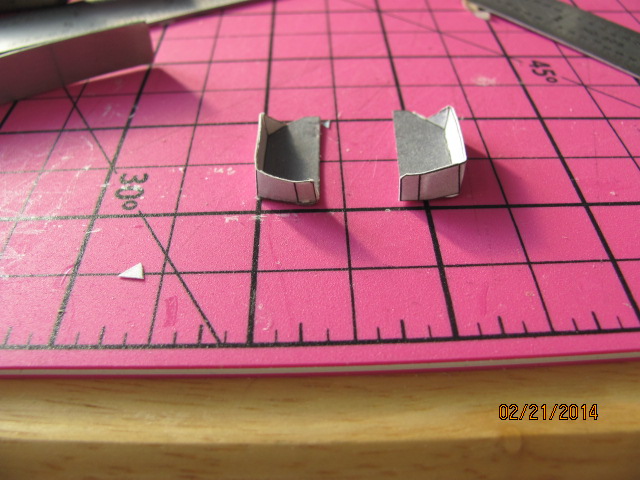
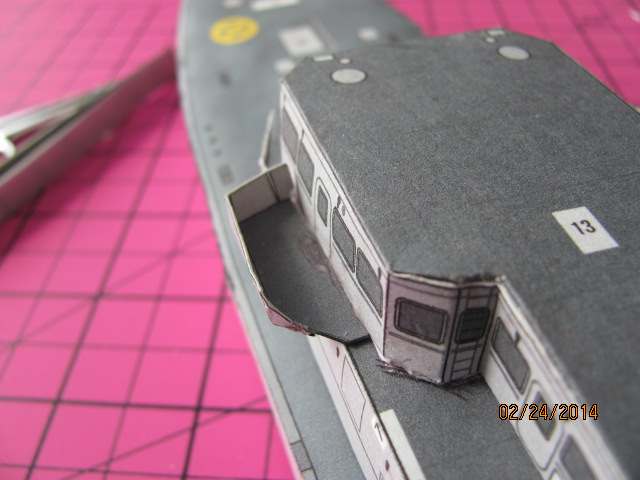
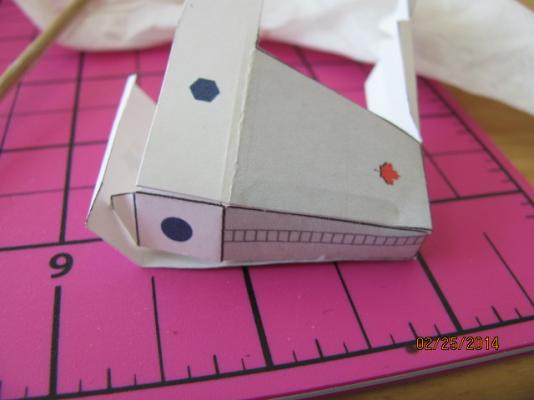
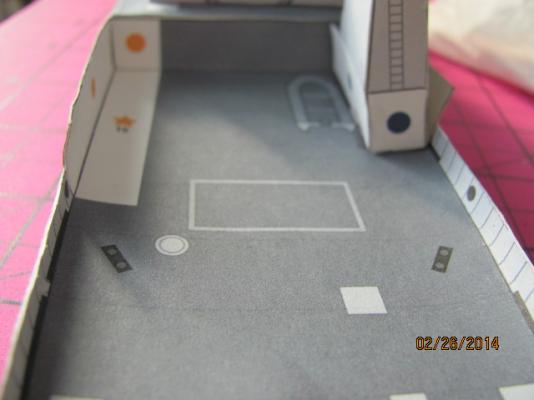
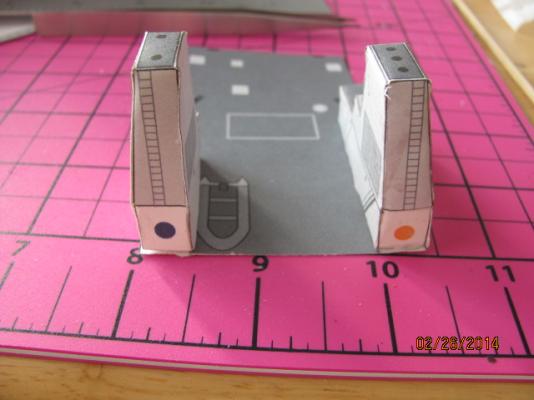
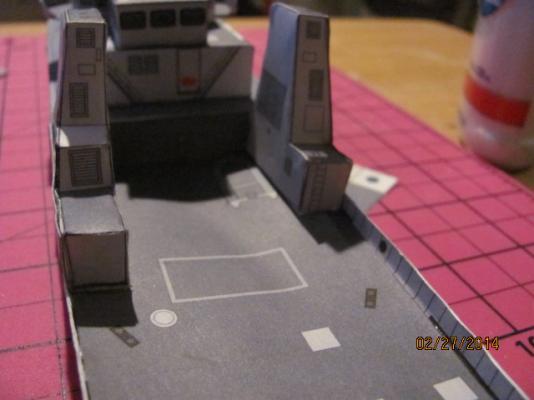
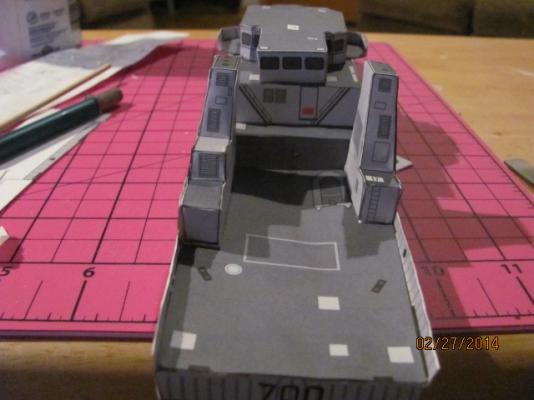
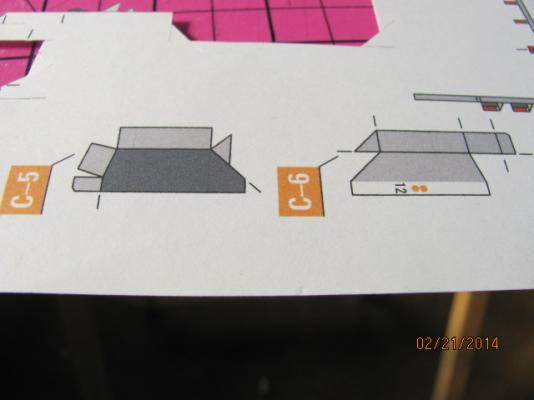
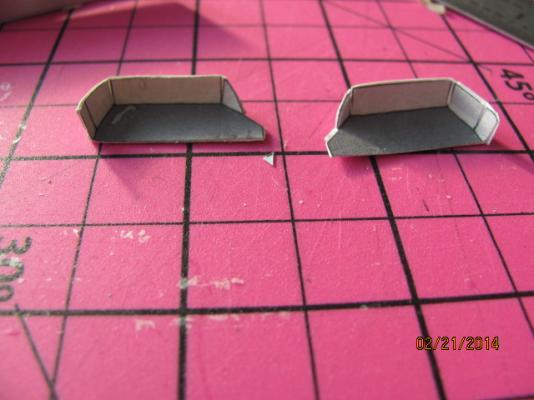
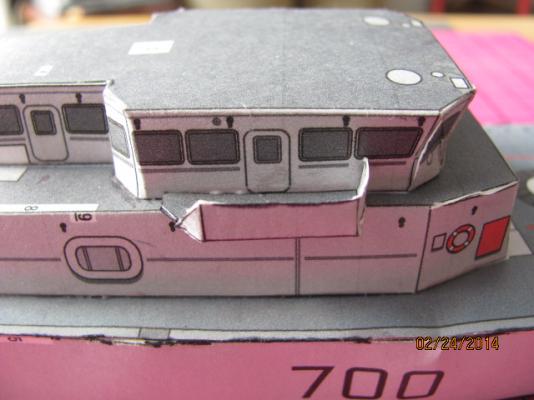
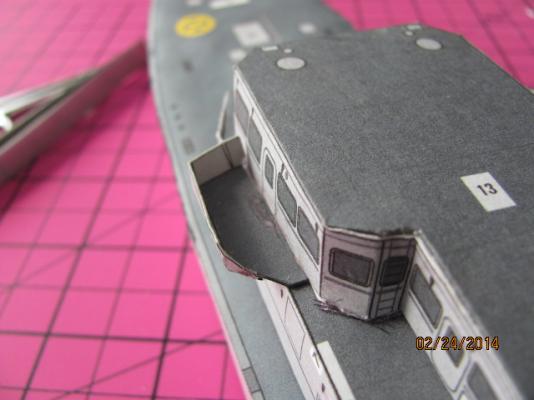
I was finally able to assemble the bridge wings. This proved to be simple, yet the wrong move could mean a do over. The first thing I did was locate the parts and cut them out. This time I cut out one side first and on completeion did the other side. This will prevent clutter as well as not getting anything mixed. Since each wingg consisted of two pieces gleud back to back I took care that all the fold were correct before the final glue up. This also meant dry fitting them together and to the bridge, Considering the condition ,y eyes were in this was not fun. but tediou. However the end result was worth the extra care. After making sure of the fit I glued them on and am happy with the result.. The funne;s will be next. David B


- 50 replies
-
- 5
-
-
- kingston class mcvd
- finished
- (and 1 more)
-
Great work on the rigging. . The carpenter ants earned there apy this time. David B
-
Many a sailor and shepard knew how to knit. This way they had warm clothed. David B
-
Patience, patience patience. well done David B
-
ROYAL CAROLINE 1749 by Doris - 1:40 - CARD
dgbot replied to DORIS's topic in - Build logs for subjects built 1501 - 1750
Better and better David B- 883 replies
-
- 1
-
-
- royal caroline
- ship of the line
- (and 1 more)
-
White acrylic is a hard colr to use I have never found one that ia perfect Davis B
-
The Grand Banks fishing schooner was designrf for s[[ed as well as cargo. The first vessel out to the fishing grounds got the best fish and the first vessel baxk got the best price, David B
-
The contrasting wood adds a bit of flavor to the moderl I like it. David B
- 803 replies
-
- 2
-
-
- colonial cutter
- modellers shipyard
- (and 1 more)