Trussben
-
Posts
2,007 -
Joined
-
Last visited
Content Type
Profiles
Forums
Gallery
Events
Everything posted by Trussben
-
 Looking REALLY good Mark, glad your having fun!! I'm not sure after learning to frame the right way up I could do it upside down! More power to ya! Ben
 -
Much thanks Mark for the illustrations! Ben
-
Hi Alan, I feel your pain, I think I have redone parts of my Indy plans at least 3 times up to now, but it does make me much faster the second/third time around and I understand a lot more each time through. Steep learning curve with this stuff. Ben
-
Some nice detective work there Joss, I wish I could find more paintings of the Indy to help with my research. Ben
-
That's really nice work on the stern framing, as Greg says they have really good symmetry. Ben
-
Nice to see your start of the Pegasus. Ben
-
Hi Mike, I shall also follow along with your build. Ben
- 969 replies
-
- 1
-

-
- hahn
- oliver cromwell
- (and 1 more)
-
Well Augie, you DID it and it came out great - well done mate! It's a fun little project on its own isn't it?? Now just get that deck planking down and you will of passed my Confed and then I can look to you and your log for advice when I finally get back to mine! ( just having too much fun with framing on Pegasus for that to happen any time soon but you never know, your work may spur me into action!) Ben
-
Glad to hear your back around Patrick. Take it easy! Ben
-
Nice to see you back Andy, and nice to see her in primer. ( tamiya primer is what I used to prime the metal parts on my Confed, gives a nice thin basecoat ) Ben
- 382 replies
-
- 1
-
-
- stadacona
- sylvan scale models
- (and 1 more)
-
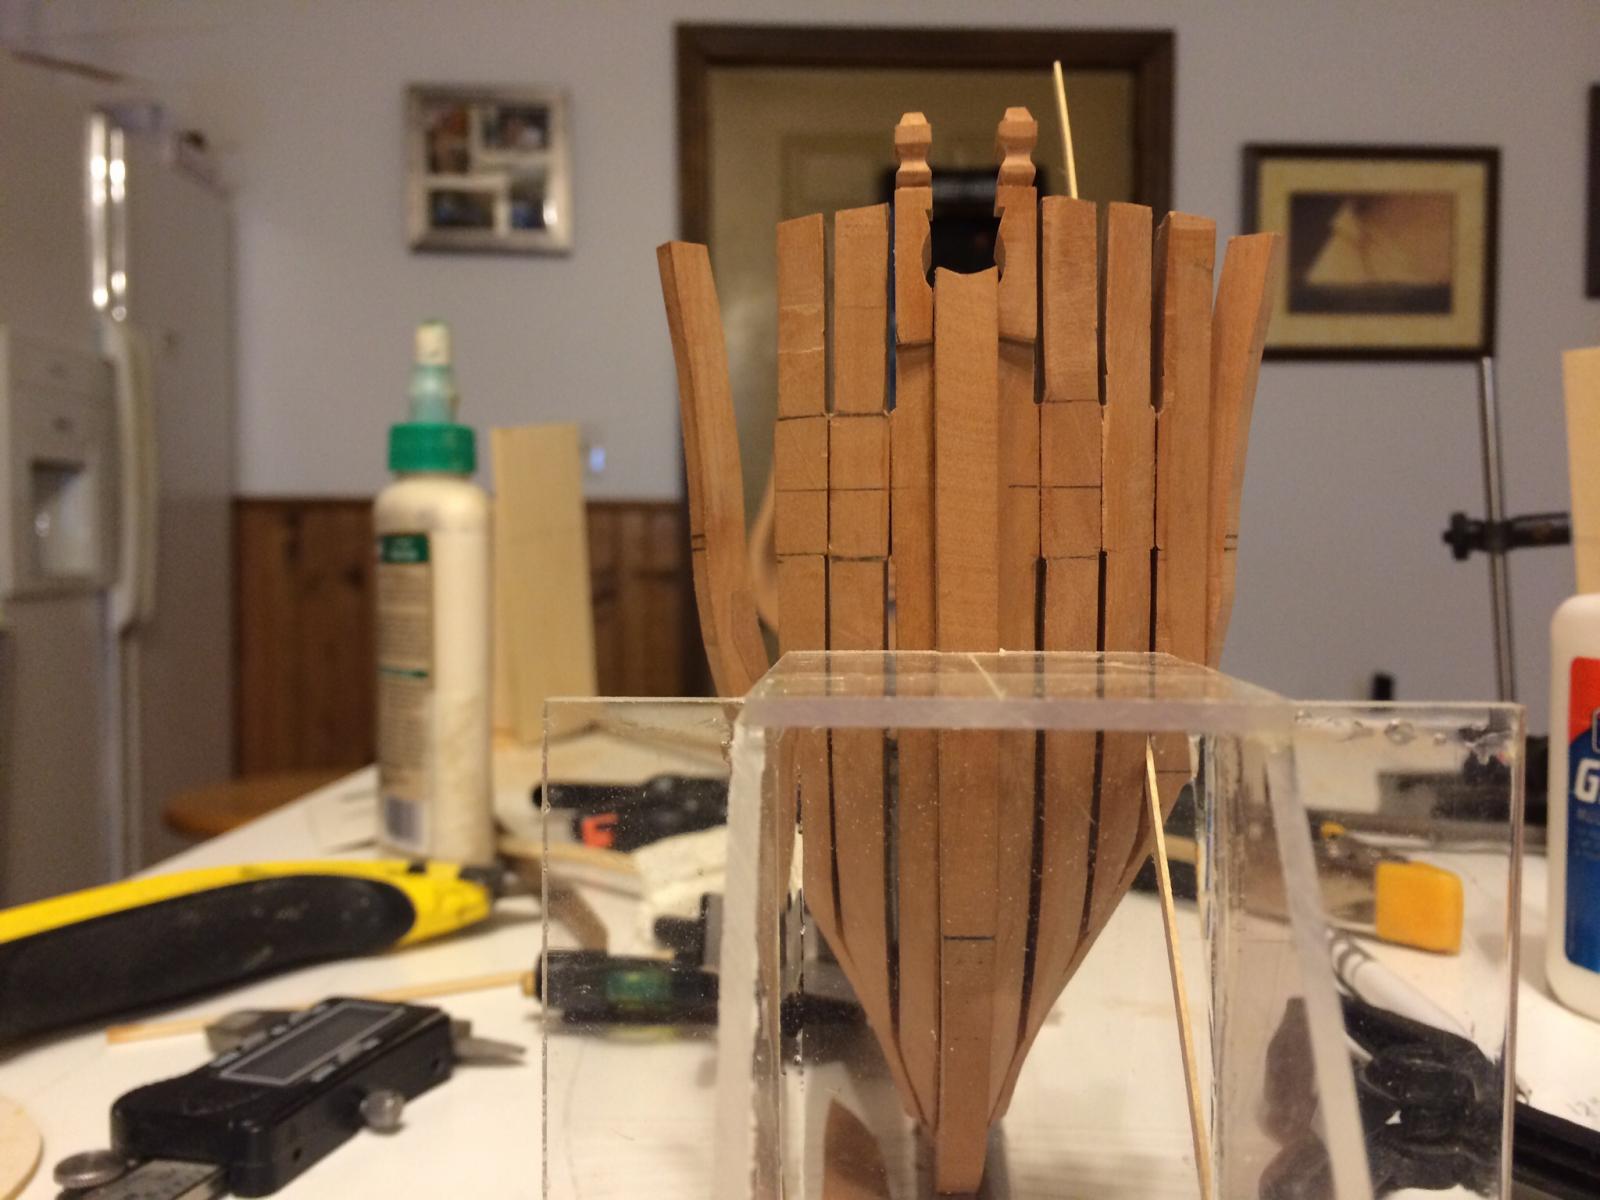
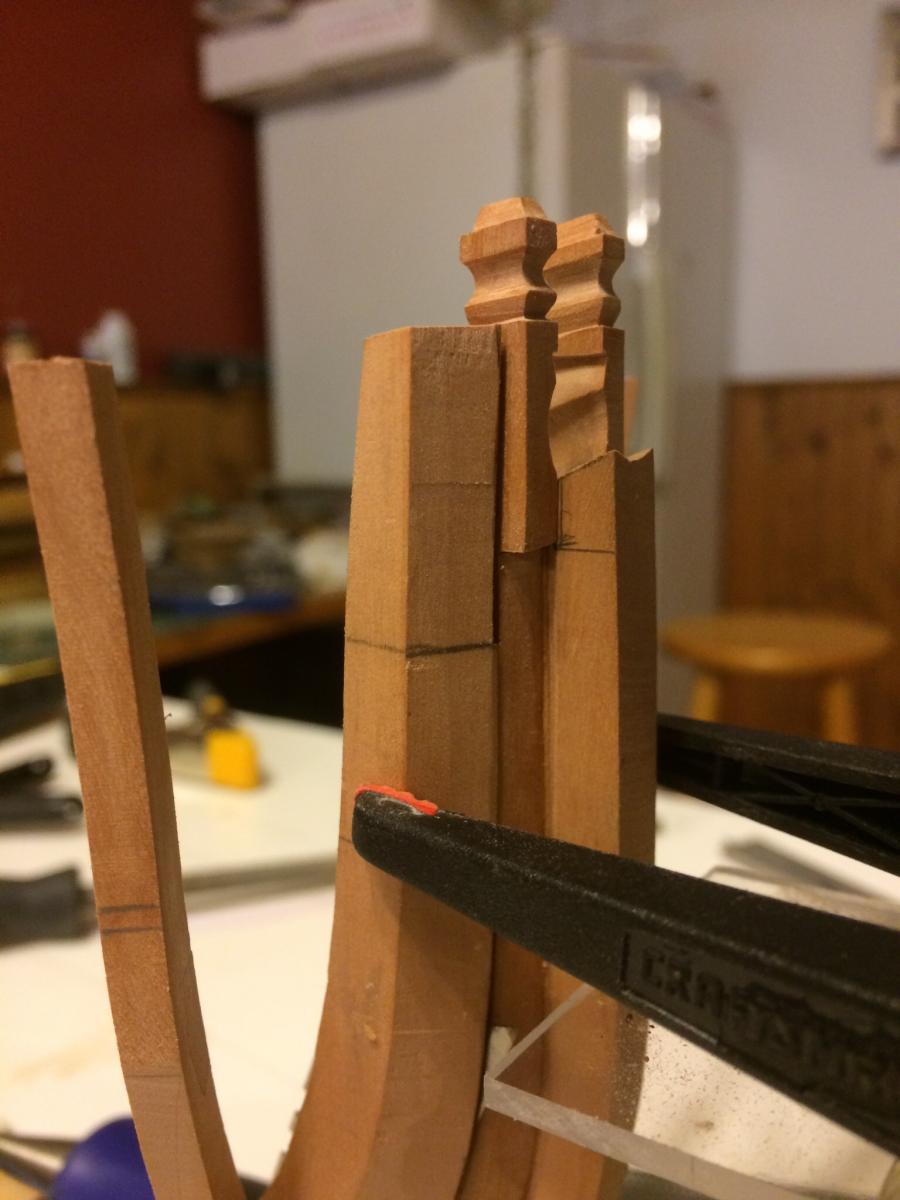
Hey Rusty, I'm struggling here even if it doesn't look like it! Greg - good idea on testing out the hawse holes as well. Ben
-
I continue to work on the Hawse timbers, but the pieces you see will end up in the scrap bin and be redone, I decided to just keep practicing with them so when I do make the real ones they should be much better. Hope to get it completed by next weekend. Ben

- 889 replies
-
- 16
-
-
Some great work Bob, you really have made a beautiful model but can I ask if you are going to rig her or stump masts?? Ben
-
Just came across you build log, and wow!! Great research and craftsmanship. I shall follow avidly from now on. Ben
- 346 replies
-
- 1
-
-
- terror
- polar exploration
- (and 2 more)
-
Kat, we have an admin on this site called Chuck Passaro, he does extensive work using Sculpy for ship decorations, He even posted a practicum of how he uses it on the NRG website www.thenrg.org under the ship modeling resources shop notes. Take a look or drop Chuck a PM, I'm sure he'd be happy to offer some advice. Ben
-
Aha! The dark side is going to claim Sjors as well! Ben
- 1,616 replies
-
- 2
-
-
- caldercraft
- agamemnon
- (and 1 more)
-
Hi Allan, Don't worry about me, I can look up the terms I need to know in Steel, just wondered. Ben
-
Sorry to hear some of the wood supplied is not so good, I'm sure you will manage with it. Ben
-
Thanks for looking in Mike, the TFFM books are great references for any build IMO. Ben