gjdale
-
Posts
4,894 -
Joined
-
Last visited
Content Type
Profiles
Forums
Gallery
Events
Everything posted by gjdale
-
 This looks like a fascinating project Rob. Think I'm in for the ride.
 -
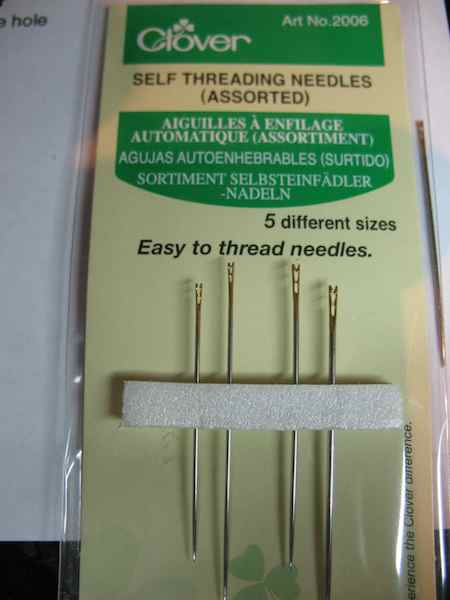
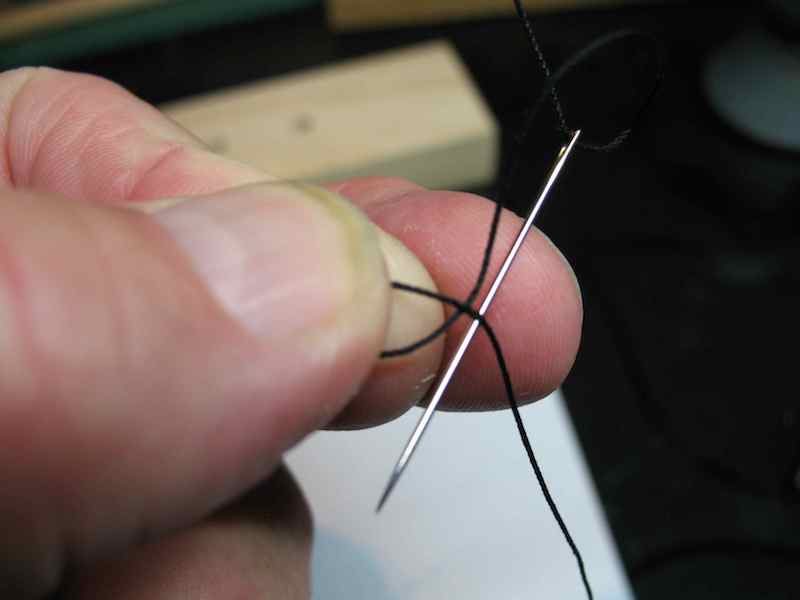
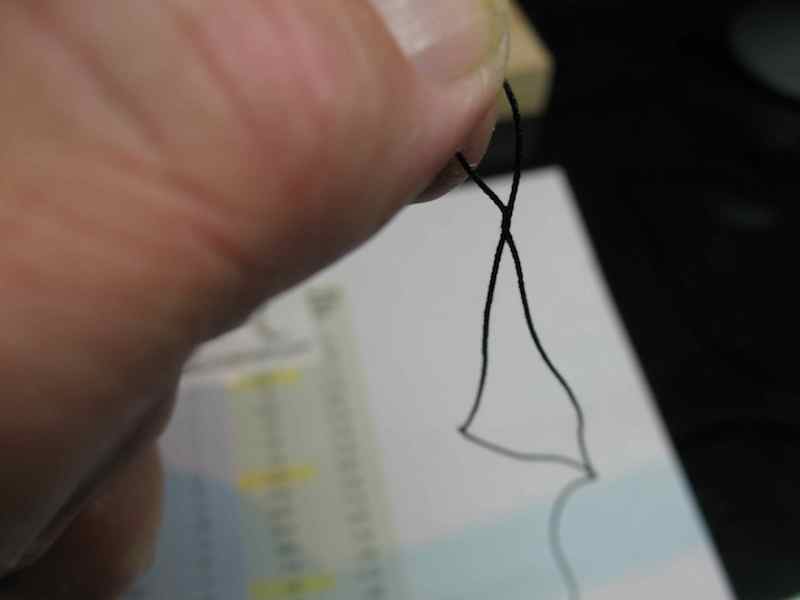
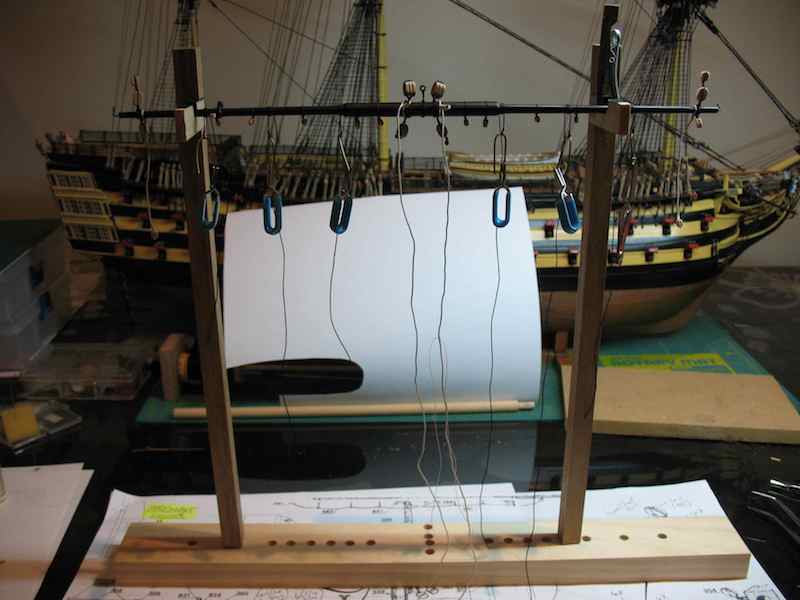
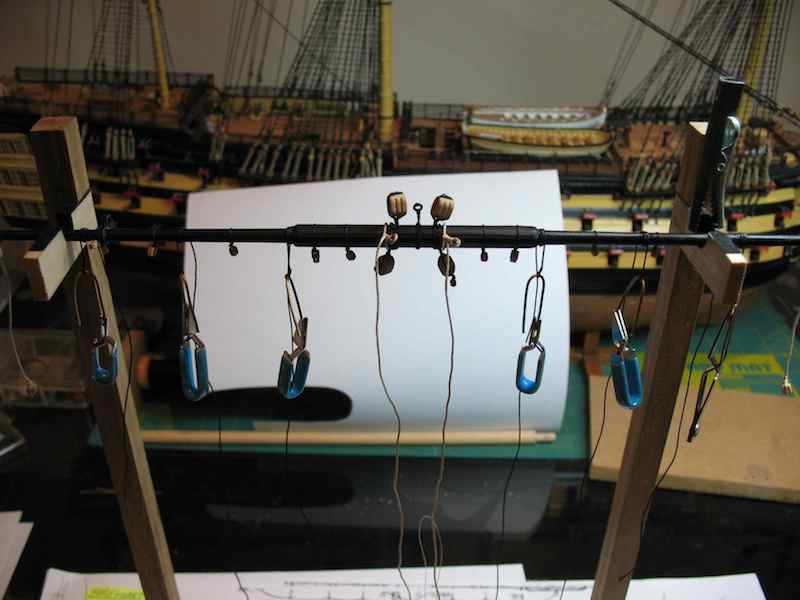
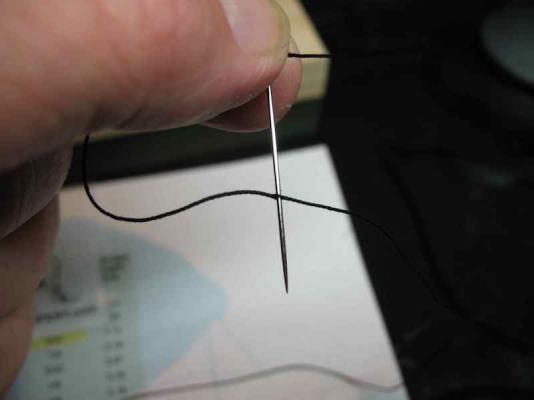
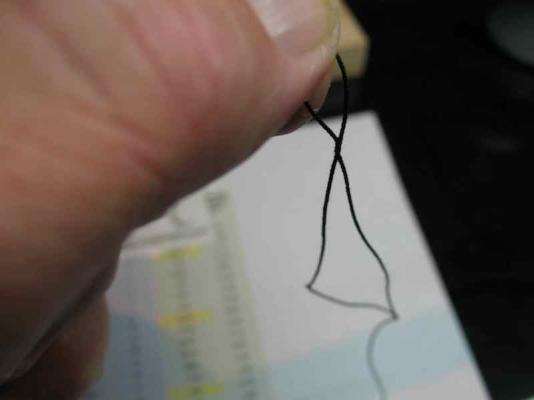
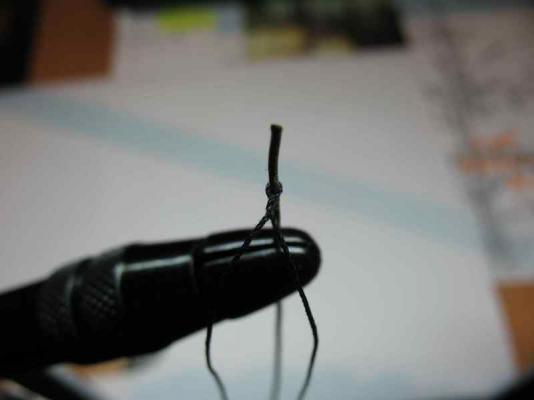
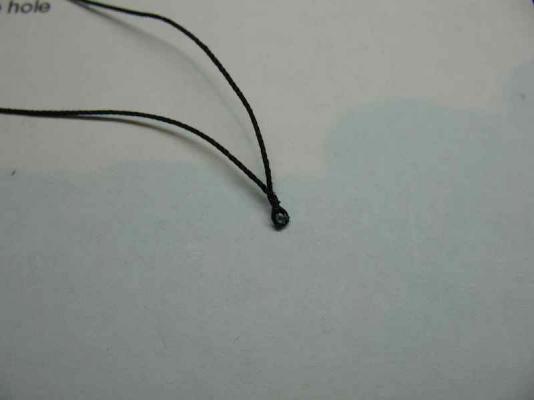
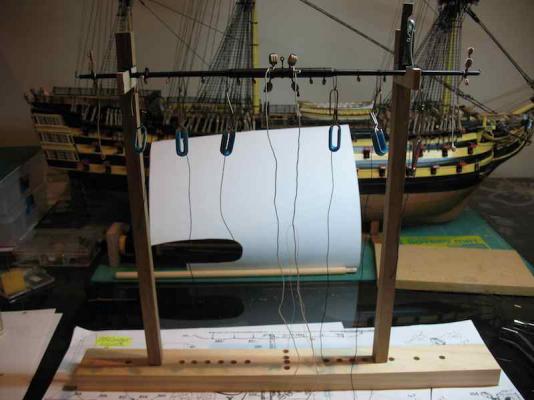
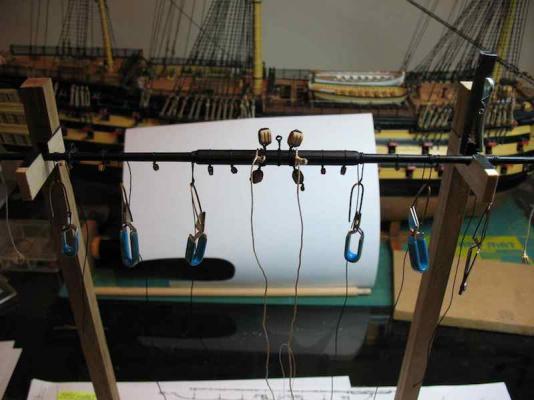
Thanks again everyone for the kind comments and the likes. Progress is once again at a glacial pace as life seems to have a habit of getting in the way at the moment. Nevertheless, I did manage to progress a bit further with the yard preparation today. I made an interesting discovery in my wife's favourite sewing shop today - "self-threading" needles. And they work! I received some more of Chuck's excellent rigging thread in the post this week, so was able to start on the stirrups. I must admit to once again being inspired by the work of Blue Ensign on his outstanding Pegasus build. He is just far enough ahead of me in progress terms to be an excellent source of guidance and inspiration. So my method for the stirrups follows pretty closely to his. It starts with forming a "false splice" in one end of the thread. I'm using 0.30 mm black thread for my stirrups, which is pretty close to scale for the 4-inch circ. rope used at full scale. I've chosen to do my stirrups and horses in black, which may or may not be correct, but is consistent with my choices for hammock netting and ratline colours. The method of forming the "false splice" is borrowed from Gil Middleton, repeated by Blue Ensign, and now by me. A needle is used to thread the line back through itself: And then back through a second time: The completed "splice" looks like this: The splice is then placed over a 1mm diameter brass rod held in a Fly-tying vice (thanks Mobbsie for that idea ) : A dab of CA is applied to the splice and around the eye, which is then carefully removed from the brass rod: The stirrups are then attached to the yard, being wrapped three times around the yard, with the "fall" of the stirrup lying on the aft side of the yard, and outboard of the turns. A dab of CA is applied and once set, a small weight is applied to the fall of the stirrup and the entire stirrup painted with diluted PVA and left to dry overnight. Tomorrow I will add the horses. You can also see in the picture above and the next below, the Truss Pendants, which have been fitted with a brass thimble and seized to the yard. Note that the thimble lies down on the starboard side and up on the port side (as per Longridge pg 240). If I can finish the horses tomorrow, that will be the Fore Lower Yard complete. Only eight more yards to go! (then I will be able to say I've gone "the whole nine yards" )


-
Thanks for the advice on the thick CA Augie. I generally avoid using CA at all if I can, as I'm one of those affected by the fumes. I might try giving the thick stuff a go to see if it makes a difference (fume-wise).
- 2,191 replies
-
- 1
-

-
- confederacy
- Model Shipways
- (and 1 more)
-
Ship's Launch
gjdale replied to malcermie's topic in Discussion for a Ship's Deck Furniture, Guns, boats and other Fittings
Hi Malc, If you have a look in my Victory log, starting at post #188 on pg 13: http://modelshipworld.com/index.php?/topic/163-hms-victory-by-grant-dale-mamoli-scale-190/page-13 You will see how I tackled a 1:90 scale scratch built launch. Hope this is of some help to you. Please PM me if you have any questions or want further advice. Cheers, -
John, I once knew a Chief Bosun who must have been related to your electrician. To tell me something was broken, he'd simply say, "f...ing, f..er's, f...ing, f...ed".
- 745 replies
-
- 2
-
-
- francis pritt
- mission ship
- (and 1 more)
-
That latest update shows very clearly your skill and craftsmanship Augie! She is looking just fantastic. And others have said, practice obviously makes perfect Well played Sir!
- 2,191 replies
-
- 1
-
-
- confederacy
- Model Shipways
- (and 1 more)
-
Congratulations Sjors on completing your Le Mirage. She looks fabulous and reflects all the hard work you have put into her. Well done my friend, well done indeed.
-
What's this? Claiming to be finished and no photographic evidence? Come on now SeeYours!!! I will reserve my hearty congratulations until you post the evidence! Does this mean that Aggy is out of the closet now?
-
Thanks for that explanation Mike. I was curious as to whether there was a "mass production" technique involved at all - it would seem not, although it does produce some very nice results. I will certainly give this a try when the time comes.
-
Very nicely done Mike. I'd be interested in a little further explanation of your method of making the deadeyes, if you wouldn't mind.
-
That seems to be a pretty good fit straight up there Rusty. Nice work!
-
Looks like you're doing a great job there John. You seem to have the hang of the "shift of the butts" with the deck planking, so all looks fine from here.
-
Love it Daniel. It really does give a clear insight into just how crowded things must have been during action.
-
Great pics John. Your new skylight looks terrific, as does the rest of the ship. Boy, you're really steaming ahead now!
- 2,250 replies
-
- 1
-
-
- model shipways
- Charles W Morgan
- (and 1 more)
-
Hey Sjors, That's some mighty fine work there my friend. It seems that you have leaped ahead suddenly - did you steal Mobbsie's mojo to make such rapid progress?
-
Beautiful to watch Ed. I particularly like the way you have incorporated the sweeping lines into the bolt pattern.
-
Knowing your attention to detail and "getting things right" Danny, I suspect we'll be seeing a re-do on those. No criticism implied Danny, but I agree that these don't seem to match your own expectations. I suspect that some Swiss Pear will give you more the result that you're looking for.
-
Welcome home Andy. This looks like an interesting "side project". I'll follow along with interest.
- 382 replies
-
- 1
-
-
- stadacona
- sylvan scale models
- (and 1 more)
-
Looking good David. Nothing wrong with completing the bowsprit rigging first. That is certainly what I did. Just watch those elbows and long sleeves from here on!
- 439 replies
-
- 1
-
-
- victory
- caldercraft
- (and 1 more)
-
Rob, You can also purchase Yellowheart through Jeff Hayes at Hobbymill (link on home page) and he can mill it to your exact dimensional requirements. Very reasonable prices, top quality material, and customer service second to none. No connection other than a very satisfied customer!
-
Hi Eric, Congratulations on reaching this point - it is a major milestone! Patrick is right though, the more attention you pay now to filling and sanding, the easier it will be with the second planking.
-
Have to agree with the others Bob - great job on the planking! Looking forward to the next steps - let's hope you're right about being past the kit problems.
-
Thanks for the pics John, looks like she will make up into a very nice model indeed.
-
Sounds like an interesting project John. How about starting with a few photos of the kit box and contents? I look forward to following your progress with this one.