gjdale
-
Posts
4,894 -
Joined
-
Last visited
Content Type
Profiles
Forums
Gallery
Events
Everything posted by gjdale
-
 Very nice Patrick. I'll bet you're glad now that you took the time and effort to fix that waterline.
 -
ancre LE BONHOMME RICHARD by Jeronimo - FINISHED
gjdale replied to Jeronimo's topic in - Build logs for subjects built 1751 - 1800
That's very, VERY, clever Karl! Thanks for sharing.- 662 replies
-
- 2
-

-
- bonhomme richard
- frigate
- (and 1 more)
-
Sweet Augie!
-
HMS Sussex by mij - Scale 1:48
gjdale replied to mij's topic in - Build logs for subjects built 1501 - 1750
Can you tell us the model number of the one on the right in the photo please? I can't seem to spot it on the Proxxon site. Looks cool though! -
Hi Eric, Welcome to the MSW forum from Down Under! Sorry to hear of your troubled start but I'm sure it will get rectified soon. I think you have chosen probably the best Victory kit currently on the market and I wish you well with it. While there are a number of CC Victory builds here, and even more from other manufacturers, I do recommend that you have a look through Gil Middleton's build log. I think his is a great guide for any Victory builder, with lots of tips and tricks to guide your way. I look forward to following your progress.
-
I think that will be a good choice Clare. A nice contrast to draw the eye to a feature of the build.
-
Sam, I think the closest to describing how to pronounce Sjors, would be "See Yours", which of course explains why he is always asking for pictures of other people's builds!!! :P By the way, nice work on the mast SeeYours!
- 1,873 replies
-
- 6
-
-
- occre
- san ildefonso
- (and 1 more)
-
Looking good Augie, but I can't understand the delays either!
- 2,191 replies
-
- 4
-
-
- confederacy
- Model Shipways
- (and 1 more)
-
Masterful as always Ed, and a joy to watch this emerge.
- 3,618 replies
-
- 2
-
-
- young america
- clipper
- (and 1 more)
-
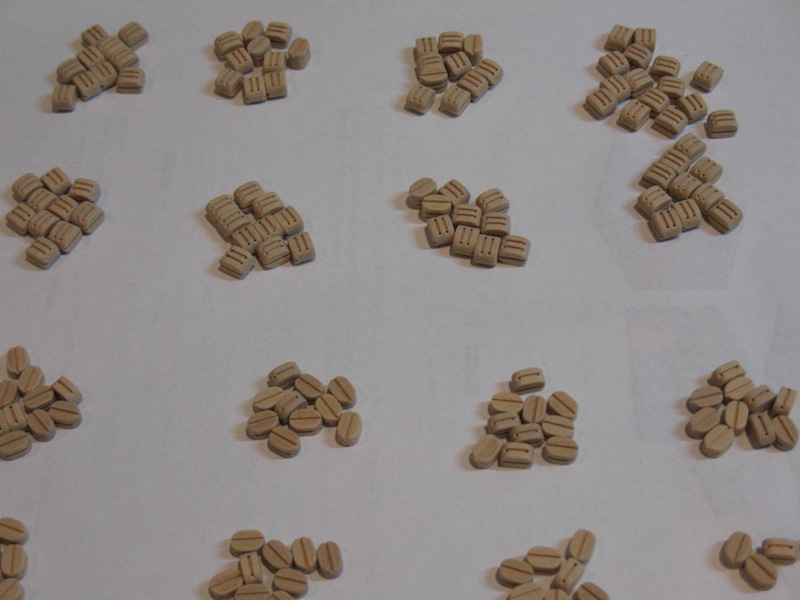
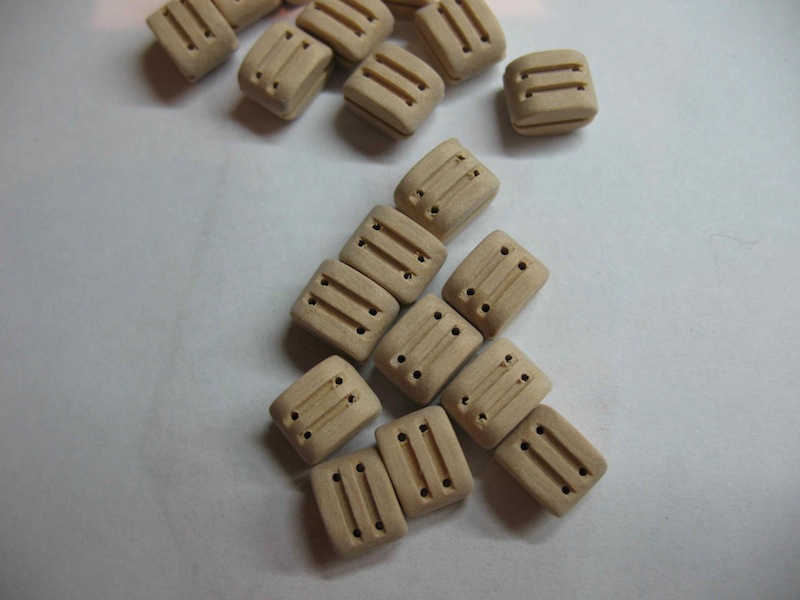
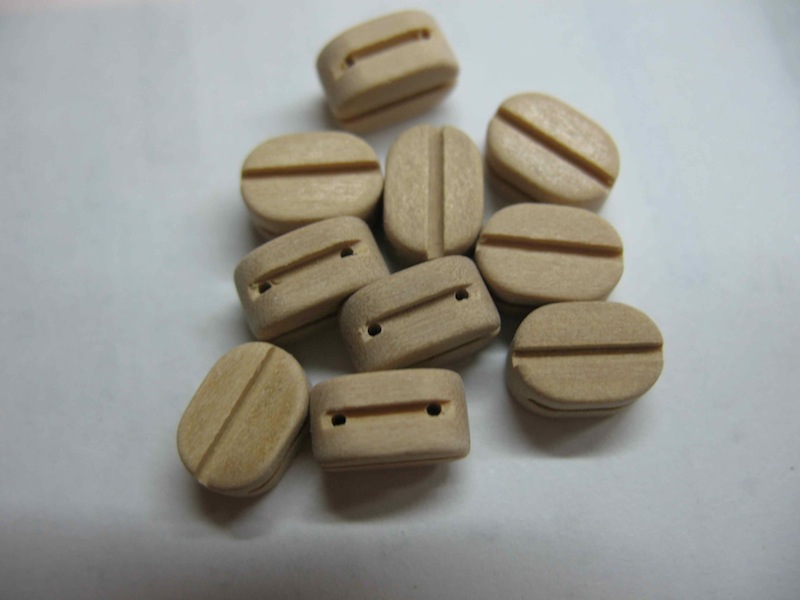
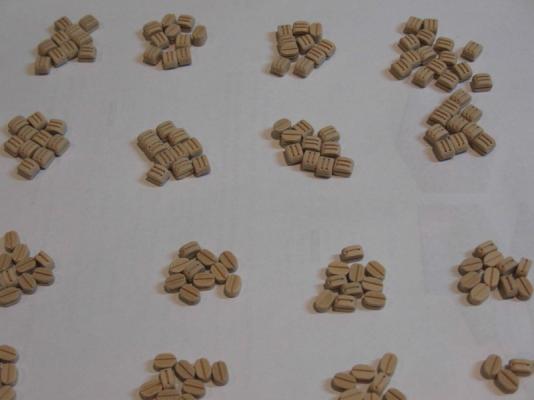
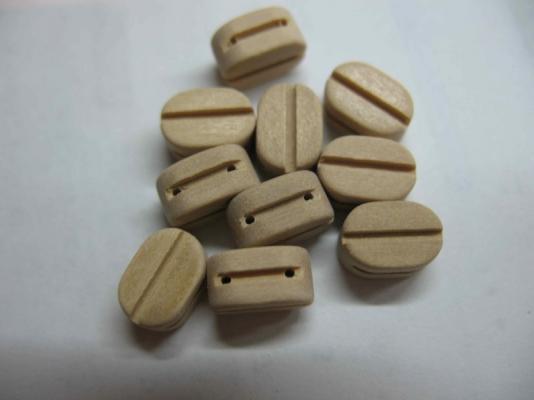
Okay - I lied! Here's a couple of pics of this weekend's limited production run. These are all 9/32" (7mm) blocks, single and double. These are the largest I've made to date. I think I've got the sheave holes pretty much in the right place now. And a couple of close ups. Some final finishing around the holes is all that's required to use these. Hopefully more production next weekend - I'm getting into the groove now (pun intended).

-
Thanks everyone, I'm pretty comfortable with the production method now. Mark - it's only the two larger sizes that I'm thinking of scrapping as these were early production runs that don't have the sheave holes placed quite right. I'll see how they rig up first - it may be that the error isn't noticeable. It's no big deal to re- make those few - the larger sizes are relatively easy to work with! Chuck - I don't know how on earth you managed to make them at 1.5mm - the 2mm were almost too much for me! Not much time in the shipyard this weekend, but have managed to make a few more. No pictures today as it's just more of the same.
-
Bismarck by NBP - 1:100
gjdale replied to NBP's topic in - Build logs for subjects built 1901 - Present Day
Fantastic work Norberto! I'll follow along wih great interest. -
Nicely done Sjors. Looking good!
-
ancre LE BONHOMME RICHARD by Jeronimo - FINISHED
gjdale replied to Jeronimo's topic in - Build logs for subjects built 1751 - 1800
- 662 replies
-
- 1
-
-
- bonhomme richard
- frigate
- (and 1 more)
-
Nice work on the tops Sjors. A pleasant change from rigging for you.
- 1,873 replies
-
- 1
-
-
- occre
- san ildefonso
- (and 1 more)
-
Hi Rusty, I'm no expert, but the larger ones look "right" to me.
-
Rusty, Not sure if I've understood your question correctly, but your maths is correct. That is, if your "real life" tree nail is 1 1/2", then at your chosen scale of 1:24, this would be 1/16". As to whether 1 1/2" tree nails are correct in the first place, I've no idea!
-
Welcome home Rusty - looking forward to your next update.
-
Nice work Clare. Thanks for showing your method too, that's really interesting.
-
Fabulous Alexandru. Nice to see another update - she really is looking good.
-
Thanks John, I was wondering what the collective pronoun for blocks might be. Perhaps a "murder" of blocks would be appropriate!