HOLIDAY DONATION DRIVE - SUPPORT MSW - DO YOUR PART TO KEEP THIS GREAT FORUM GOING! (Only 72 donations so far out of 49,000 members - Can we at least get 100? C'mon guys!)
×


mtaylor
-
Posts
26,273 -
Joined
-
Last visited
Content Type
Profiles
Forums
Gallery
Events
Everything posted by mtaylor
-
I think he will love it. Just don't tell him it's spaghetti and meatballs instead of an octopus.
- 11 replies
-
- 2
-

-
- pirate ship
- bottle
- (and 1 more)
-
It's great to see you back, Patrick. I think all of hit a mild "burnout" point at some point. Nice work on the engine room. Will the engine live there or is this the machine room for all the services?
-
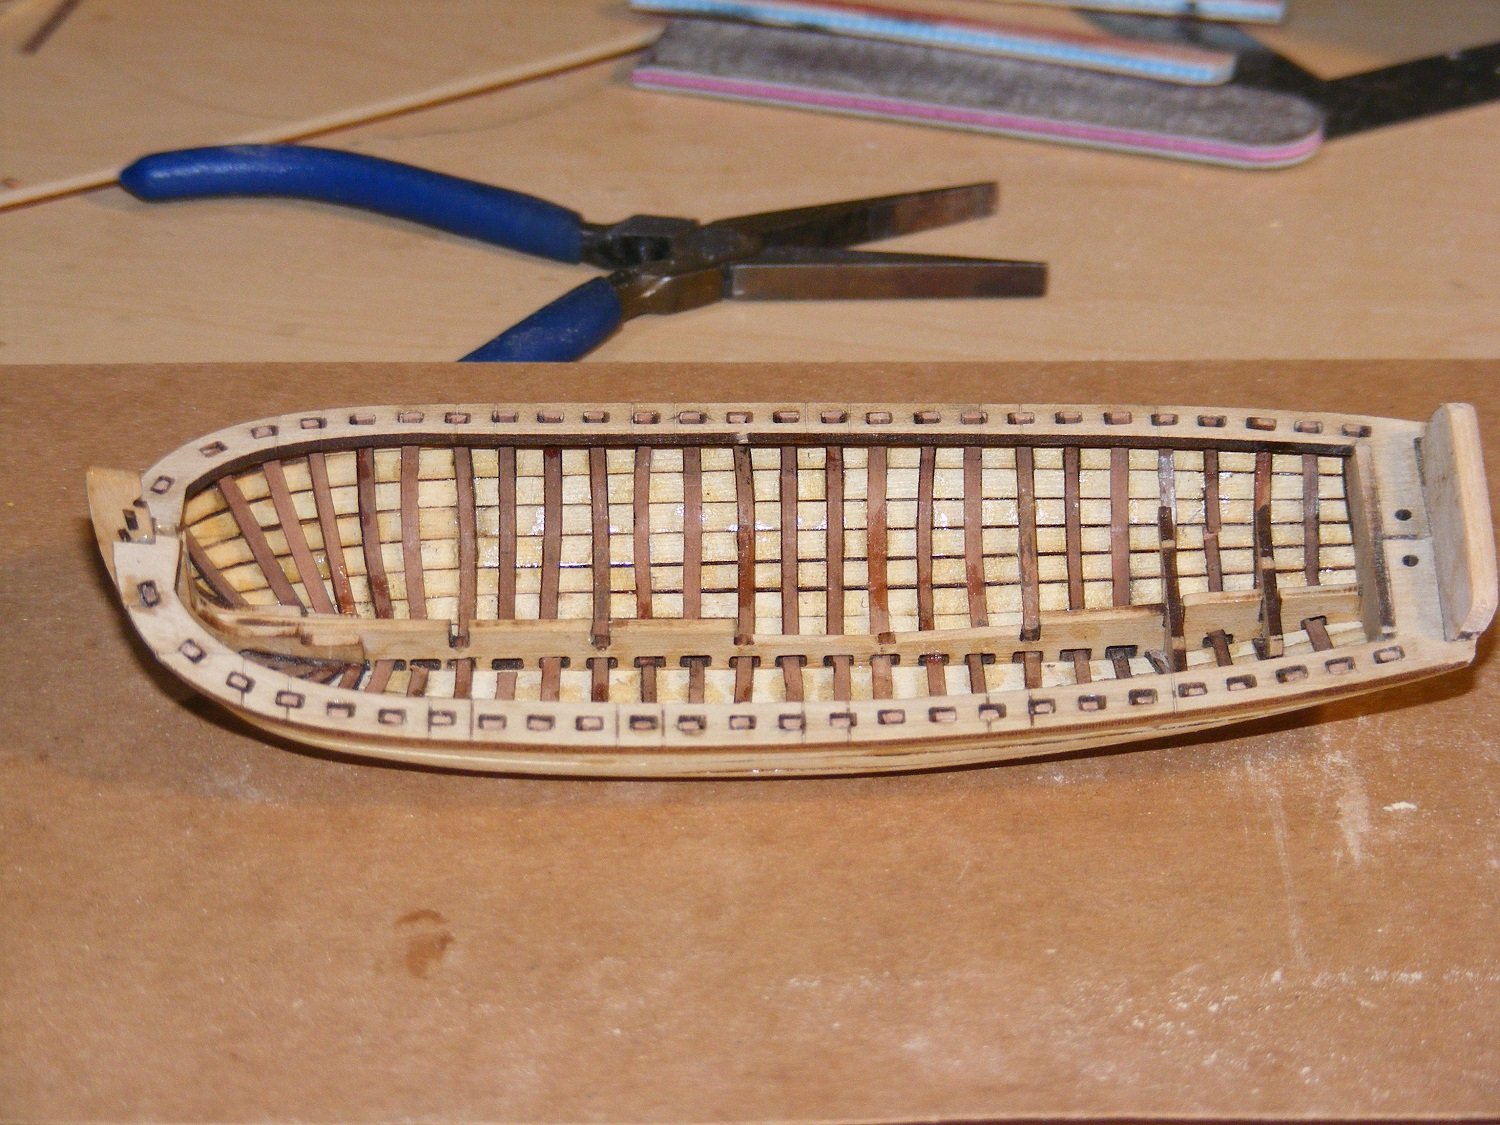
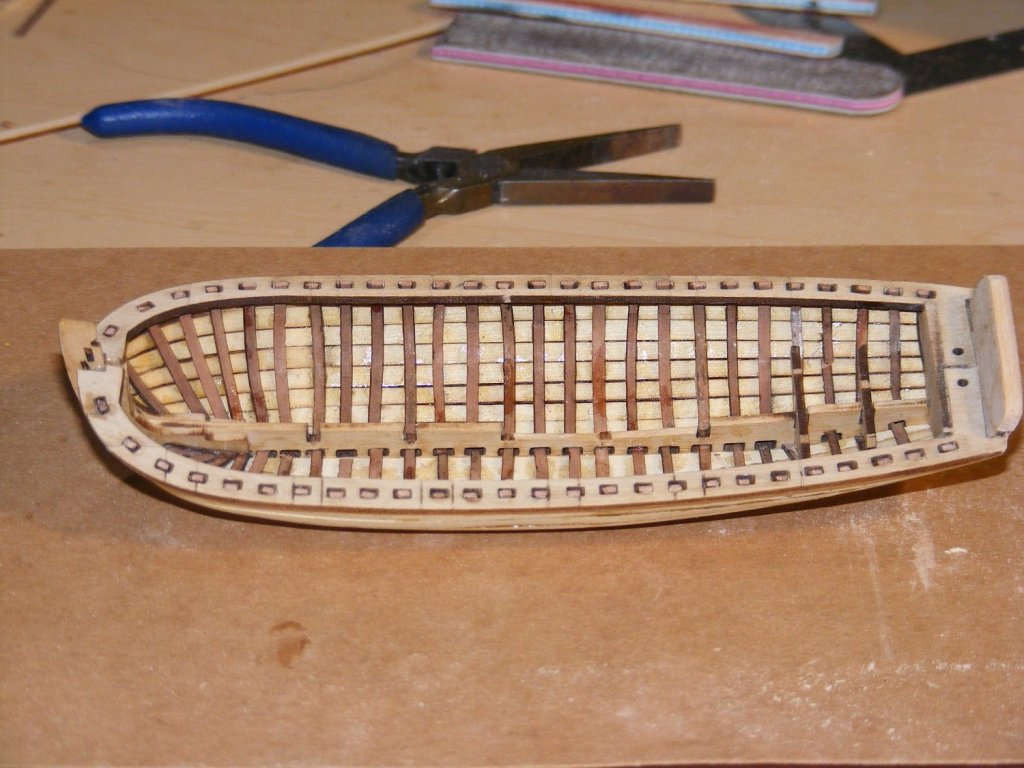
Looks good from here including the beveling of the frames.
-
I'm not so sure, CDW. The 4th generation are pretty darn good while the current 5th generation is still in development. I'm reading where there's plans afoot to upgrade the F-15 and F-18 to keep them in the game.
-
Cleaning Small parts prior to blackening
mtaylor replied to src's topic in Metal Work, Soldering and Metal Fittings
The vinegar does the etching. I guess you could use vinegar in the cleaner though. Might work better. -
Thanks for the likes, comments, and support. It's slowly coming together. Still have to repair some damage and work to convert this design to make it look "French".
-
Usually (very vague actually) they were about 18 inches long. But that depends on the ship and lines being tied off. As I said... very vague answer.
-
Cleaning Small parts prior to blackening
mtaylor replied to src's topic in Metal Work, Soldering and Metal Fittings
Sounds like a lot of trouble to me. For those bits, my standard recipe is: Wash in dish soap, rinse well and let dry. Put into white vinegar for maybe 30 minutes or so, rinse with water, and allow to dry. Vinyl gloves are must to keep oils off the brass. Then, blacken. -
Sam, sometimes a bit bigger is better especially with rigging bits and pieces. Tie a "dummy" line to one as it would be rigged and go from there.
-
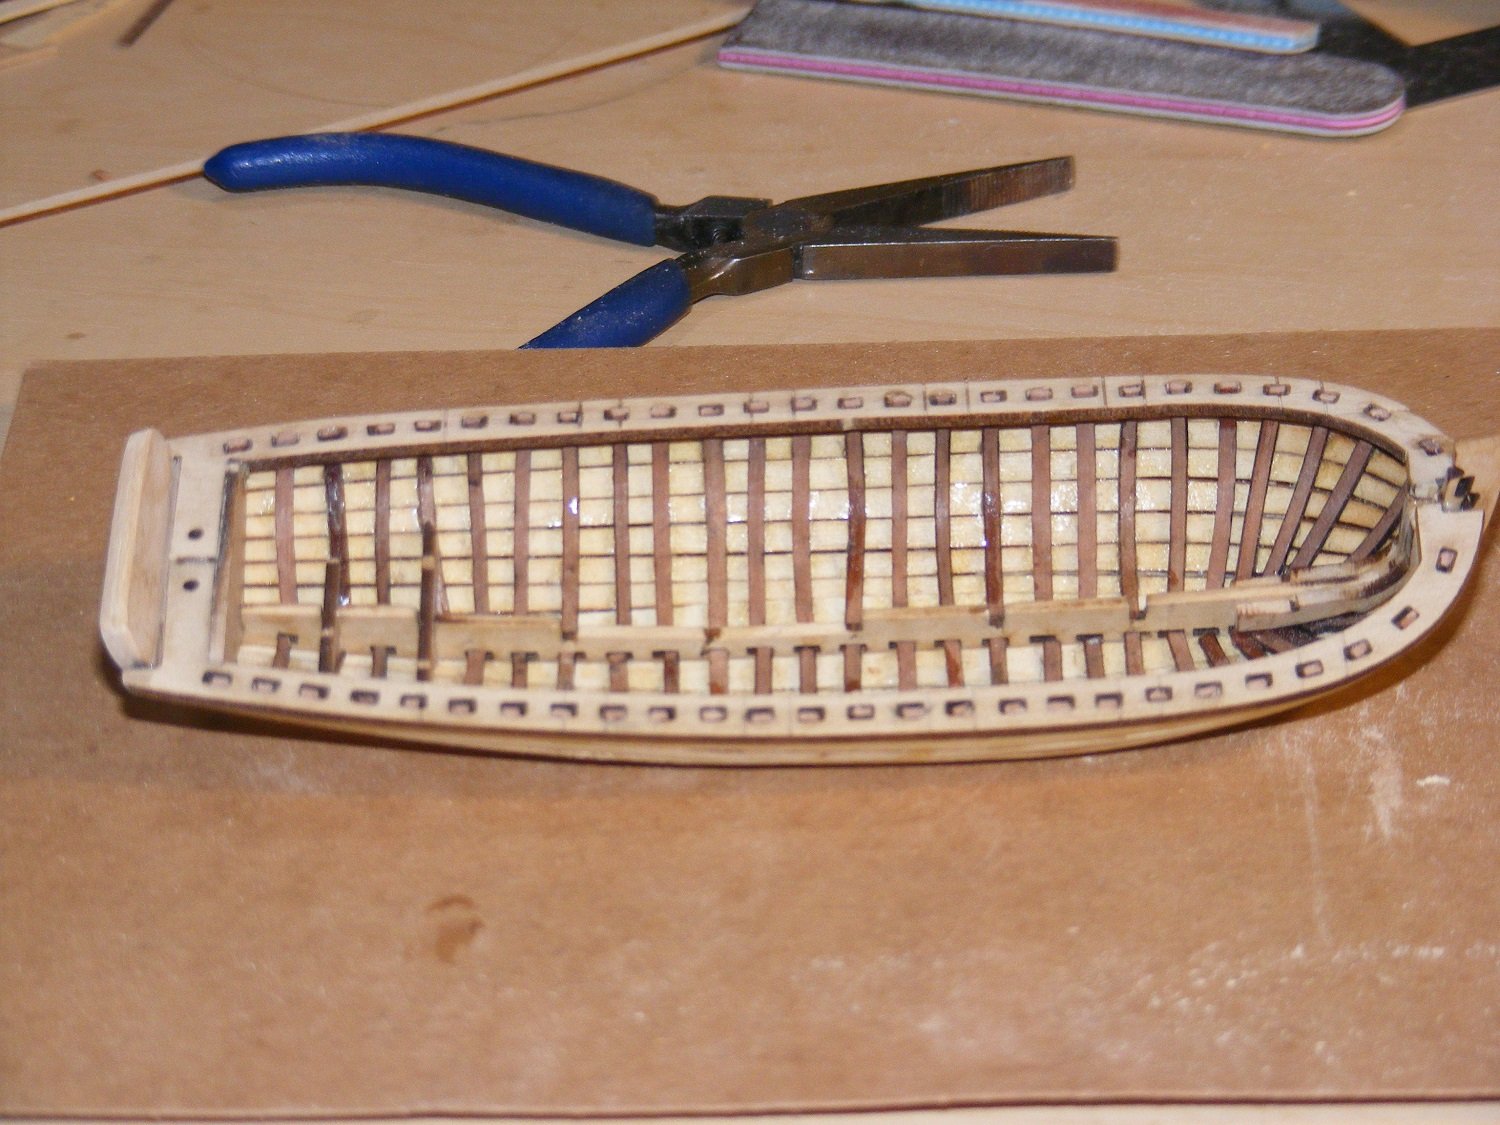
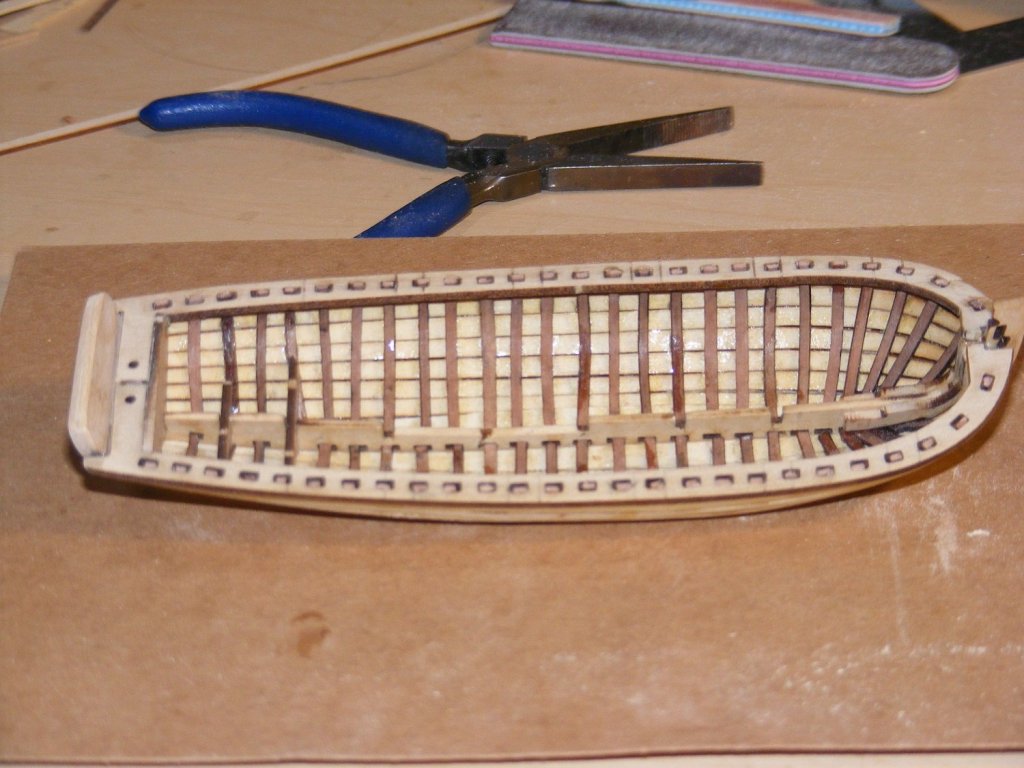
Jo, When you the test using a plank, also check how much of the frame is touching the wood. You may need to do some more beveling especially at the front and aft ends where the planks have some curve to them.
-
Good question. But I don't have an answer for that as it depends on what you want to do. You could fully ring one anchor and maybe have it hanging down ready to drop and the other have it unrigged and secured. Most of what I read says that the anchors weren't rigged if they weren't about to be used. So come up with a short backstory and go with it like: at sea, in port getting ready to drop anchor, or at the dock.
-
On brass it's usually, wash with soap, rinse, pickle, and rinse. And allow to dry completely and then blacken. I'd think pewter would be the same. Wear rubber gloves or use clean tweezers or needle nose pliers. If you pick one up with your bare hands, re-clean it. My soap of choice is Dawn Dish Soap, for pickling I use plain (unflavored) white vinegar. I
-
mhkash, I think the translation to English is a bit off on the guns. Looks like "weight" (lbs or pounds) got translated as inches. From Wikipedia I get this: 2 68 pound muzzleloader guns and 4 24 pound guns.
- 19 replies
-
- 1
-
-
- vapor rimac
- paddlewheel
- (and 1 more)
-
Quite a bit of stuff I've ordered (Not Flea-bay or Amazon) is ground shipped via the post office. Takes about a week or so from the east coast to here on the west. Small parcels do seem to be air shipped and take two to three days. Costs are everything in shipping. Aircraft are faster but there's fuel, airport fees, and a crew. Trucks have fuel, one driver, and some fees like toll roads. Not sure what the cost breakdown is exactly. I think it boils down to weight. Heavy stuff comes by truck, light parcels via air.
-
The French longboats did have a windless on them for the purpose of anchor work. They also had a pulley on the stern for this purpose. But then, that depends on "when" timewise.
-
Cutty Sark by NenadM
mtaylor replied to NenadM's topic in - Build logs for subjects built 1851 - 1900
Congratulations on the tool, Nenad. As the others have said: "I think you will love it".- 4,152 replies
-
- 4
-
-
- cutty sark
- tehnodidakta
- (and 1 more)
-
Steve, I want to "like" the work but not like what's happening with your wife.
- 446 replies
-
- 3
-
-
- zebulon b vance
- deans marine
- (and 3 more)
-
A working rudder. Whom wouldeth thought it be possible? Extra rum rations for thee lad alongeth with --->

- 48 replies
-
- 3
-
-
- queen anne barge
- Syren Ship Model Company
- (and 1 more)
-
Model building is just one form of insanity... but usually won't get you locked away in a rubber room. Which is a good thing.... I hope.
-
I'm saddened to hear about Capt' Buddy, Richard. Losing a great and loyal friend is never an easy thing to get past. My condolences.
-
Send a PM to Bobcat. He's the head guy and frequents MSW.
-
Thanks for the explanation, Dan. As for the ends where the mirrors are, I wish I could reference precisely but generally, they had either canvas covers or on some steel "hatch" that was hinged. I'm assuming they were somewhat "standard" so pic from a cruiser might good. I can see your dilemma with the ventilators. On the plus side, you can never be proven wrong.
- 238 replies
-
- 6
-
-
- leviathan
- troop ship
- (and 2 more)
-
Hmm... a wooden submarine. Interesting. Paint it yellow and sing along.