Beef Wellington
-
Posts
2,249 -
Joined
-
Last visited
Content Type
Profiles
Forums
Gallery
Events
Everything posted by Beef Wellington
-

Cruizer-class Brig-Sloops of the Royal Navy
Beef Wellington replied to molasses's topic in Nautical/Naval History
Charlie - don't think any of these class had anything of note regarding decoration, figureheads were not used for ships of this class at this time period, and there is no need for any gingerbread given the lack of great cabin lights. Just a little molding for the rails...headwork would just be limited to a scroll and not much else. The reason for this class was increased economy and more efficient use of the available seamen. -
Ooh, very interested to follow along on this one...love the Argonaut, spent a little time in her in the 90's. Looks like you've got off to a great start with those frames.
-
Thanks all the for the great info..knowing your options is most of the battle. Chuck - nothing imminent, I need to invest in some software I think first Mark - never heard of Makerspace so that is a great lead, I'll look into it. Daves - I was thinking of the smaller detail stuff, very similar to what Chuck has posted in his new thread on carving, rather than the large scale frames which I could see would require something industrial to do effectively
-
Looking good Stergios, it might be worth considering doing the gammoning soon, it doesn't interfere with any subsequent rigging but you might appreciate having it done before the other rigging makes it more difficult than it needs to be.
- 1,144 replies
-
- 1
-

-
- snake
- caldercraft
- (and 1 more)
-
I seem to remember reading somewhere, can't remember where, that the scuttles near main mast also allowed the pump shafts to be installed/removed. Would welcome confirmation or correction.
-
I really want to be able to learn and leverage this technique to enhance my current kit build, but am not willing at present to invest in the area of $2000 that it seems it takes to buy a quality cutter. Does anyone know if there are there any service providers who will provide use of their laser cutter if provided with appropriate wood and files for custom small, one off orders? I feel this is something more people would do if the bar weren't quite so high from a price standpoint. Many thanks in advance.
-
Sorry for not replying guys, been away - Tom, DFell, Sjors, Lou and Michael, thanks so much for the overly kind words, means a lot coming from this skilled group and makes me blush.... Lou - It is a great model, I think you just need to be prepared for the kit to be a little disappointing in areas. Ray's great log highlights a number of these things as well. Honestly, most of the fun I've had has been just looking at photos of models and figuring out the changes I want to make to the kit. Seeing the results of others it builds into a beautiful ship. Andy - I think I used around 6 sheets for the starboard side, I still have the rudder to do but should have enough left over for that. The sheets contain182 tiles, so 1,092 per side. I'm not sure how Amati sells them, the ones I bought came a little bit mixed up as the packets had been opened and resealed...
-
Joe, that copper looks fantastic, the jig you made is an excellent idea and to use the 'hollow' nail indents makes it look that much better. Really great result and something definitely to try.
- 136 replies
-
- 2
-
-
- caldercraft
- Cruiser
- (and 2 more)
-
Thanks B.E., Mike, Bob, Joe, Pat, Wayne, Jim and the likes for all the support.
-
Wow, a lot to catch up on, love how the head turned out Bob and the colours of the various woods looks stunning. Nice idea on the mortars, they look great the way you are displaying them.
-
Joe, lucky I saw this in your signature or could have sneaked by. Great start, love these ships and think the detailing on the Cruizer is slightly nicer than the Snake kit. Are you going to enlarge the gun ports if you're switching to the carronades? Hard to tell from the photos whether you did that already.
- 136 replies
-
- 3
-
-
- caldercraft
- Cruiser
- (and 2 more)
-
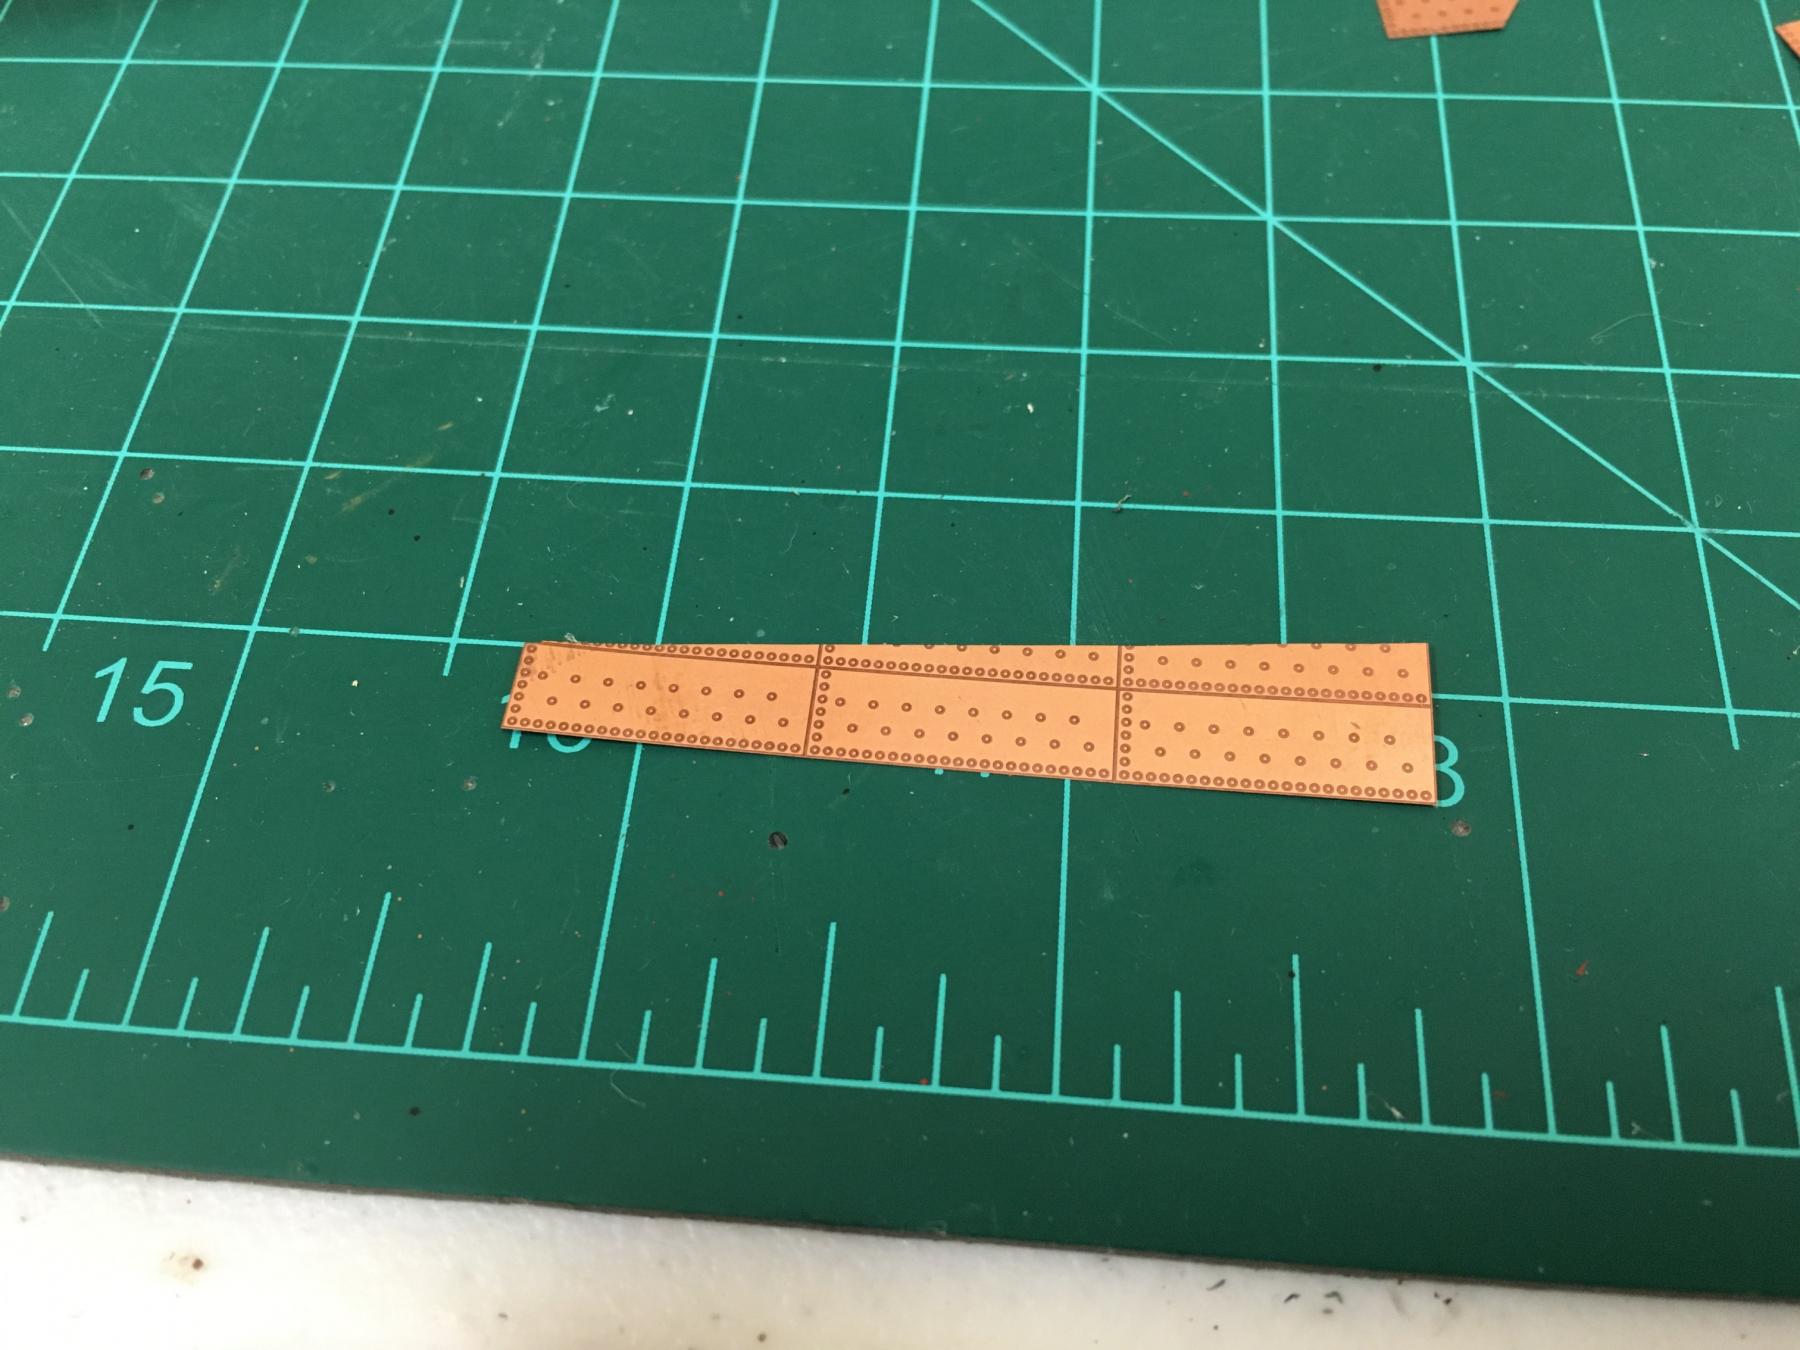
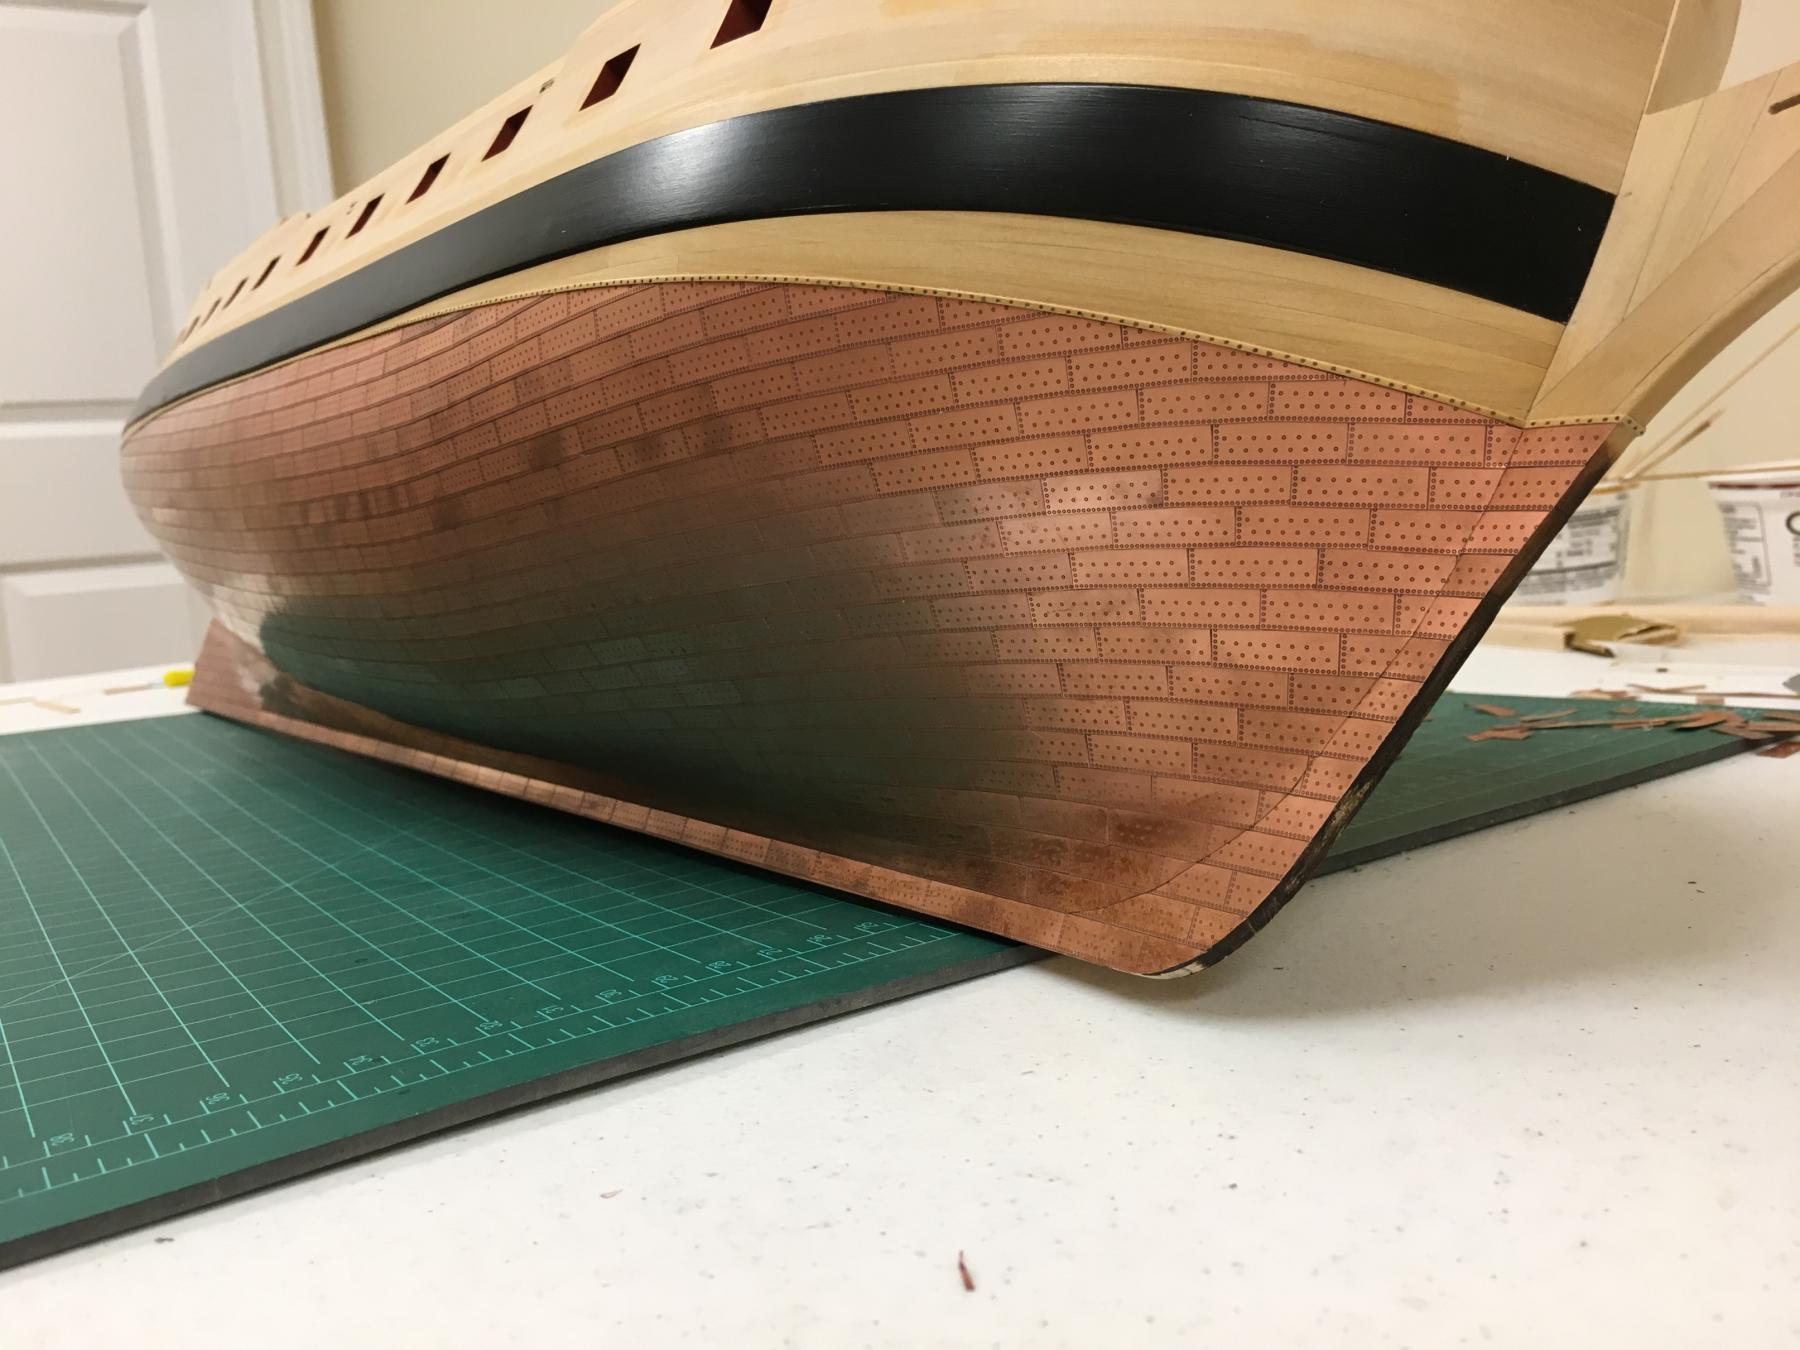
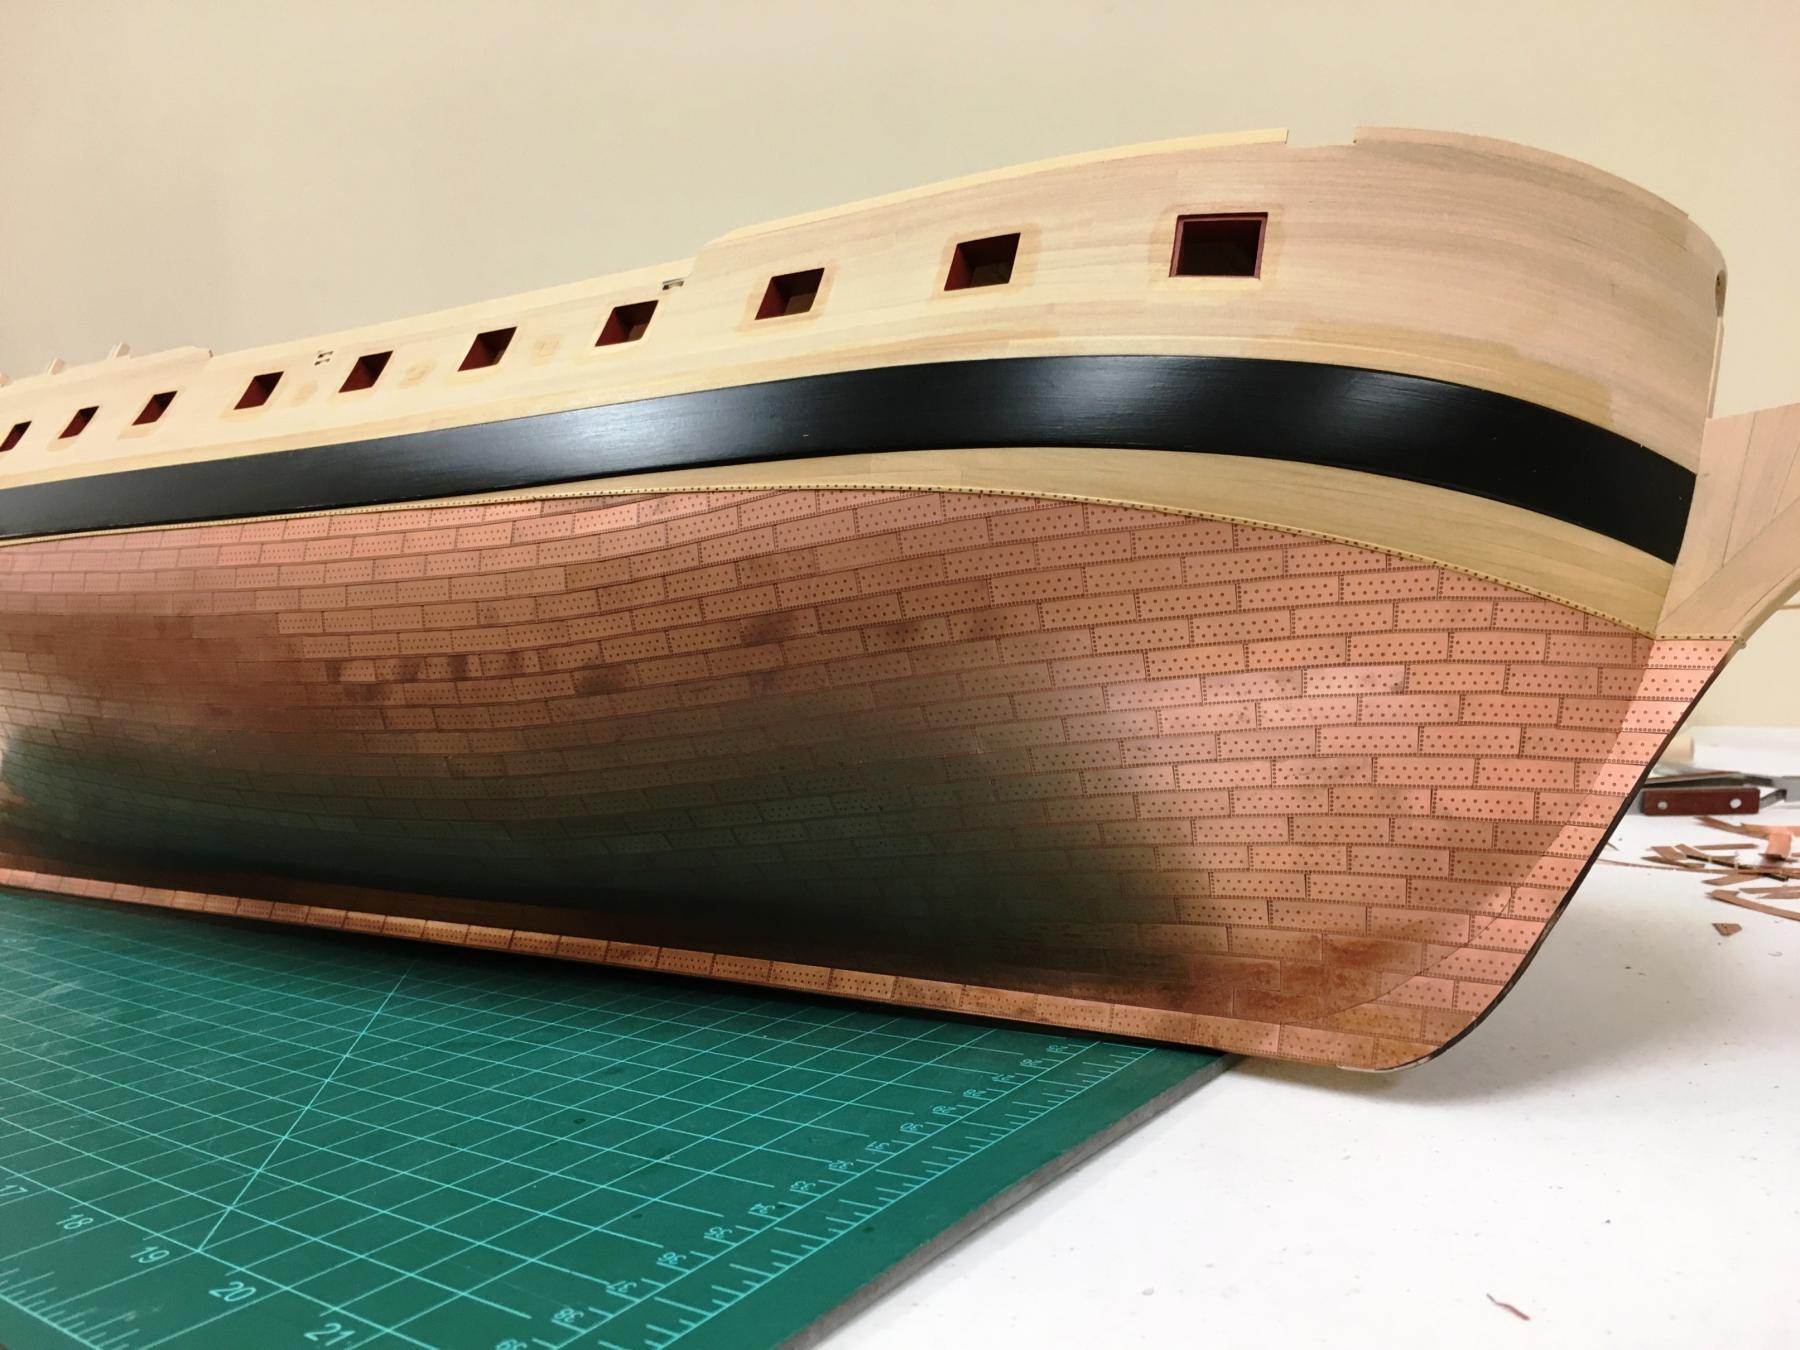
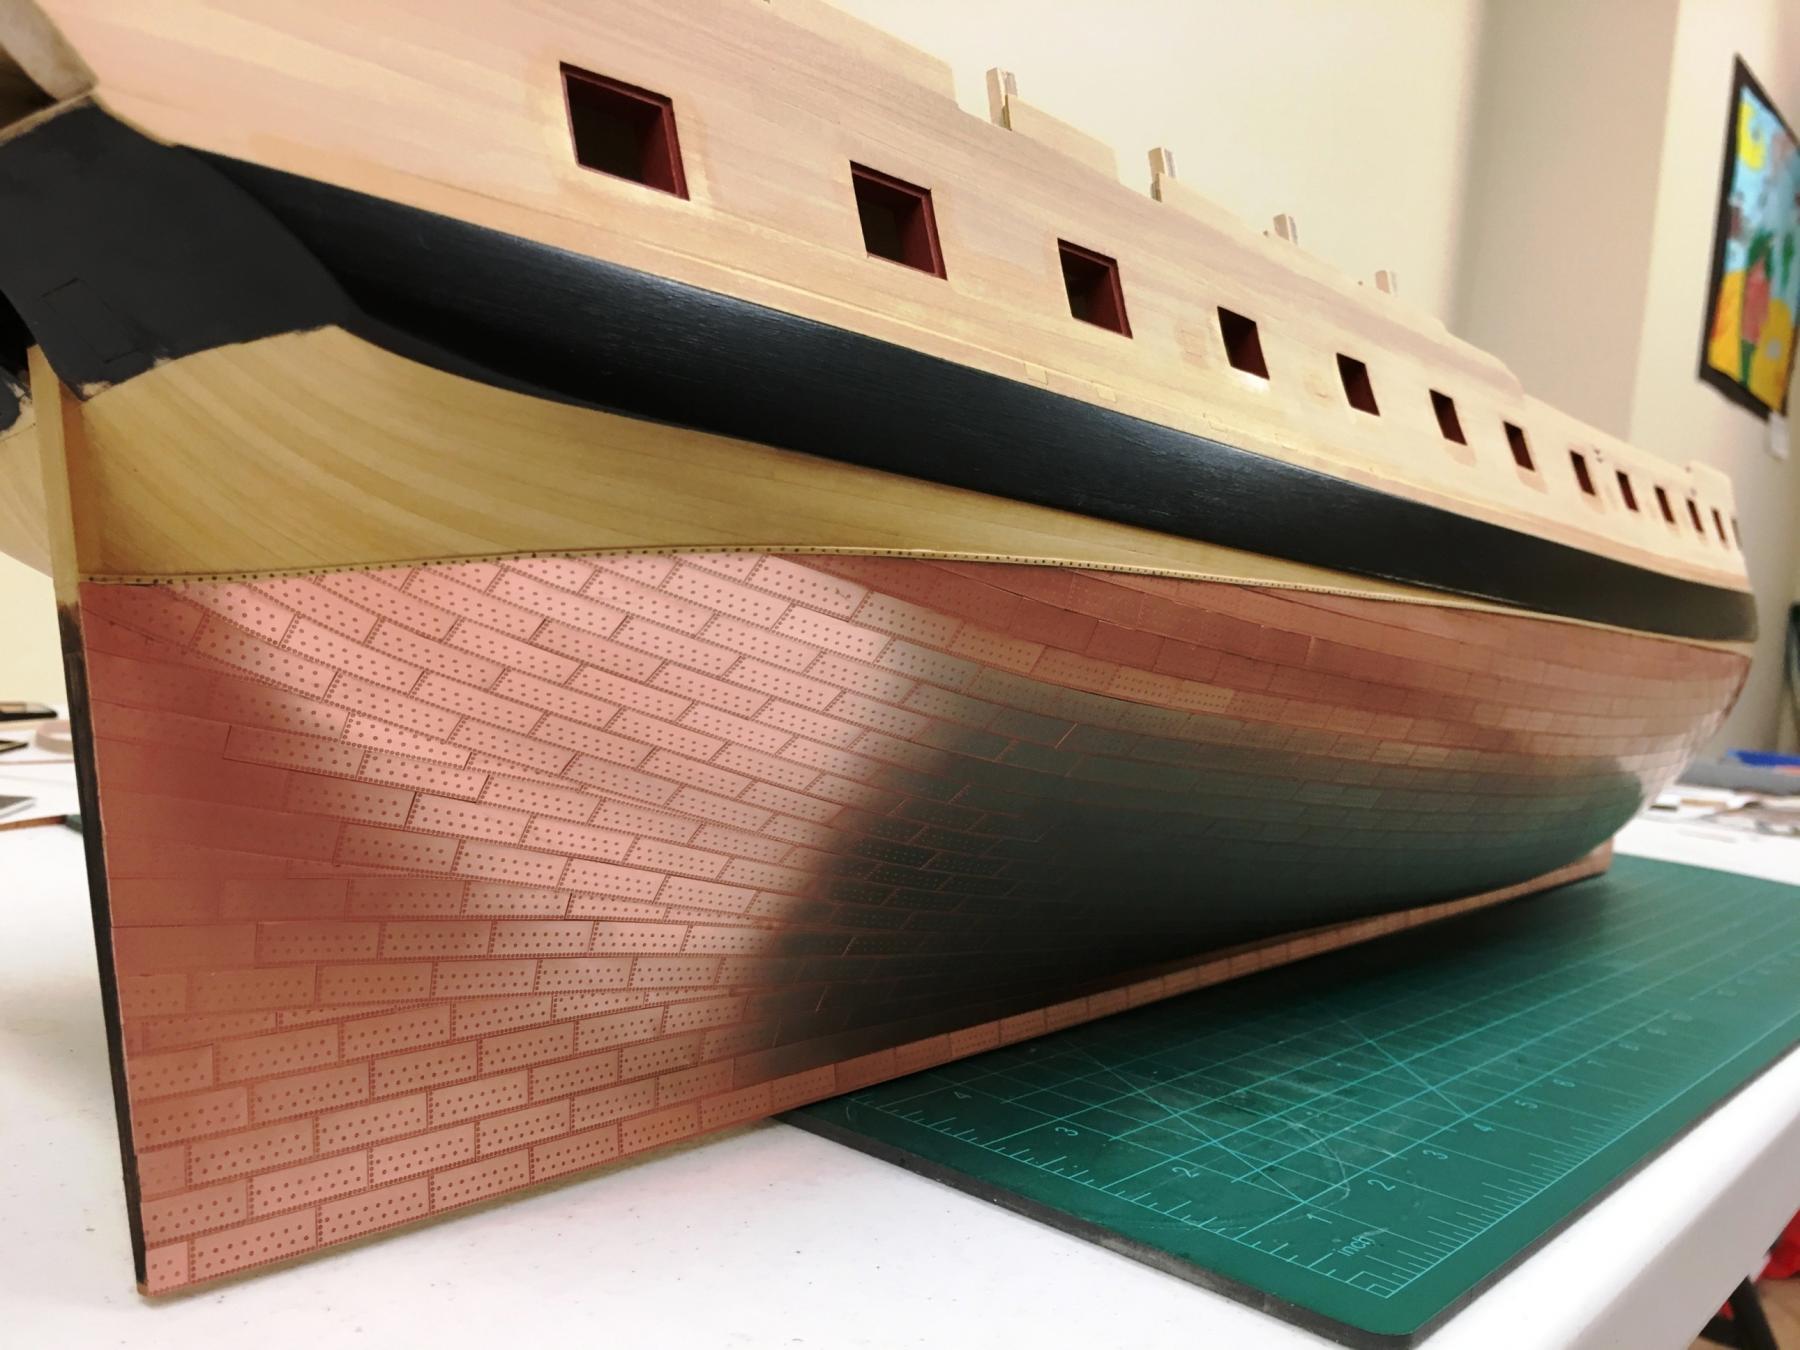
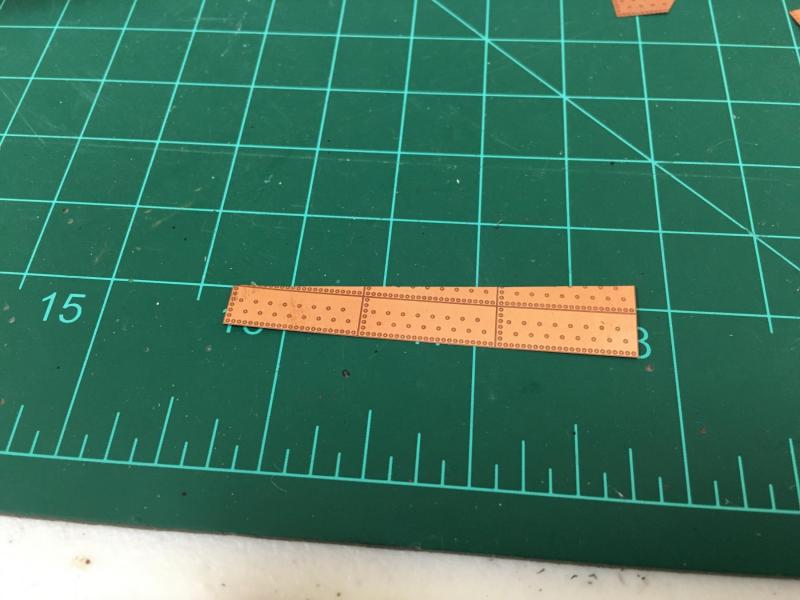
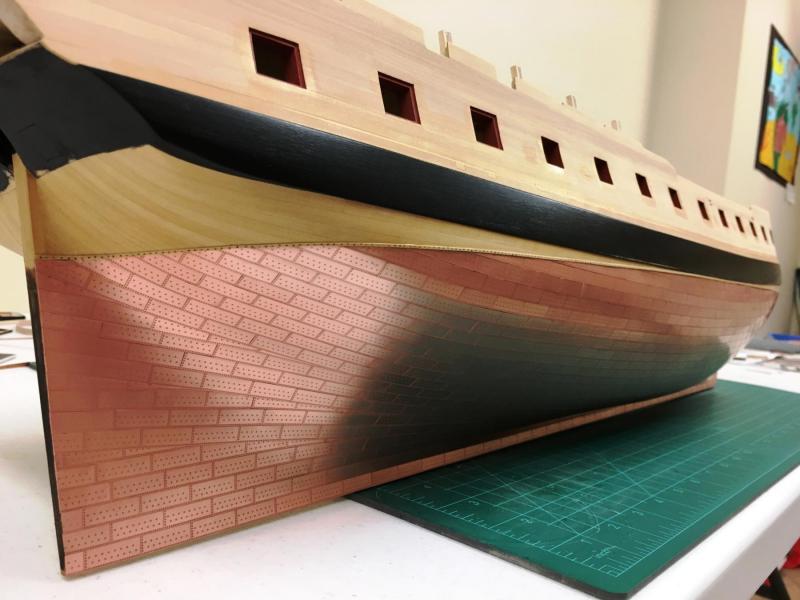
Think I've got a bit of catching up to do. Firstly, heres the Captain Cook Monument in Waimea, no undercooked beef wellington shots in this one . Found the beach he landed at, nothing special but couldn't locate the plaque that allegedly marks the spot according to guide books. I have managed at least an interim milestone, the completion of the starboard copper...this task just goes on and on Couple of items I've found to be helpful: Super Solvent - I've found this product to be highly effective at getting rid of any CA glue residue (at least the Admiralty Pro thick stuff). Wiping over the surface of any potential smearing is usually enough Some plates plates require very acute angles to be cut and when using scissors (which I find by far the easiest), the ends tend to curl and distort horribly. I found that cutting these as part of a larger section this problem is eliminated, although care is needed still to separate them. And the results. Some of the photos are before I cleaned to plates with copper cleaner, which I did to ensure that there was no CA residue anywhere. These will need to be done again once all the plates are on as I can guarantee more finger prints. Managed to do the copper plate pattern at the bow that seems to be prevalent on so many models and AOTS drafts, slight discrepancies in the plates will only become less noticeable as the copper ages and darkens. Overall I'm very happy with the Amati plates, and slight plate misalignments that just seem to be inevitable when using CA glue are tolerable. Not sure I could do it any better if I were to do it again, so I think that's the yardstick to meaure to. At the bow, I plated the cutwater first and tried to shape the plates on the planking to match the required curve. Its far from perfect but will do. I think these areas are inherently limited given the thickness of the plates, I suspect using copper tape would allow a more scale appearance. I drilled some small holes in the waterline batten to simulate nails and highlighted with pencil, these are not to scale but felt it gives it a little bit more functional relevance. Et voila! The pinkish hue of freshly cleaned copper reminded me on the AOTS Diana picture, I was very pleased with the lines that appear once the waterline is apparent. Obviously next step is to continue with the other side....


-
Rigging looks so clean and perfect, definitely aspirational! Seems with rigging that no matter how well thought out the plan of attack is there is guaranteed to be something that turns and bites you. Seriously great work.
-
Hi Mike, I'd really suggest you do a little research before you start I think your approach to build the kit following the plans and your heart is definitely the way to go, people may have opinions but nothing can be proven. Sure this will build up into a beautiful model. Definitely following this one.
-
Pat, that ironwork is excellent, you've moved into the teaching band now, even if the learning never ceases
- 517 replies
-
- 4
-
-
- Endeavour
- Artesania Latina
- (and 1 more)
-
Mike, she really is looking beautiful, well done. The shots in the sun really are spectacular and something to drool over :-)
- 969 replies
-
- 4
-
-
- hahn
- oliver cromwell
- (and 1 more)
-
Looking great Sjors. I'm just wondering if you can squeeze another build in before I finish coppering.
-
Yes Stergios, think it best to leave boomkins and the associated rigging until as late as possible, they are rather delicate.
- 800 replies
-
- 3
-
-
- snake
- caldercraft
- (and 1 more)
-
Glad I found your new builds before you progress too far. Will follow you with interest and admiration.
-
That is some gorgeous coppering Wayne, very nicely done. I think the tape turns out nicer than the kit supplied plates, but your skill has a lot to do with that I'm sure.
-
Very nice work on the carronades Jesse, these things always seem to take way longer than they should :-) Love the detailed close up pics, really nice.
- 1,306 replies
-
- 7
-
-
- syren
- model shipways
- (and 1 more)
-
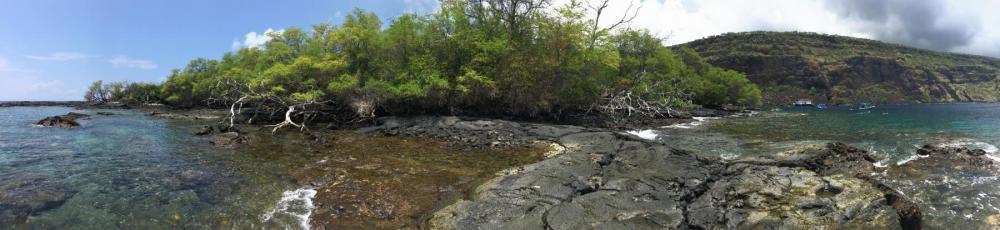
Well, as promised here are the pics from my visit to Kealakekua Bay on Hawai'i Island. Not build-log related but sort of relevant. Top photo is from the beach, interesting comparison to the contemporary print, more overgrown but thats to be expected. The locals try to limit access to beach (its prime snorkelling water) but all that has done has resulted in a tour companies dropping people off by boat, hence the scores of people in the background. Anyway, what has not really changed is the rugged nature of the rock which does come across in the print, even on a calm day it must have been quite challenging to keep boat alongside to pick up the shore party. There are some ruins of Hawai'ian drystone walls amongst the trees which does support the 'village' in the print's background. Bottom pic is me looking as happy as I could at the Cook monument, I took the 8 mile walk down which is only way to access by land on a brutal path of volcanic rock path in sweltering heat. Monument is officially British soil, and is close to where he died. There is another plaque (which I couldn't find) that also marks the spot which also states that 'nearby' Cook was killed. Trip has moved on, I'm now on the Island of Kaui, which interestingly was the place where Cook first stepped ashore in the Sandwich/Hawai'ian Islands. So will need to bookend this trip with a visit to that spot as well....

-
Hi Peteri, I would agree with Paul on the Lenarth Pederson book. Just have the confidence to know that whatever approach you take it is unlikely to be disastrous, but will prove to be fiddly and awkward . Seriously, the reason I followed the Peterson book so much, as well as Lever (Young sea officers sheet anchor) was because the Snake plans are not that great. I'm glad I took the approach that I did, it worked for me, to build up the masts and standing rigging as you go before moving to the yards, but I'm sure there is no right answer. Would suggest doing the ratlines and futtock shrouds before putting any yards on. Your Snake is really coming together now, looking great.