Beef Wellington
-
Posts
2,249 -
Joined
-
Last visited
Content Type
Profiles
Forums
Gallery
Events
Everything posted by Beef Wellington
-
 Correct Jim, Kealakekua Bay on the big island of Hawaii. I'm always a sucker for historical sights and locations.
-
Cheers Christian, Scott, Jim and the likes.. Carl - you've hit on the conundrum that I posed back in post #264 :-) To represent the plates being applied from the stern and bottom up, its necessary to have the nail lines on the bottom and aft side to simulate the overlap. Once that's done, the die is cast as it means that there will not be nailing on the upper edge next to the waterline (only potentially an issue on the topmost plates). However, all is not lost because the waterline batten was in practice applied/nailed over the copper plates so its not necessary to have the nails showing on the uppermost edge. That's my justification anyhow, and I still need to simulate the nails on this batten... Likely not much progress for a while as I'm off on holiday/vaction. Location to be disclosed if I can, as I plan to visit the site of a rather famous naval death back in 1779. If you would care to offer a guess, then please submit your answer on the back of some Amati 1:64 copper plates...
-
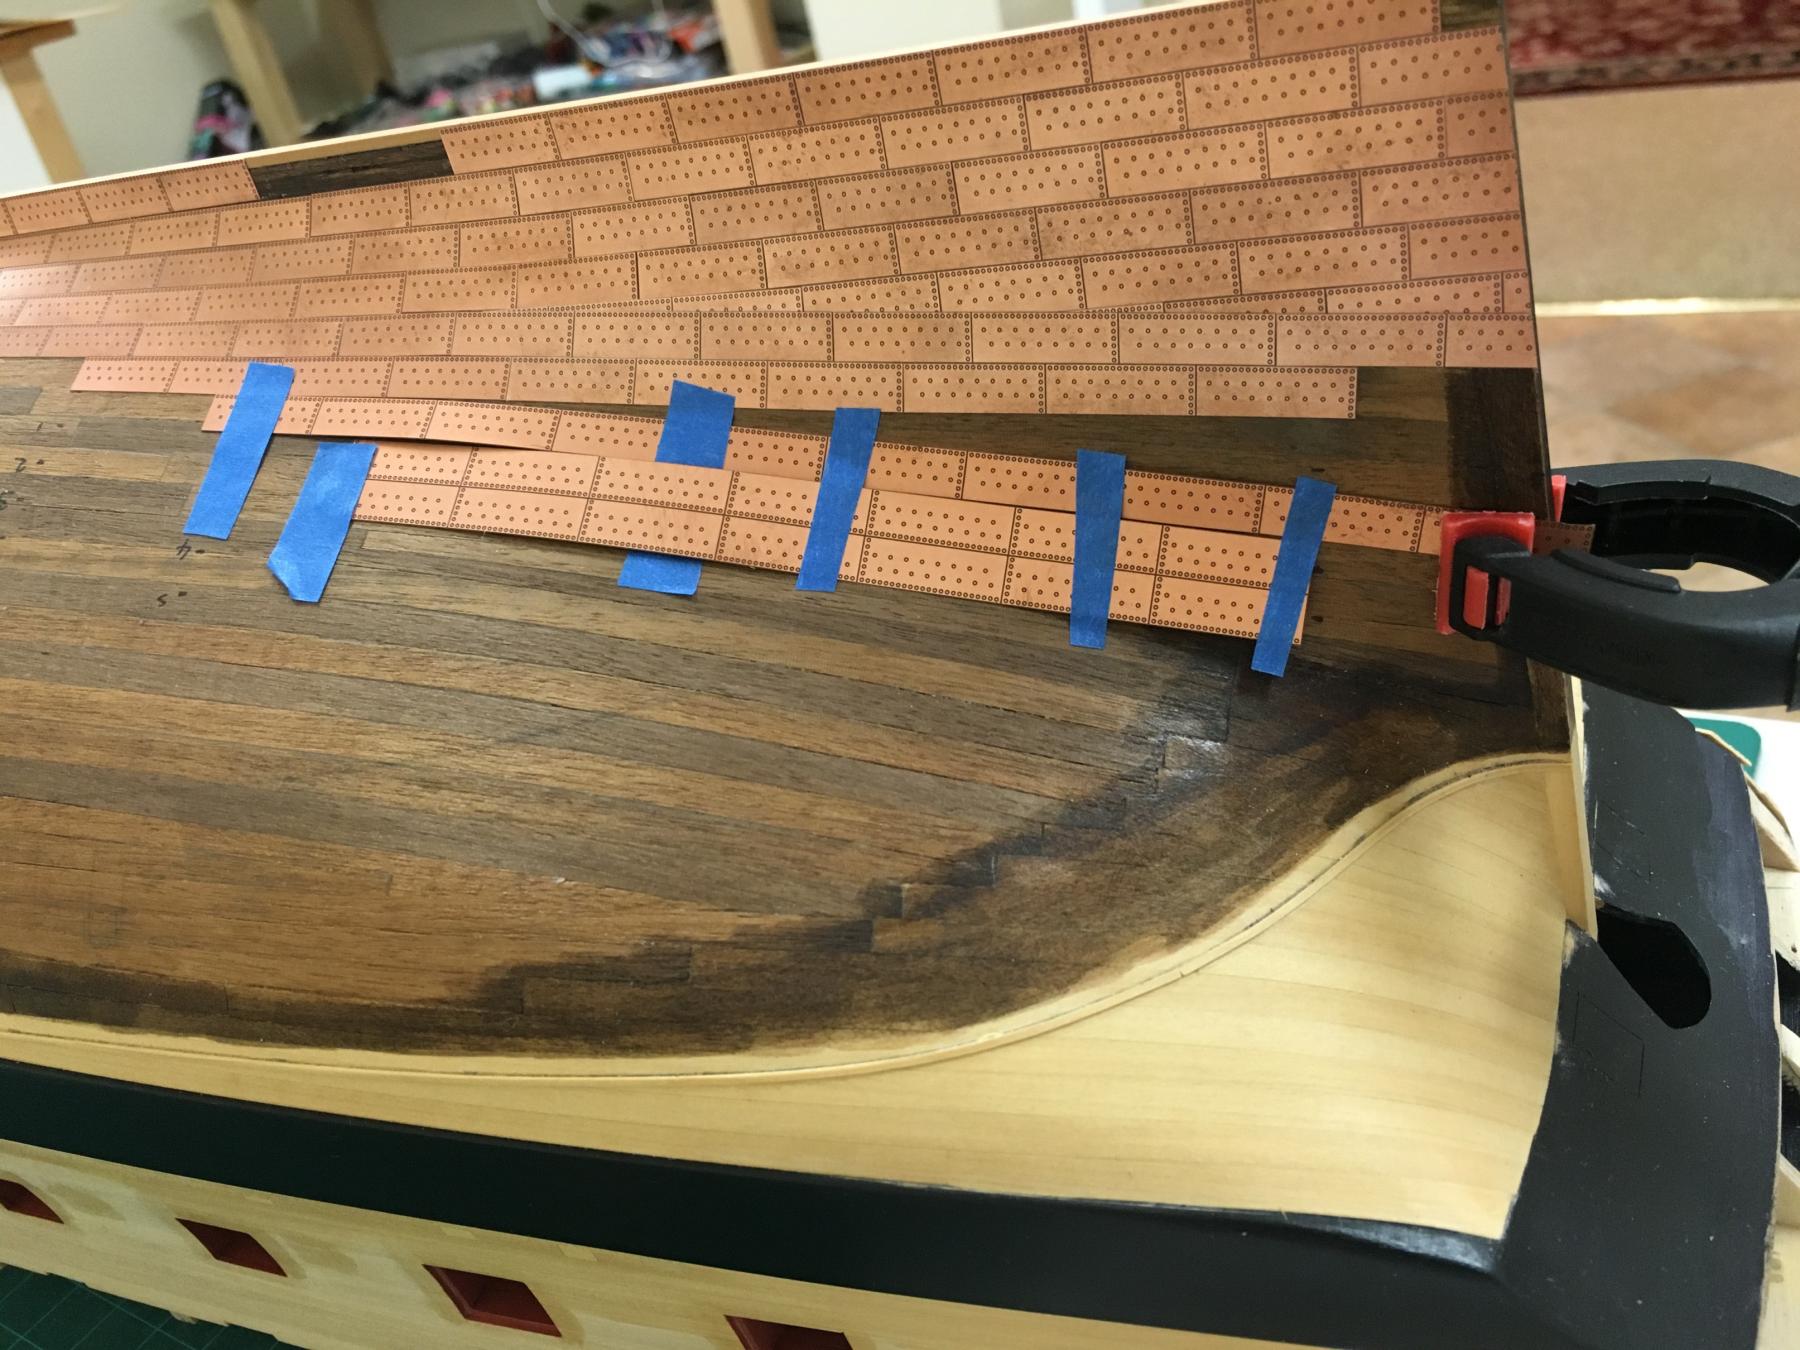
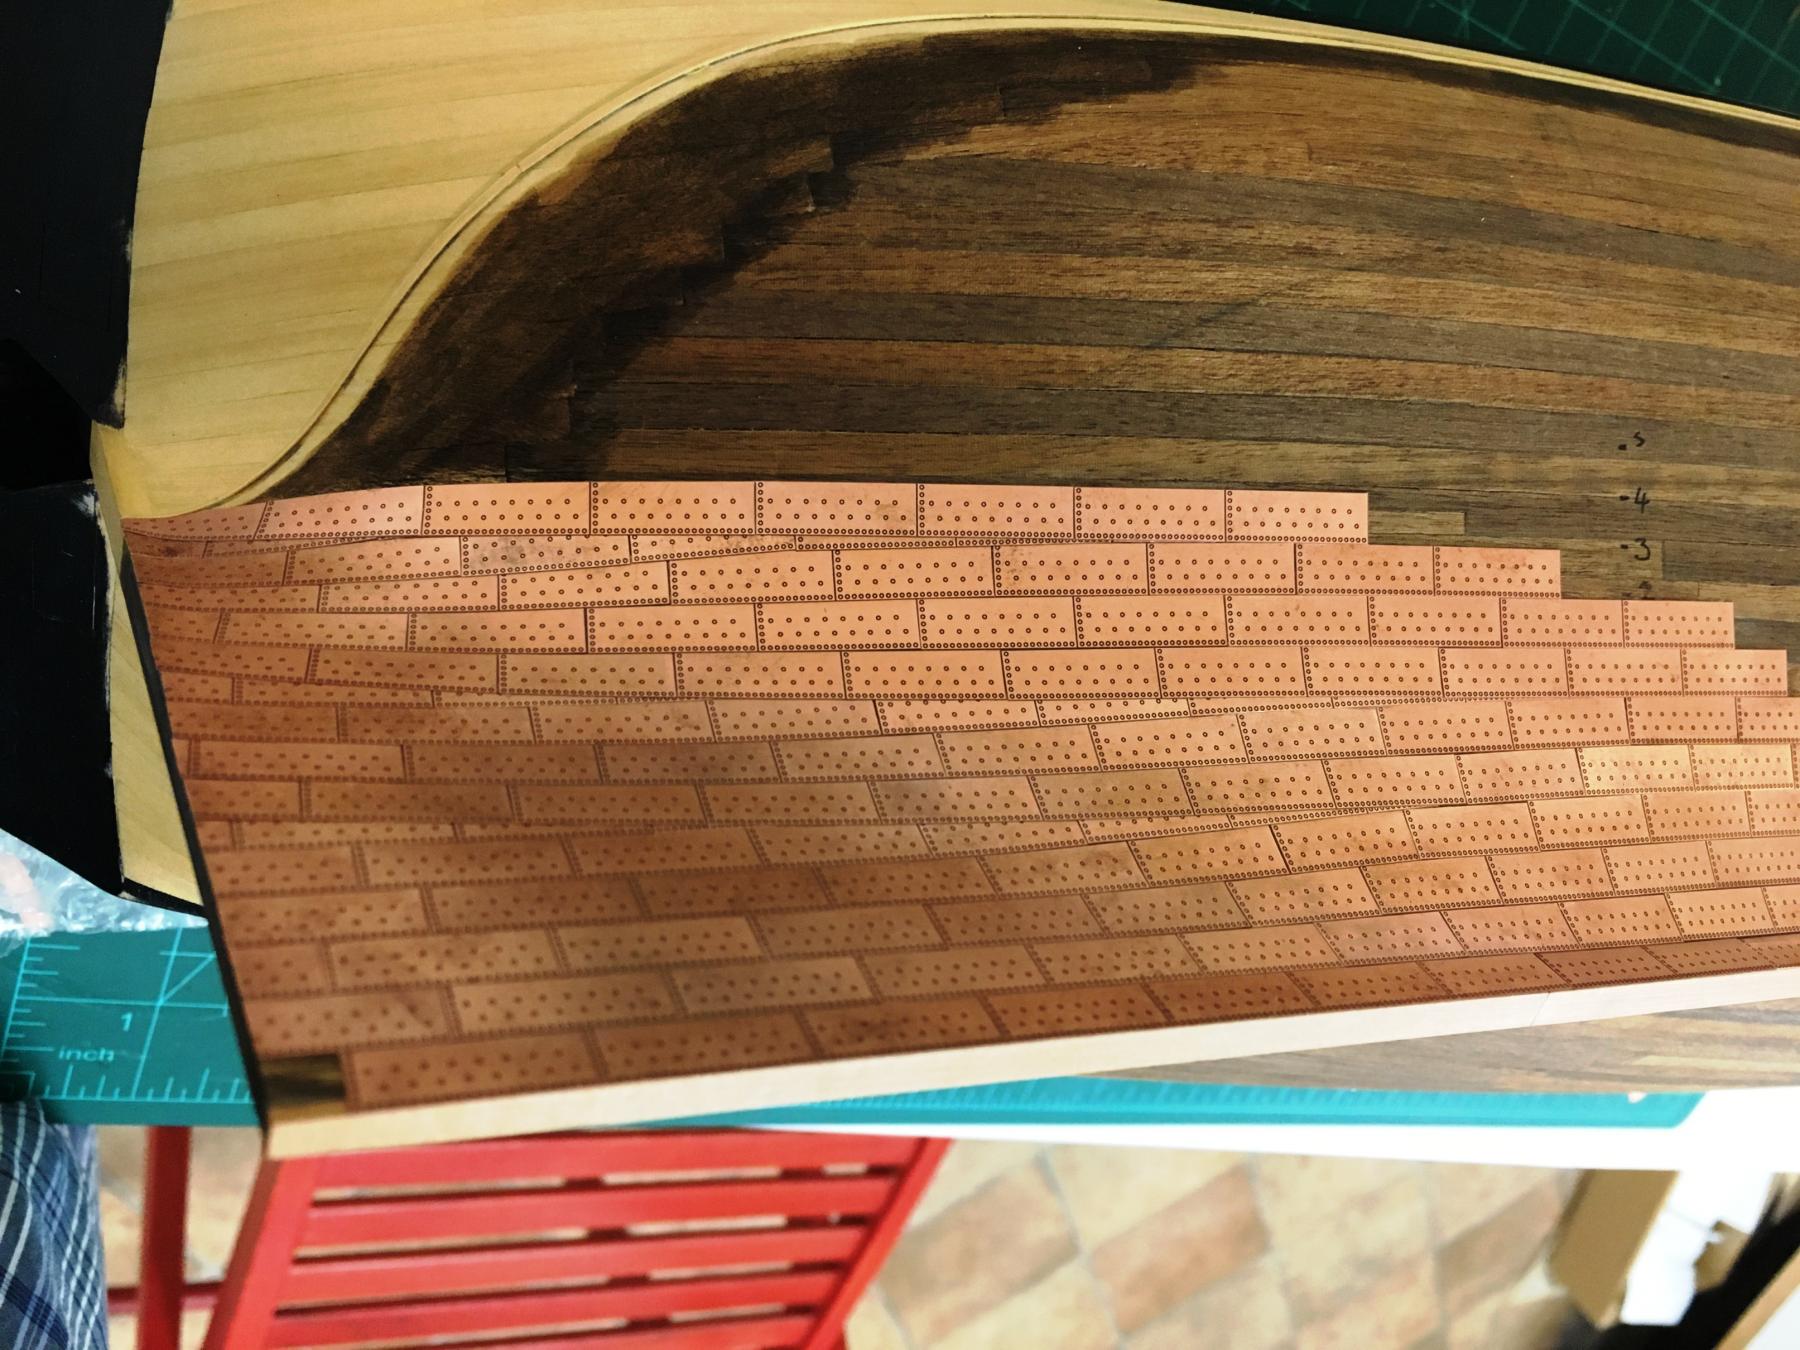
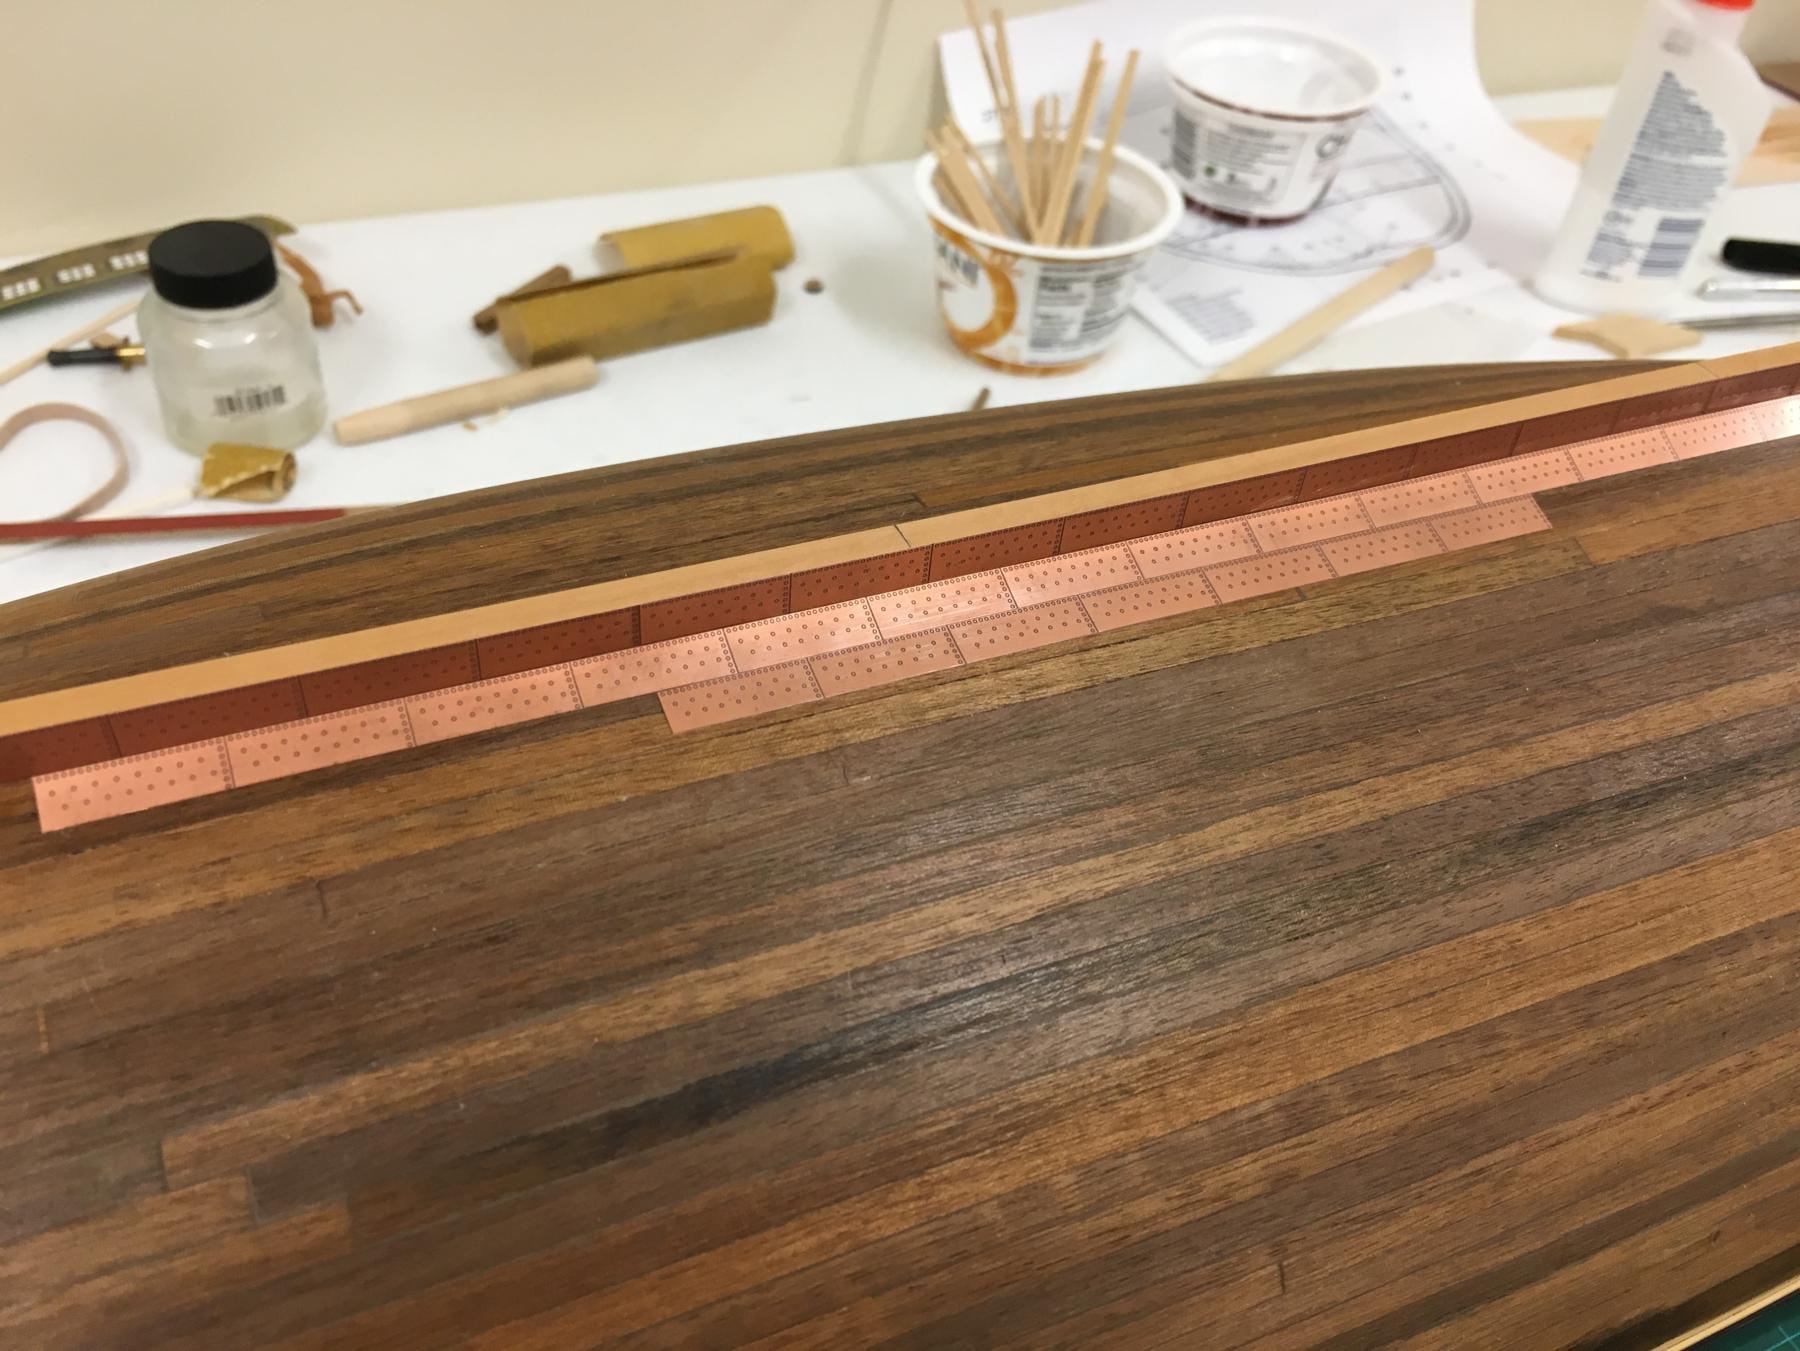
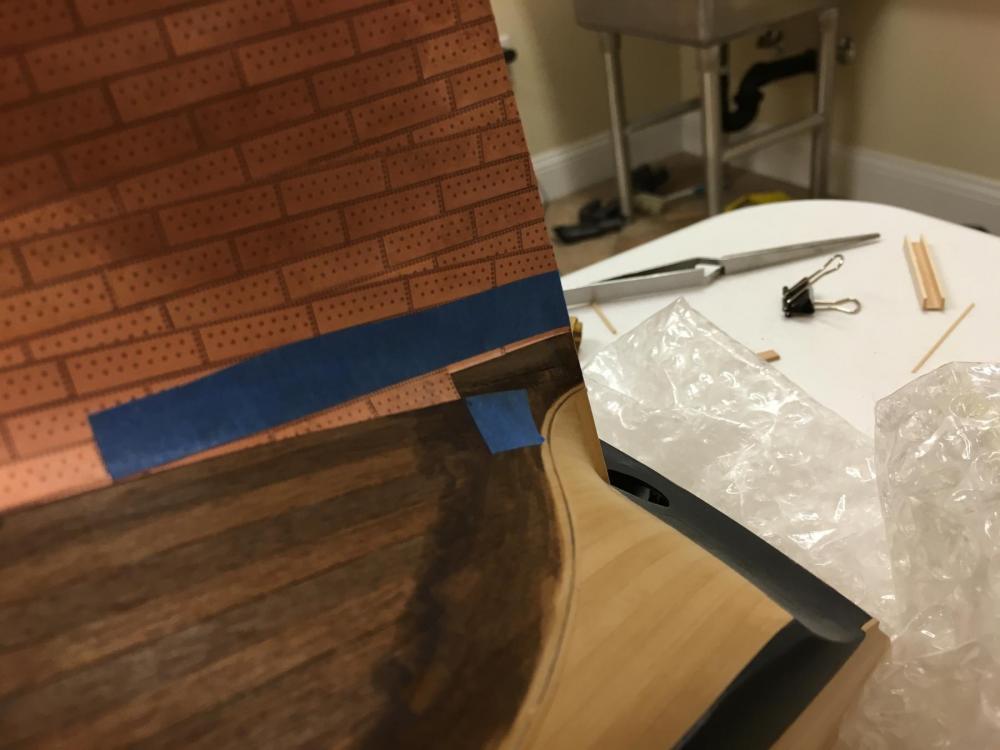
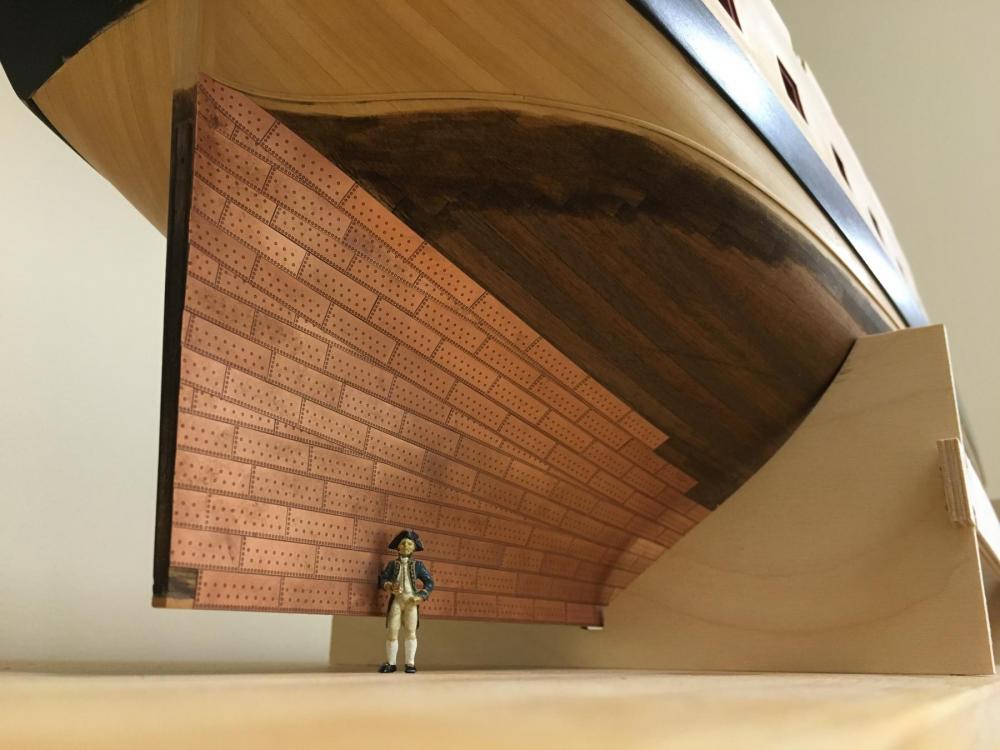
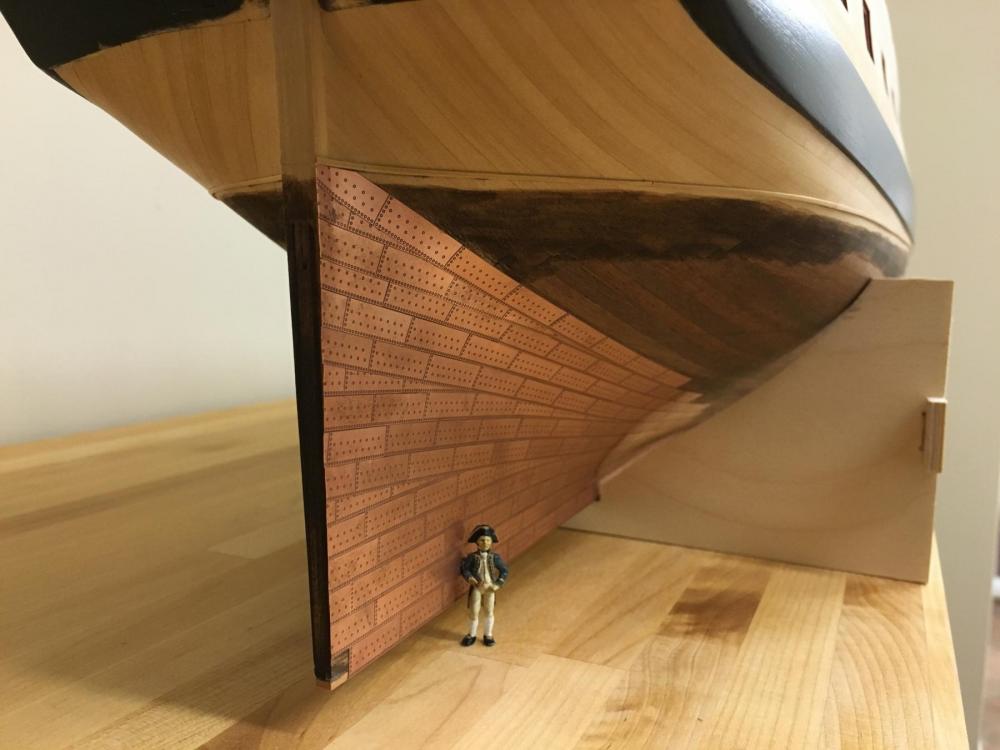
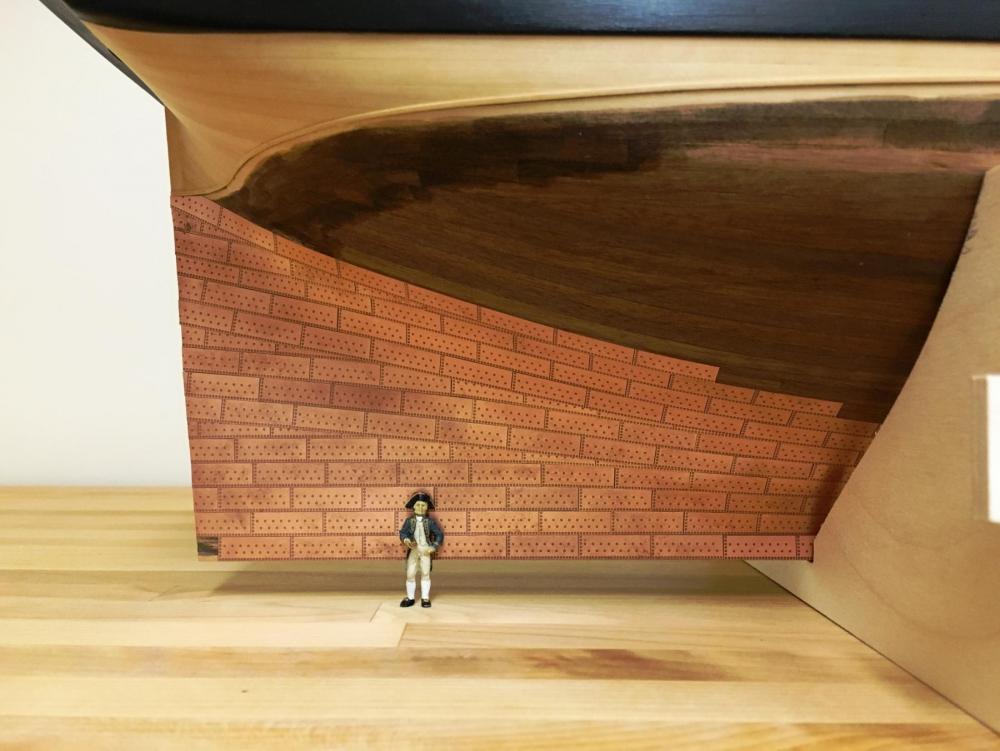
Sjors - maybe these photos will help you make up your mind The planking is not as beautiful as I think you think because of the different woods used, copper was always the plan. Believe I reached a point to deliver a verdict on the Amati plates and share some progress now that copper has met boxwood. I know that there seem to be many diverse opinions on coppering, and it does present its own uniquw challenges. Its also amazing how many varied diagrams there are of copper plate layouts. In the end, I probably ended up somewhere between what is shown in the AOTS Pandora book and TFFM book 2. So, some thoughts on the Caldercraft:Amati copper plate matchup. First off, I cannot believe how much more fun it is to work with the Amati plates vs my experience with the Caldercraft plates (which do still give a nice result). Because the plates come in sheets, its possible to apply in some cases in multiple plates at a time. This is a real bonus when its necessary to shape some which otherwise would leave a tiny sliver to be attached. This results in less wastage..at least so far. The thin profile of the PE plated I think attaches much more easily (in my experience) using the Admiralty Pro thick CA glue. This also allows any needed overlaps to be achieved easily without having to hammer out the distinct nail head profiles on the CC plates On to the photos and little bit of the method I've found works well for me. I started working on the stern as this will likely be the most challenging due to the hull shape. I'm not sure what these are called, but determining the flow of the plates where they need to fan out is the first challenge. Because the plates don't bend and can't be spiled, the problem is a little more intractable. I found that by using a small sheet 2 tiles wide to find the natural lines of how the plates lie well on the hull was the simplest method, it just takes time and fiddling.... Once the lined had been figured out, household painters tape helped me keep the lines straight at these transition points (I go through a lot of tape) From above (the view as I work), the lines of the plates does appear a little erratic... ...however, the appearance from normal angles is much more acceptable


-
Beautiful Wayne, I love the detail work and paint lines on the head work, really very very nice.
-
Hi Chuck, on a separate subject. Have you ever considered offering a stove kit? The mass produced items provided in kits are really not great at all, and think it would be possible to develop a 'kit' from laser cut items. Would have thought this could also be easily scaled between 1:64 and 1:48 and have quite a market as well. Just a thought...hoping the answer is yes
- 269 replies
-
- 3
-

-
- Queen Anne Barge
- Syren Ship Model Company
- (and 1 more)
-
Pat, you're really doing her proud, keep it up. Not too far away now!
- 517 replies
-
- 2
-
-
- Endeavour
- Artesania Latina
- (and 1 more)
-
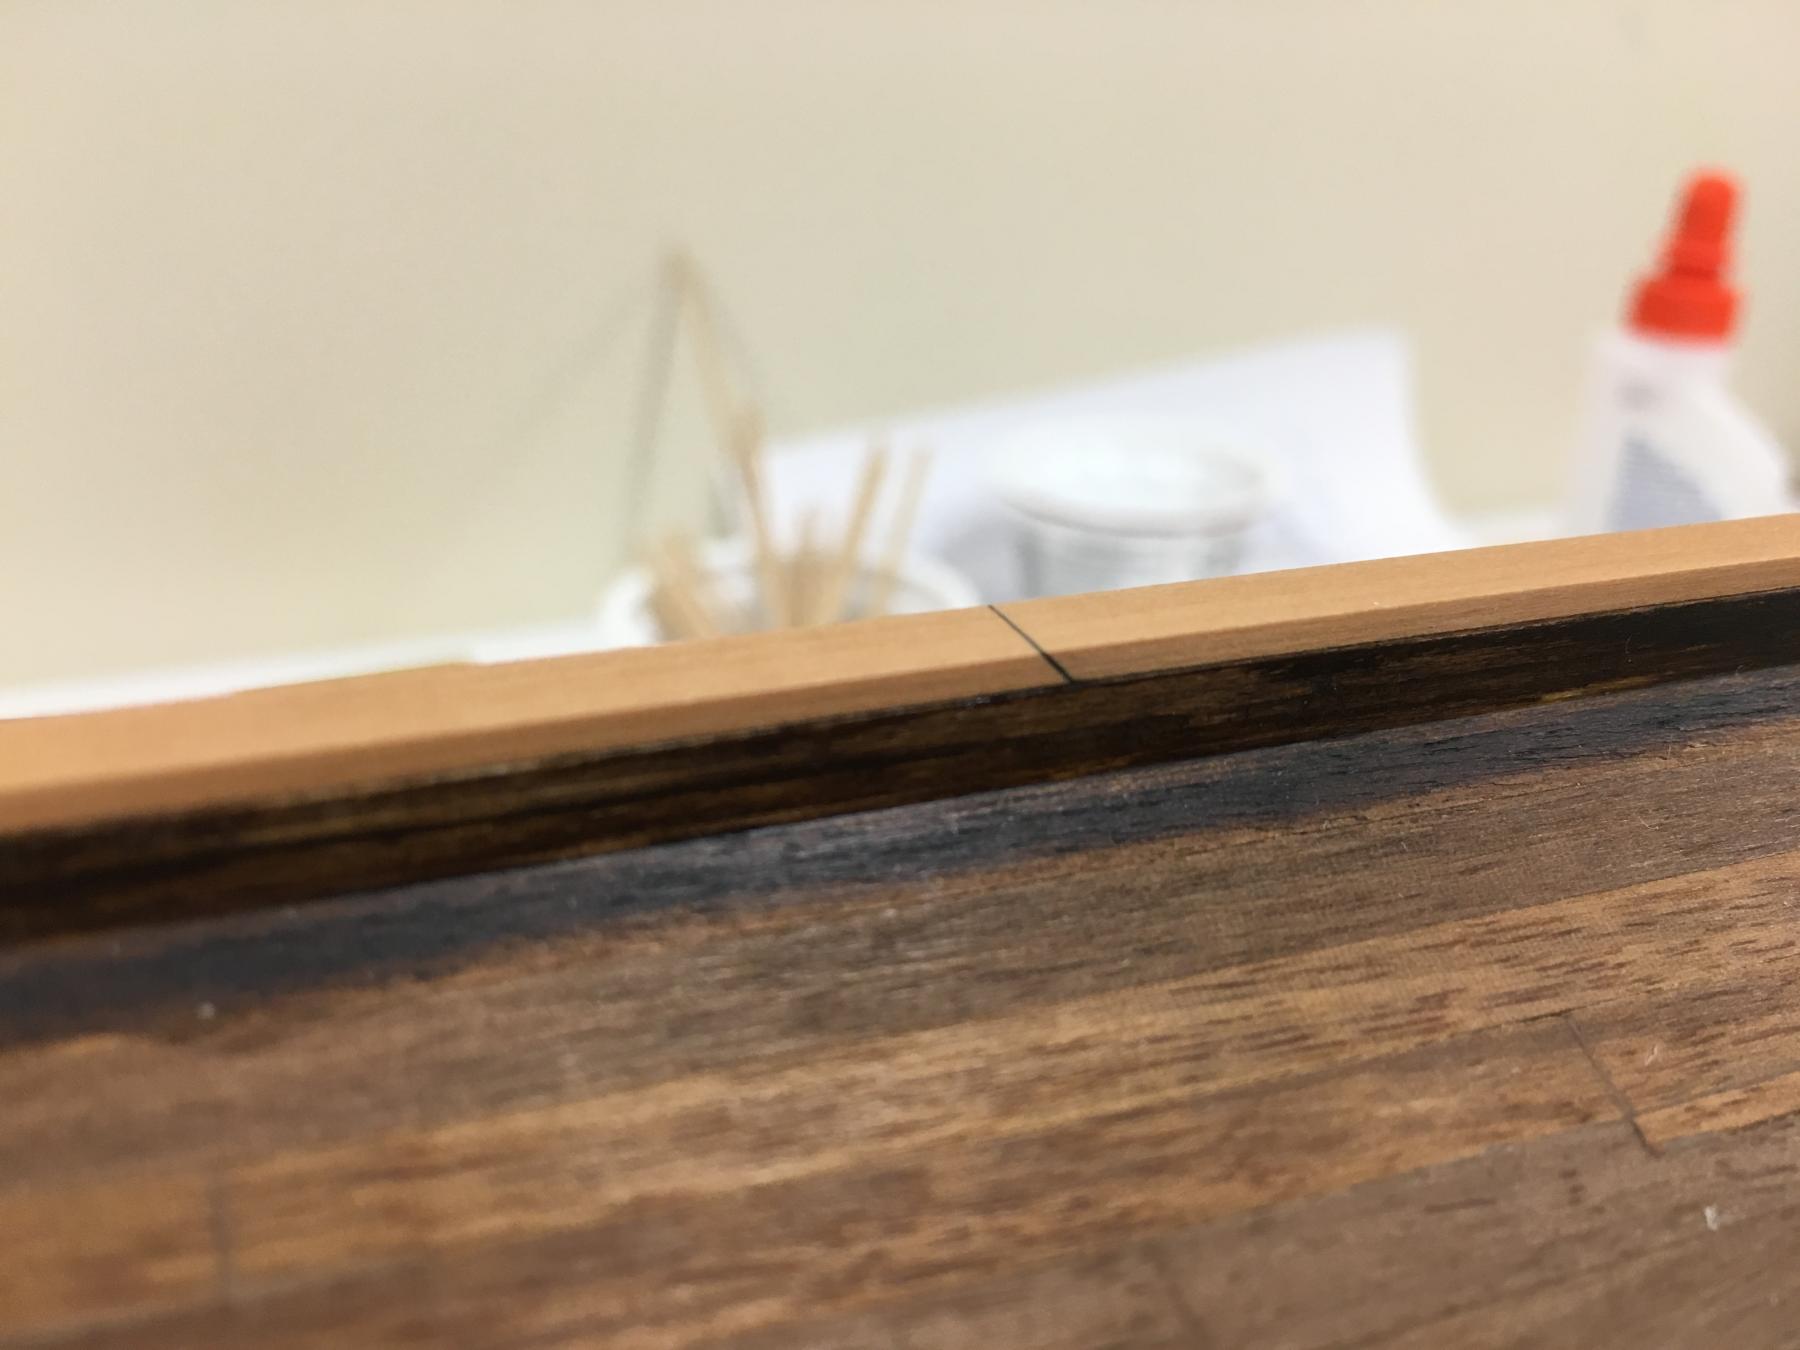
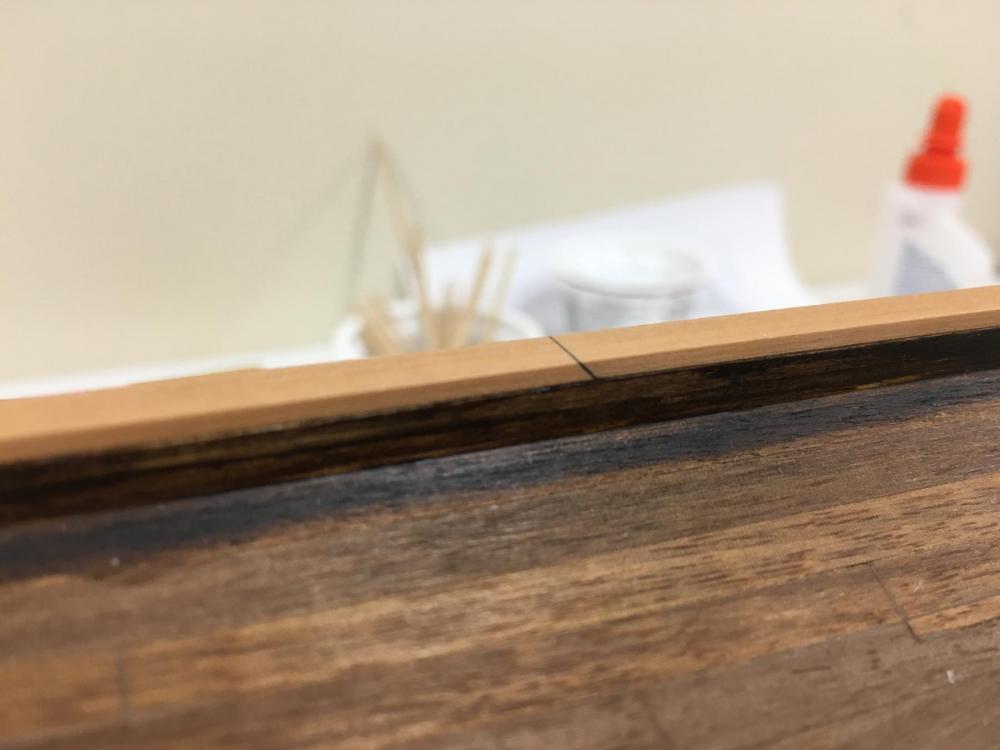
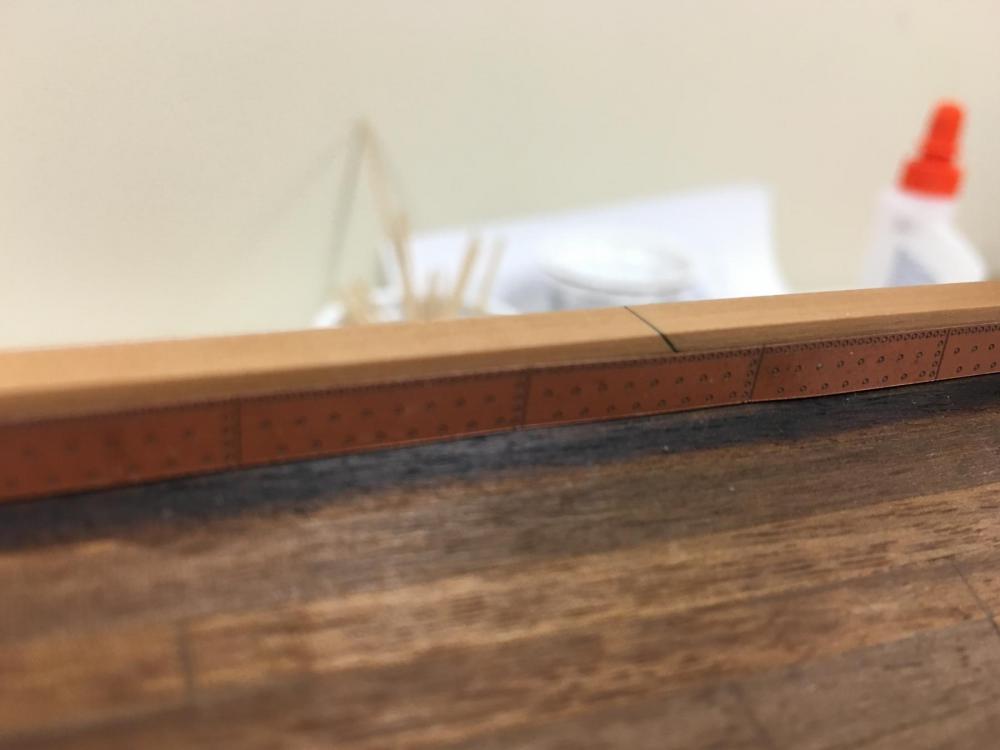
Thanks everyone for continued interest and support... "It" has started. I've been proceeding all along assuming that I would install a false keel visible beneath the copper plates as wonderfully shown on the Minerva model in the Annapolis museum. I installed the various false keel planks using swiss pear as I felt the more orange hue would blend better with the copper plates. I had intended to then copper to this false keel as per pictures below, which required the copper plates to be trimmed which I did with an exacto blade. But this would have resulted in a rather odd plate layout at the bow using the supplied plates which I didn't like. In the end, I decided to copper to the bottom of the false keel which was rather luckily pretty much exactly the width of a copper plate. This is how David Anscherl describes it in the FFM series so its good enough for me to justify this approach! Definitely still trying to get into a groove with attaching these with thick CA glue but pretty sure it will get easier...

-
I like that jig Mark. One question that come to mind that I've been trying to think through. I would assume that the corner angles on the beams are not 90deg as the frames are effectively vertical but the deck has a curve. Are you shaping that on the jig or are you planning to introduce the right line once installed so the deck runs smoothly?
-
What a fascinating project Chuck, you also seem to be cruising through this. Its amazing what can be accomplished with a laser cutter and some lateral thinking. Any estimates on a potential release date?
- 269 replies
-
- 3
-
-
- Queen Anne Barge
- Syren Ship Model Company
- (and 1 more)
-
You don't think the green wood plates would have looked better?? Seriously, those homemade plates look fantastic.
-
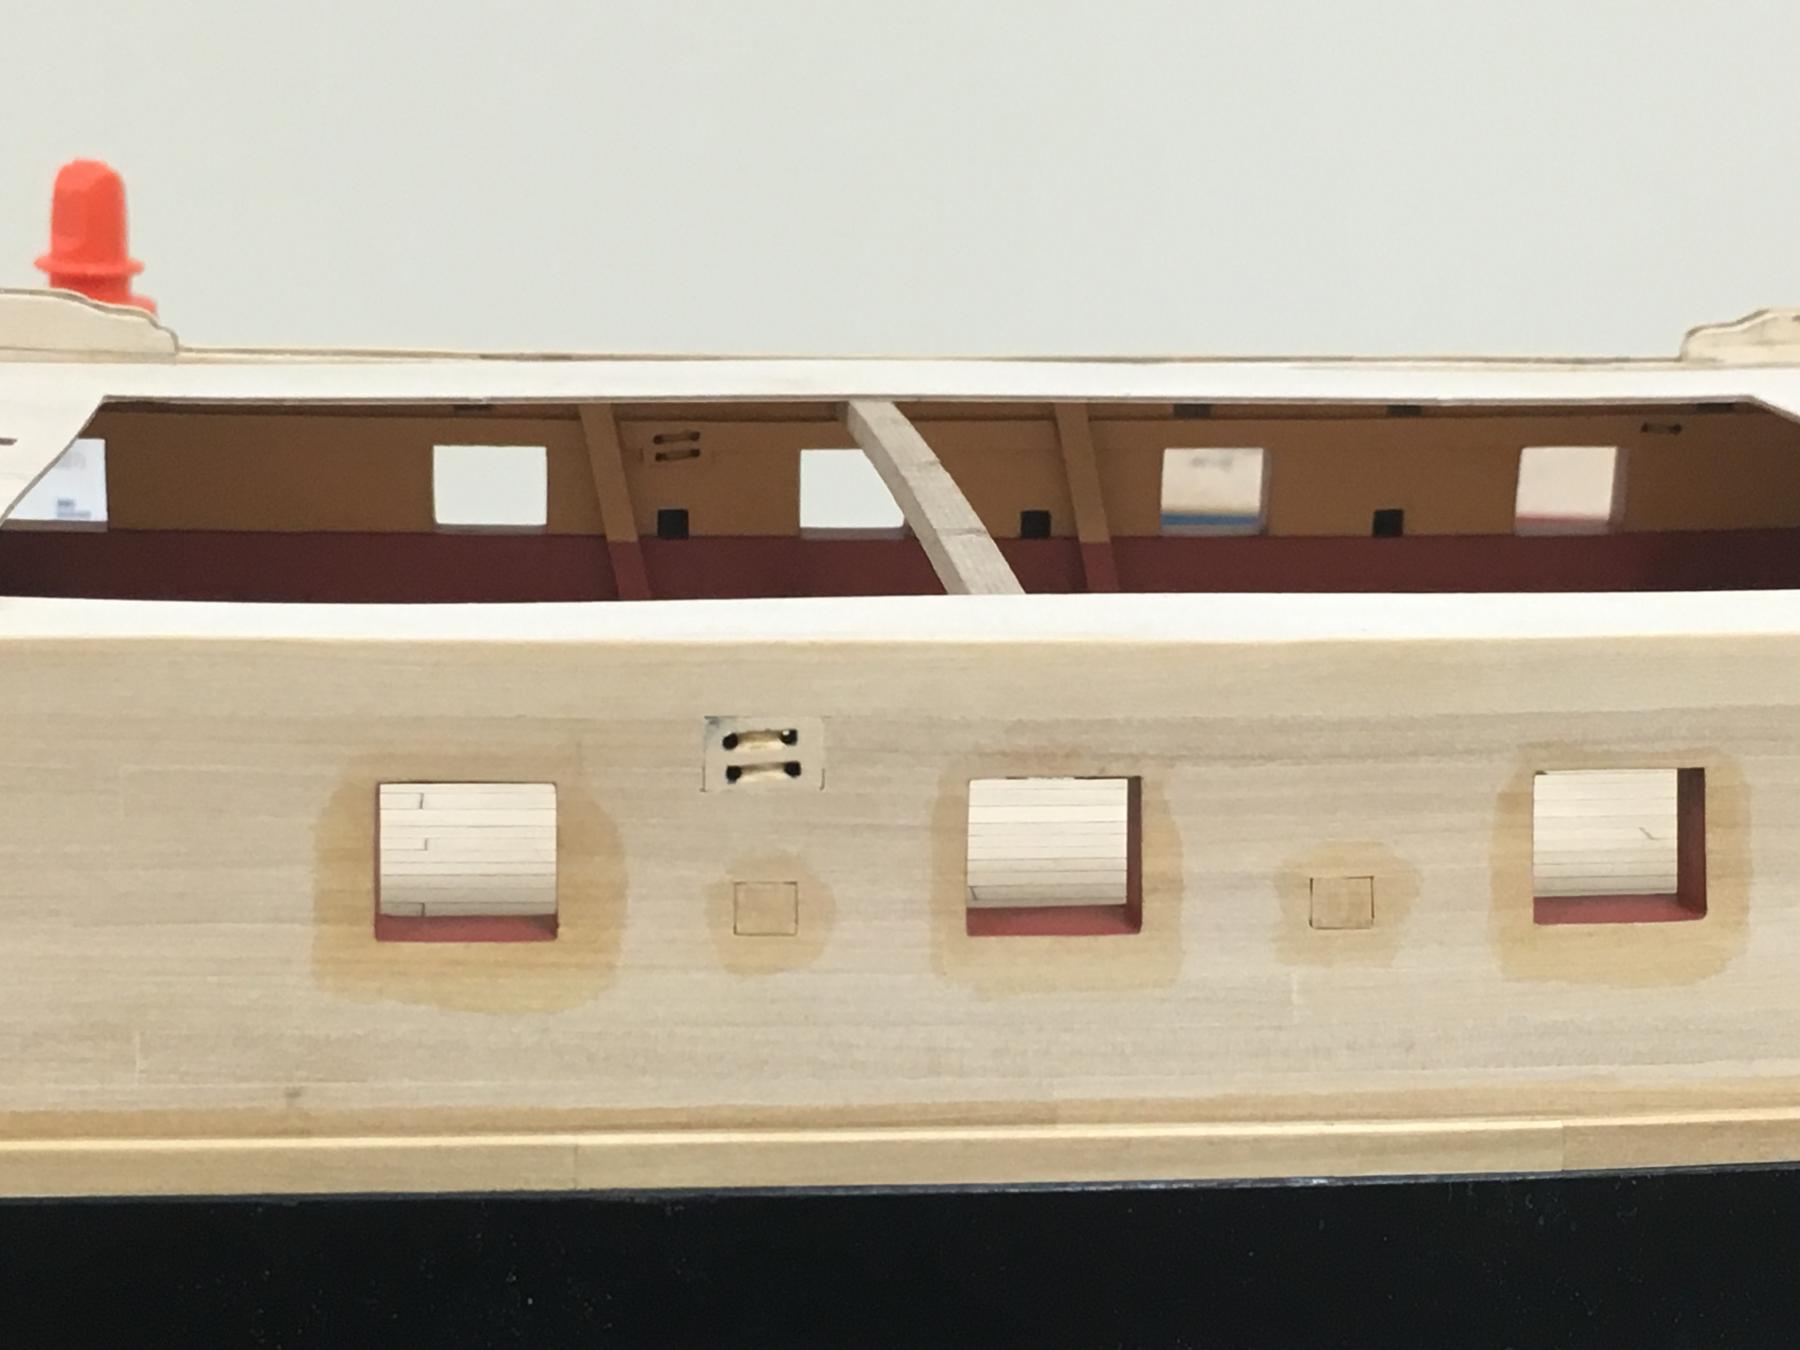
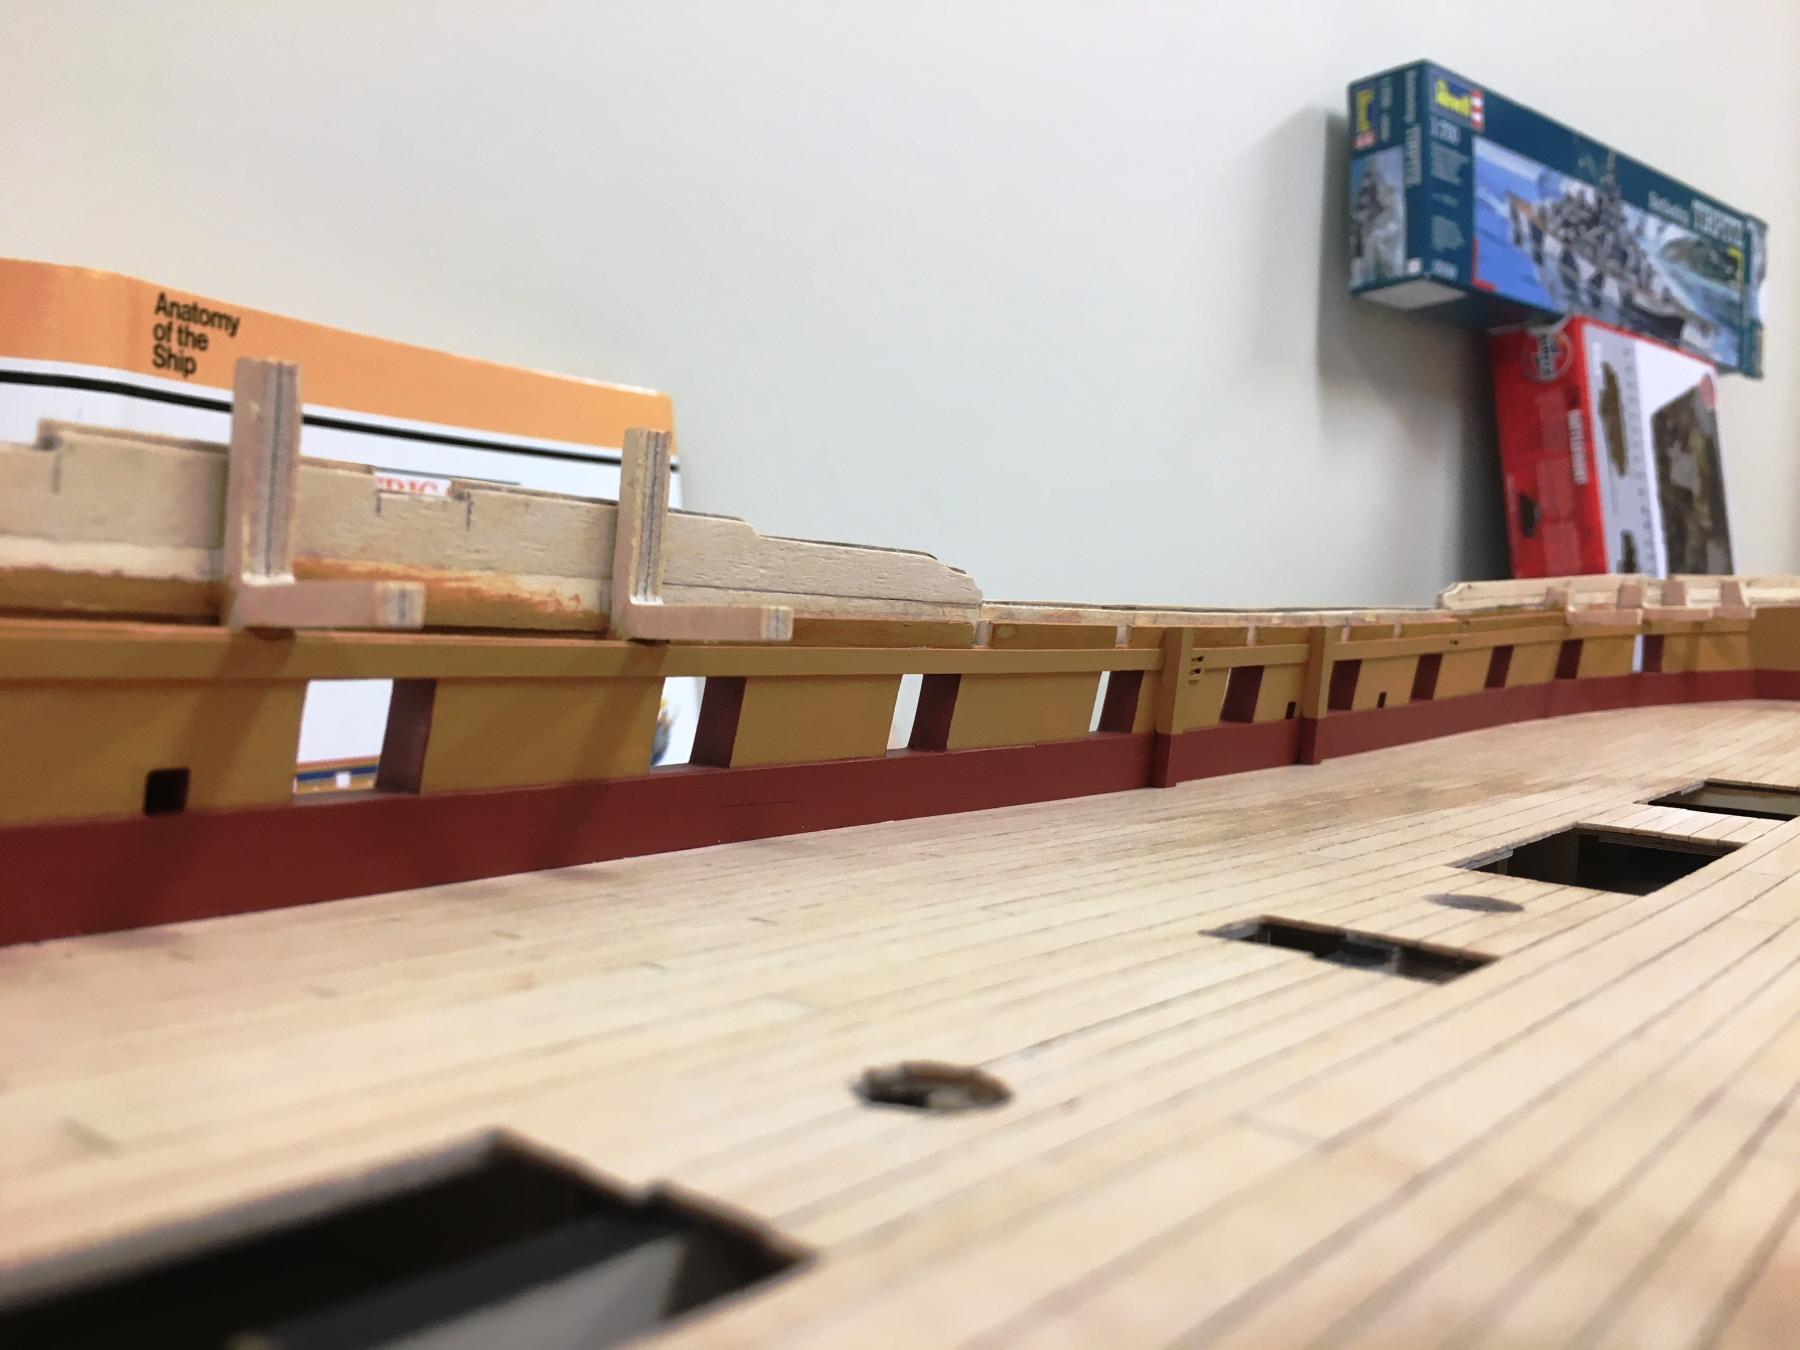
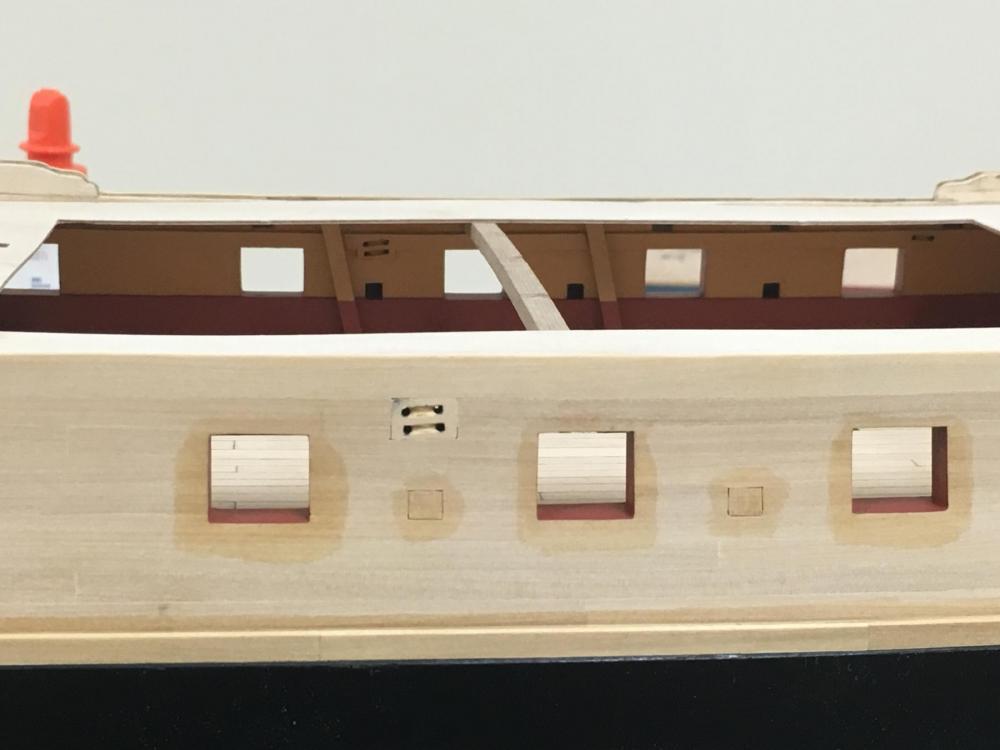
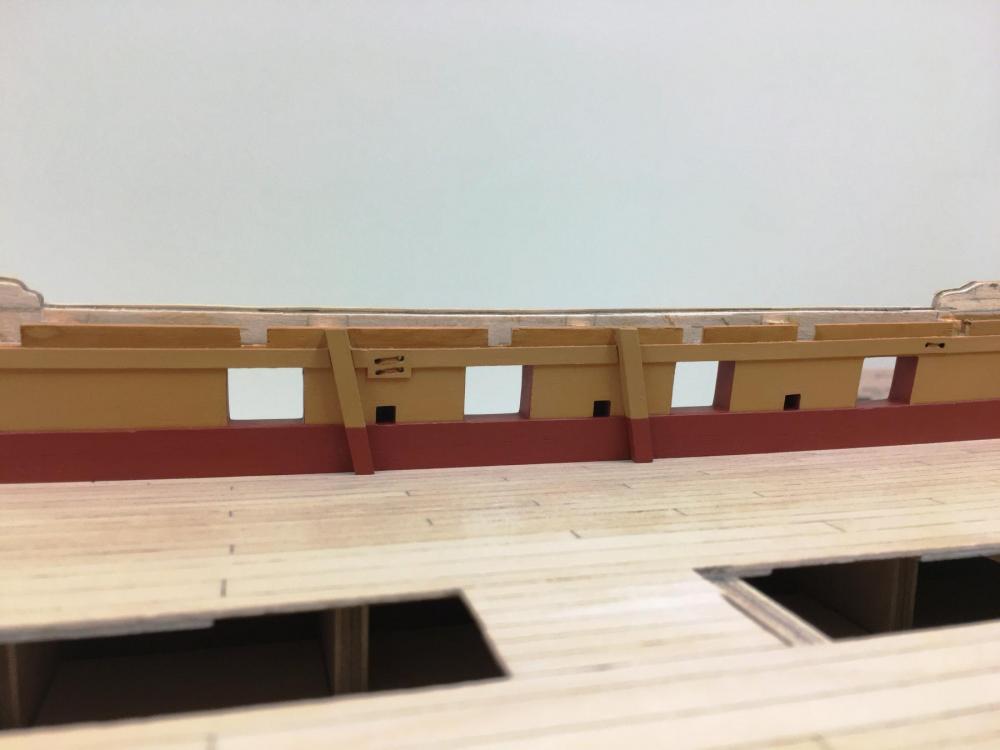
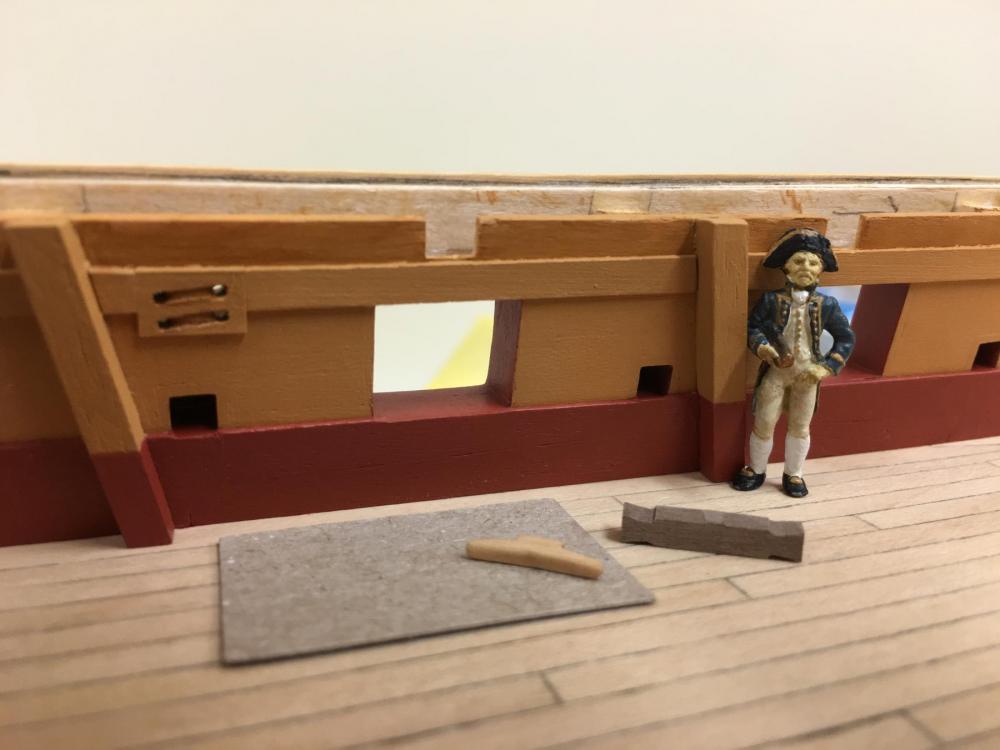
Dockyard is still the victim of an ongoing labour dispute. Little bit of detail added onto the main deck, tried to simulate the deck clamps and the sheave blocks. The clamps were cut from a sheet of pear using a sharp blade and a ruler which seemed to work OK. The standards have also been added. Glad now I added in the sweep ports as it adds a nice touch of background detail with the deck on. Think I need to get on with the coppering, but do have some questions... Range cleats: The kit provides a huge 'block' for these which seem way over scale and don't look like a cleat (see bottom picture). The photo at the bottom shows these side by side with one of Chucks cleats (12mm). The FFM indicates the range cleats are 2' 9" which translates to about 13mm in real money at scale, very similar to Chucks. Would the size of these vary considerably between ships of different sizes. Thoughts? I'm leaning toward Chucks. Copper plates: Amati are very clear in providing left and right sided copper plates. I thought that British ships were coppered from the stern, forward and up which would suggest the visible edge nails would be on the aft and lower edges on the starboard side. Is that correct?

-
Really nice pictures Mark, its amazing how a little colour and detail enhances the natural wood. Nicely done!
- 652 replies
-
- 1
-
-
- royal william
- euromodel
- (and 1 more)
-
Lever indicates the following order.... First the horses are put in the yards Yard tackle pendants are put on next Brace Pendants Lift block & sheet block
-
Jesse - don't get discouraged. It's a marvel what you have done to build these scratch. If it's any consolation, carronades are just a pain to build, even using the CC aftermarket kits was a very time consuming, expletive laden experience so hang in there. On the flush decked ships they are so key to the overall look that you'll be glad you took your time.
- 1,306 replies
-
- 10
-
-
- syren
- model shipways
- (and 1 more)
-
Wayne, that deck looks fantastic,a s does the rest of the hull now with a little colour to it. It must be great working at this larger scale and very satisfying, its almost like you're building the real thing with those planks.
-
Bug - just caught up after you assumed this honourable task. You seem to have everything under control, so I'll pull up a seat. Best of luck, know you're up to it.
- 2,191 replies
-
- 6
-
-
- confederacy
- Model Shipways
- (and 1 more)
-
Dave - what are you not happy with on the 20cw anchor? There should be two flat white metal flukes inside the packet which need to be glued on, I suspect because it gives more clean definition than molding the whole in one piece. I lost one of the flukes (my fault) and very simply made another from card, painted you can't tell the difference.
-
I would LOVE the idea of any 'kit' POF kit with precute frame pieces - a definite buy as a stepping stone to fully scratch build.
-
There should have been an announcement when you started Andy, I nearly missed it! Looks like you are pretty much caught up to me :-) Very nice start.
-
I would have to make one request. Of course like everyone I'm biased by nationality and interest, but I think there are a couple of ships from the age of sail that are not represented in any kit form which seems a real hole in the market, I'm talking about HMS Trincomalee and the frigate Unicorn, both Leda class frigates and a very successful design - HMS Shannon of Chesapeake fame was also a Leda. Given the ships are still in existance I suspect that these would have a lot of interest similar to the other ships (or even replicas) that seem to generate so much interest. The class also crossed over the changes from the flat to rounded stern so could make for some very interesting modeling. Another interesting ship is the RRS Discovery (famous for Scott's ill-fated voyage to the South Pole) berthed in Dundee (within sight of Unicorn in fact) which again I think generates interest for its historic value and the fact that she is also still in existence. Preferred Scale - 1:64. I'm not retired so have a bit more flexibility with finances but believe in getting value for money and not just the cost side - current Caldercraft/Amati price point seem reasonable, however I prefer to pay extra for option of better wood, I'm tired of dealing with the ubiquitous walnut....
-
Ah-hah, here you are! Thankfully you have just started, looking good so far.
-
Mike - think you are dealing with the same issue that had my head spinning. My solution was to slap myself around the head a few times and ensure that I had left a little bit extra height that I could then come back and shave away once the the decorative pieces were in place to make it 'look' correct. Nice progress!
-
Welcome aboard Tom, hope I can live up to your expectations! Kevin, nice to hear from you and the kind words. Not much has been happening in the shipyard recently, but I'll be back....
-
My son built the smaller Hood - I can now appreciate just how huge that bad boy is!