HOLIDAY DONATION DRIVE - SUPPORT MSW - DO YOUR PART TO KEEP THIS GREAT FORUM GOING! (83 donations so far out of 49,000 members - C'mon guys!)
×
.JPG.ca33079f5815b861e67b9c2cccd37982.JPG)

Blue Ensign
-
Posts
4,565 -
Joined
-
Last visited
Content Type
Profiles
Forums
Gallery
Events
Everything posted by Blue Ensign
-
 Kudos Martin for providing your Fly with a decorative Drift rail, a tricky job on such a narrow rail. The Board would simply not sanction such fripperies on my Pegasus so a plain rail it was, although they did grudgingly sanction a simple ogee pattern for the Waist Rail. I think yours looks good, but take heart much of it will disappear behind the shroud rigging and Anchors so don't over fret about . onwards Sir, onwards. B.E.
- 467 replies
-
- 2
-

-
- fly
- victory models
- (and 1 more)
-
Just caught up on your build Peter, the full shot pic shows what fine lines she has, and what a fine model she is. Nice mod work on the ships boat, and your sail looks excellent to me Good stuff. B.E.
-
Just come across your log Hennie, that's a fine build you're doing, great work. Regards, B.E.
- 214 replies
-
- 3
-
-
- agamemnon
- caldercraft
- (and 1 more)
-
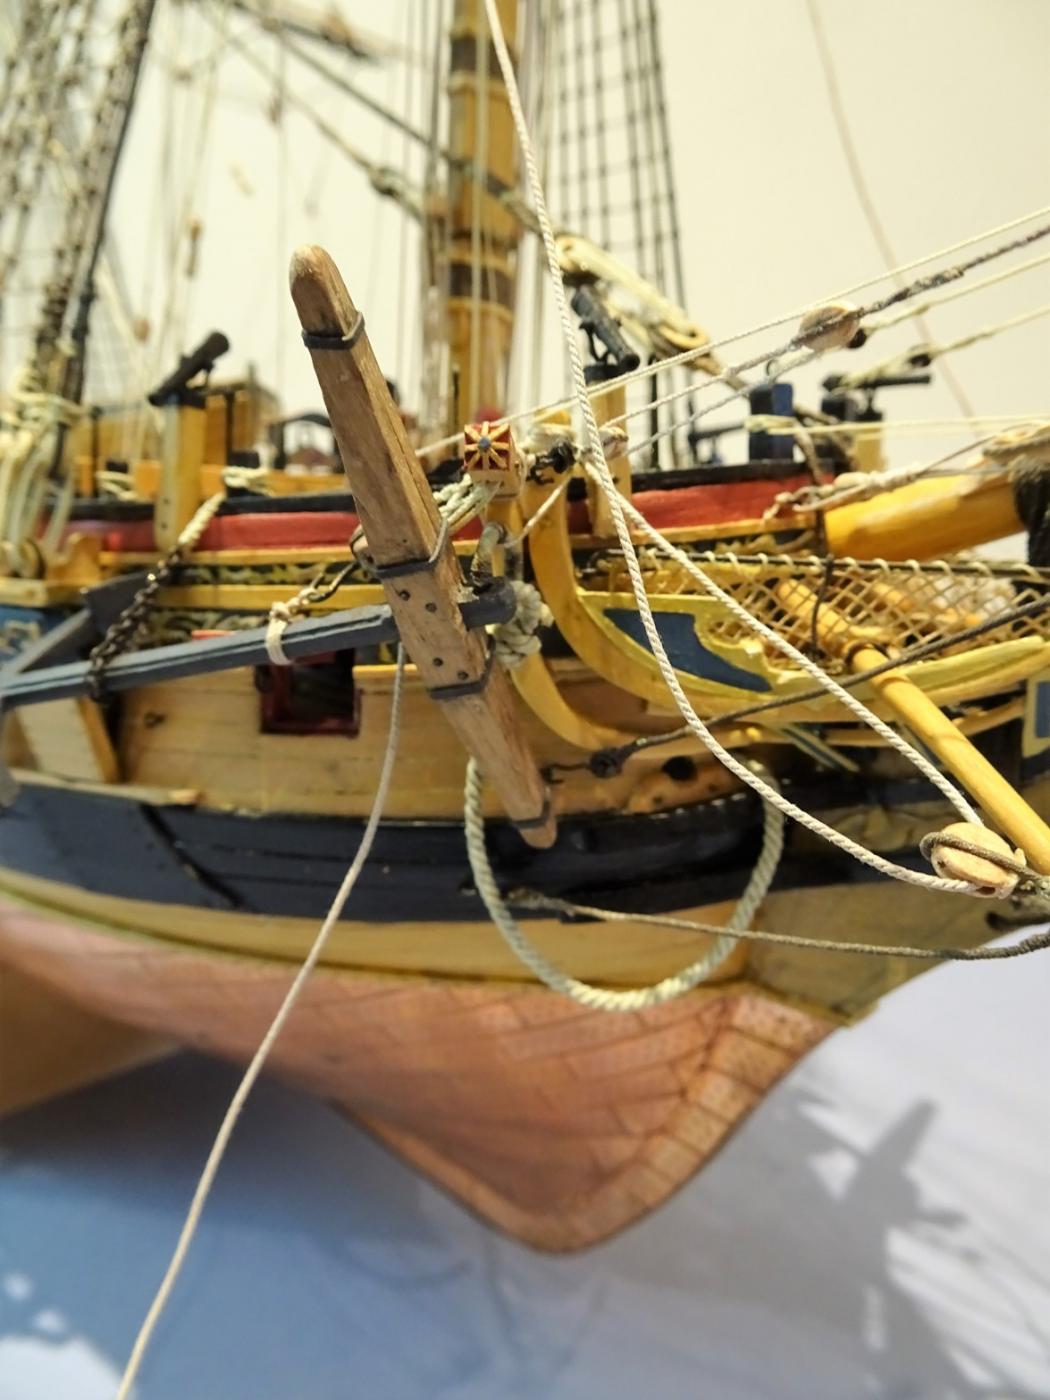
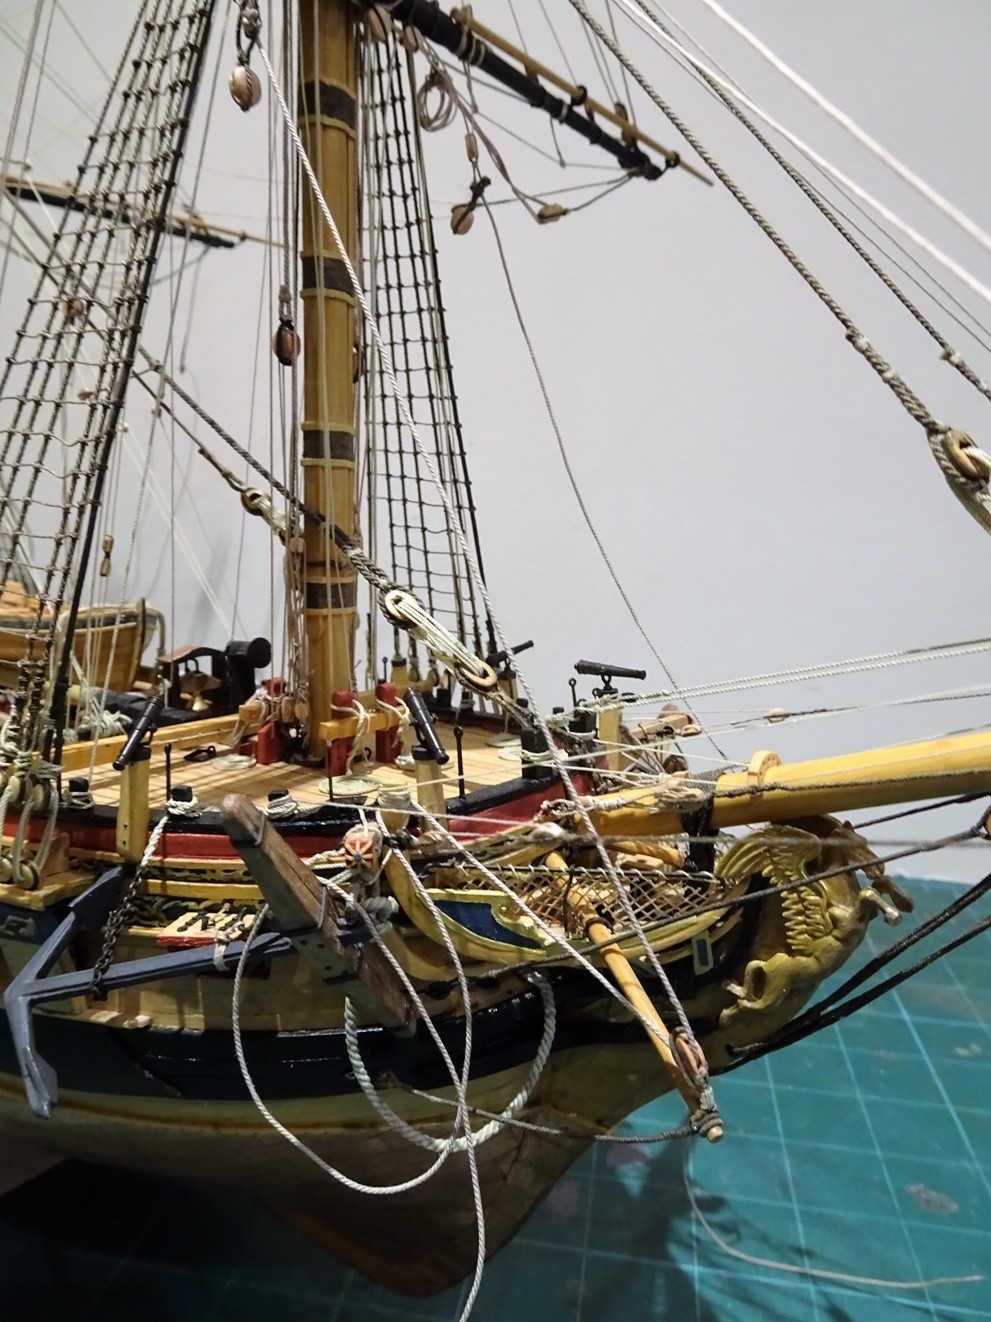
Thanks Mark and Duff. Mark: Lees refers to these as ornamental deadblocks, with the tacks crossing over for belaying on the Fo'csle. Boomkins were introduced around 1710 and by 1745 all rates were fitted with Boomkins. Lees says that initially the tacks rove thro' both the block on the Boomkin and the deadblock before leading up to the Fo'csle, albeit without crossing over. Fitting of the deadblock was then gradually dispensed with. Duff: The more I think about it the more I am leaning towards rigging the tacks outside of other lines, the trick will be to get them to hang in a natural fashion. Harland (Seamanship in the age of sail) has something to say about the operation of the tacks and sheets and refers to the use of tricing lines with thimbles to hold the lines up to prevent them from getting tangled or dragging in the sea. Similarly the anchor stocks presented obstacles to the clear run of the sheets and tacks and Timenoguys were rigged to prevent the lines getting fouled. This is Steels definition: TIMENOGUY. A Rope fastened at one end to the fore-shrouds, and nailed at the other end to the anchor-stock, on the bow, to prevent the fore-sheet from entangling. The above gives the clue that the sheets and tacks when the ship was without sails were secured to keep them tidy and out of the way. The photo of the Medway does show the tacks pulled forward with lines that seem to be secured to the Forestay. Thanks for your insights guys. B.E.
-
Thanks for responding Jason, you may have a point. Here the Fore tack is led outside of all the other lines before feeding thro' the Tack block. Here the more direct route which takes it inside the jib stays, a route which is shown on the previous examples of models both old and new. Aesthetically I do prefer the second version, but still have that niggling thought about the clear run of the tack once the sail is set. The fact that some notable modelling icons have gone that route just adds to the indecision. I don't need to finalise the tacks and sheets for a while so there is plenty of time for me to fret over it yet, but thanks again for your input. Regards, B.E.


-
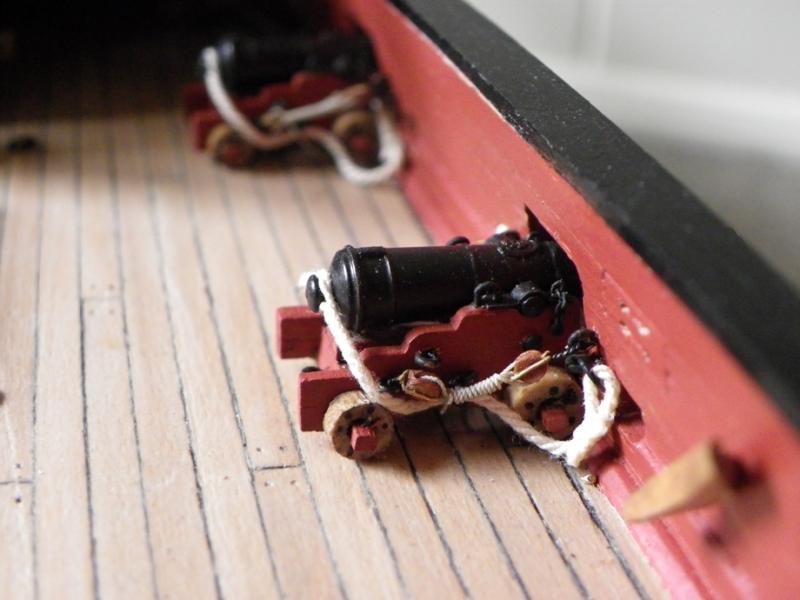
Hi Bug I fitted the side tackles on my Pegasus with the guns in place, but I did fake it with tackles made of wire with a hook each end and frapped. I did this because I wanted an element of sag in the tackles which the wire allowed for. I am thinking you could make these off the model and secure the hooks into the carriage and bulwark rings secured with a spot of ca. The full details are on page 4 of my log. Cheers, B.E.
- 2,191 replies
-
- 13
-
-
- confederacy
- Model Shipways
- (and 1 more)
-
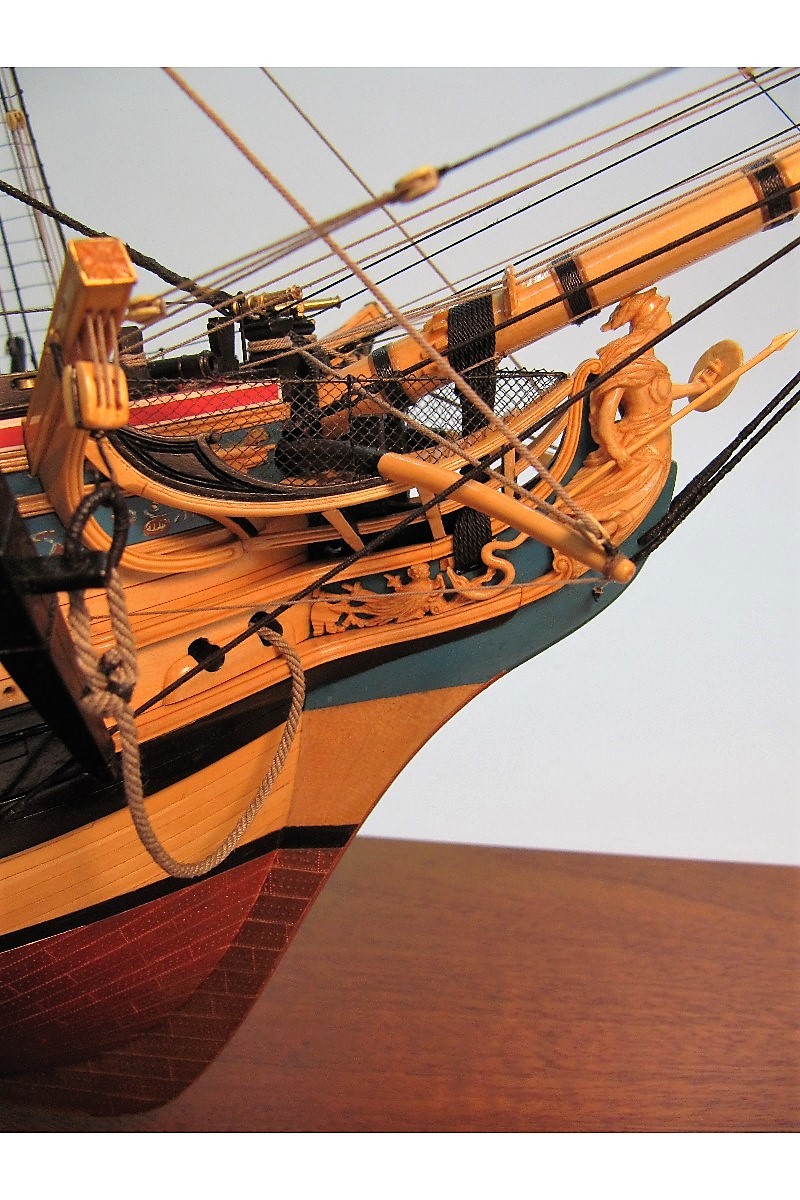
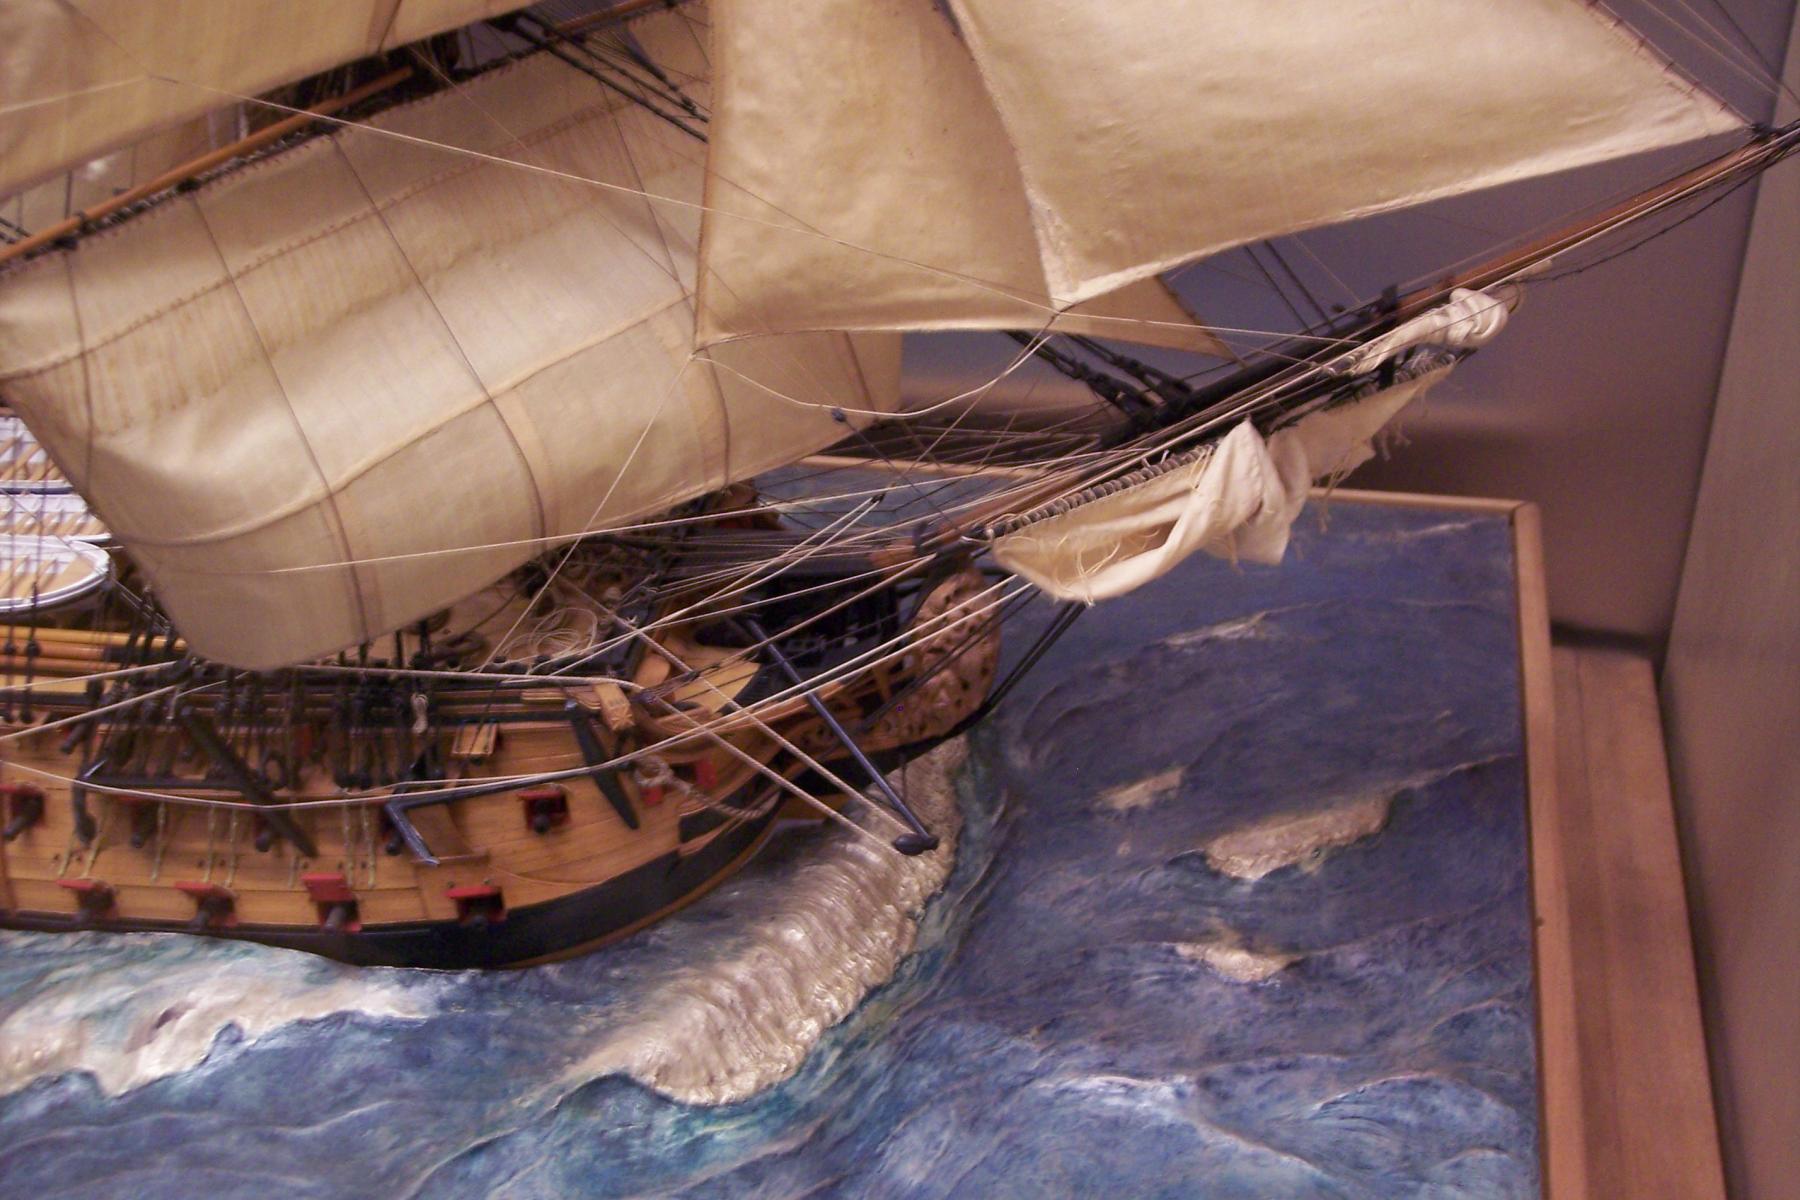
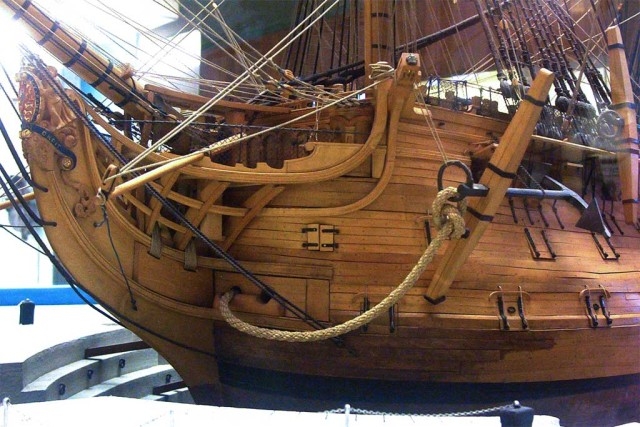
I can't make my mind up about the run of the Fore tack, is it inside or outside the lines that run into the Foc'sle; models I've looked at all seem to show the tack inside other lines, which seems impracticable to me, but was it accepted that the tack overran other lines when the sail was set? This photo of the Medway model is interesting. The Fore tack down from the strop of the sheet blocks at the yard (which would be attached to the clue of the Foresail when set) seems to run inside some of the lines. The belay end in this case is coiled and hitched to the guard rail across the Head works. On this model of Minerva the tack runs outside of the Bowsprit shrouds, but inside the jib stays. On the Longridge Victory, where there is a double tack, it clearly runs inside the lines coming into the Foc'sle. On the Wyllie model of Victory which has the Fore sail set, the tack line is inside the jib guys and fouls them as it crosses the cathead to the clue. Running the tack line by its most direct route inevitably means it will be inside some of the lines running in from the spritsail yard and jibboom. This is the essence of my doubts, logic dictates to me that from the clue end the line should run outside all other rigging before it passes thro' the tack block to belay at the Foc'sle. Any thoughts on this? B.E.


-
Slack lines in rigging ?
Blue Ensign replied to Senior ole salt's topic in Masting, rigging and sails
I'm a fan of having a combination of slack and taut lines on a model, mainly to impart a sense of weightiness to the lines. I use the diluted pva method, painted on, and the sag formed either by weights or rolling a paintbrush handle over the line. The advantage of diluted pva is that the line can be further adjusted by re-wetting. B.E. -
Nice progress Doug, the Syren guns are a big improvement over the generic Amati ones, and they look to be well positioned within the gunports. B.E.
-
Such ingenuity Nils, but that's what we have come to expect from you B.E.
- 2,625 replies
-
- 5
-
-
- kaiser wilhelm der grosse
- passenger steamer
- (and 1 more)
-
Well done Mike, a fine result This is going to be my next project after Pegasus, and your excellent log will be of much benefit to myself and any other builders of this great little model. Regards, B.E.
- 137 replies
-
- 1
-
-
- finished
- model shipways
- (and 1 more)
-
That's a great looking Cruizer Joe, and I love the effect you have achieved with the copper. I see that Caldercraft in common with their other kits are still indicating the representation of 'iron' rudder braces and pintles over copper plating. They should really be represented as a cuprous alloy, a problem I got around by painting them a slightly darker brown/copper mix on my model. Regards, B.E.
- 136 replies
-
- 2
-
-
- caldercraft
- Cruiser
- (and 2 more)
-
She's looking impressive Mark, you must surely be pleased with your efforts. I like the effect you have achieved with the stern lights, and that is a neat job on the rudder coat. B.E.
-
She's looking a class job Andy, well done B. E.
-
Fine work on the Head works Bug, a great job you're doing. B.E.
- 2,191 replies
-
- 5
-
-
- confederacy
- Model Shipways
- (and 1 more)
-
Nice job Bob, no evidence of the dreaded inward pull on the aft 'rattled' shroud. B.E.
-
Glasses for detail work (changed by mod)
Blue Ensign replied to Bob Blarney's topic in Modeling tools and Workshop Equipment
Bit difficult when you're working on rigging detail on the model and yards prevent getting closer to the detail B.E. -
It's all looking very shipshape and Bristol fashion Bob, very nice work. I can so relate to your thoughts about future models, I have already decided that Pegasus will be my last square rigger, too testing on my eyes. B.E.
-
Excellent ground work there Mike, I find the 'Morgan' a fascinating subject. B.E.
-
Nice touch shaping the Fore Channels Martin, and neat profiling on the Swivel mounts. I'm not convinced that my individual approach to the Entry steps will stand the test of time, but I always thought that it was a simple adjustment to make to revert to the plan configuration. B.E.
- 467 replies
-
- 1
-
-
- fly
- victory models
- (and 1 more)