-
Posts
9,390 -
Joined
-
Last visited
Content Type
Profiles
Forums
Gallery
Events
Posts posted by Chuck
-
-
- Ian B, Ol' Pine Tar, druxey and 12 others
-
 15
15
-
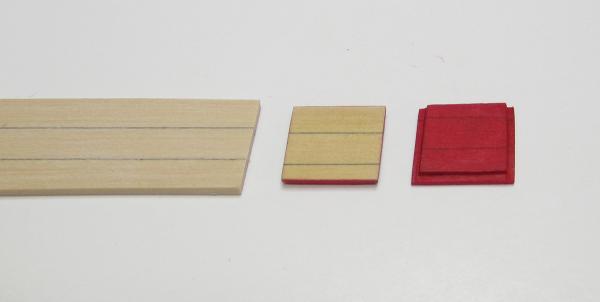
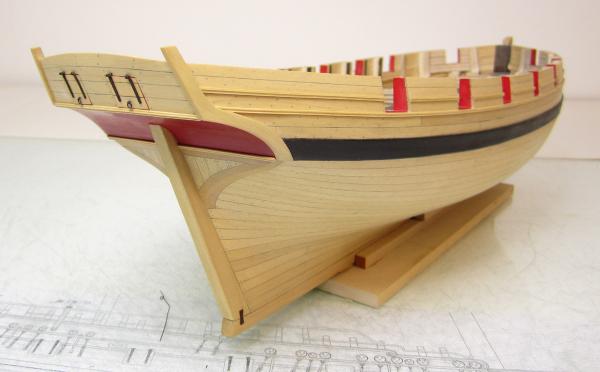
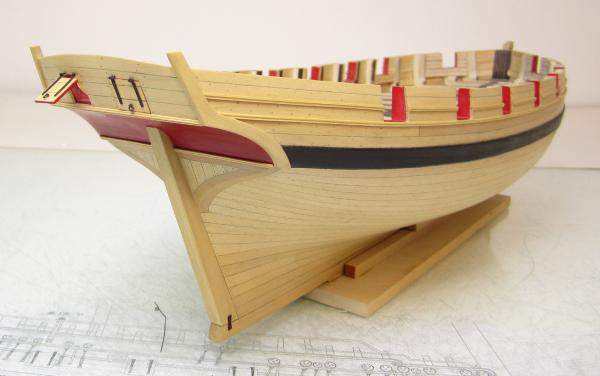
And to show how the port lids fit when installed.
The blank lids without hinges were positioned first and while they were in....I glued the hinges in without there little pins. It was easier to line up the hinges visually that way. At least for me.
They are actually working hinges as you can see. I am pleased with how well the laser board worked for this application. That is one less element I need to rely on photoetch for in the future.
Chuck
- Ol' Pine Tar, avsjerome2003, KenW and 27 others
-
 30
30
-
Yes these will eventually be made available. I will include a small length of tubing in each package.
The tubes are from albion. They are an english tube company and hobby shop. But an American distributor is right here. They are a fantastic company and the products as far as brass tube and rod etc is concerned. You will not fine better.
and a video on how to cut the micro tube can be found here
- qwerty2008, Jay 1, GLakie and 2 others
-
 5
5
-
-
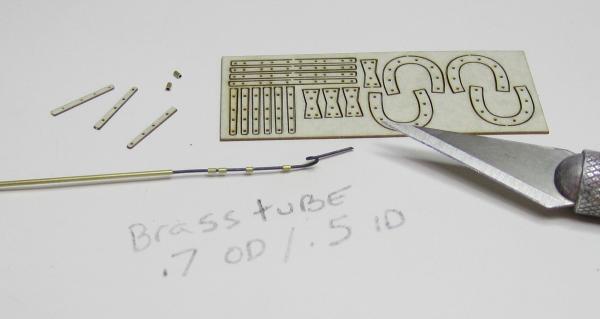
Working on the port lid hinges.
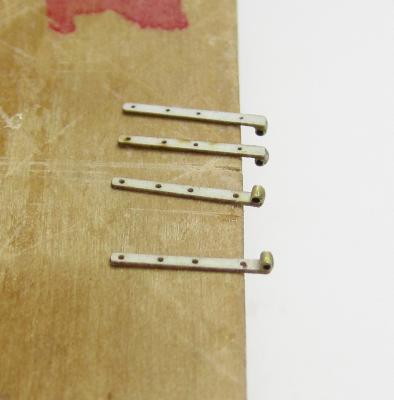
Same material for the straps. The hinge part is made using a micro brass tube that is .7 mm O.D. and .5 mm I.D. To cut these you must take care. You just cant use a nippers because it will crush the tubing.
So as shown below, you insert a piece of 28 gauge wire in the tube. Then take a sharp #11 blade and just roll it over the tube and it cuts a nice crisp piece perfectly. Be sure to bend the wire on the end and it will actually catch these little suckers. They are cut as long as the hinge straps are wide. Thats microscopic.
Then you use CA to glue these tube sections onto the ends of the laser cut laserboard hinge straps. Its easiest to do this with the straps hanging over the edge of a block of wood. You can hold the strap with your finger while just the end hangs over the block.
Dont be shy with the CA. Use a light drop on the end to secure it. Then add two more drops as successive coats after each dries.
Turn it upside down with just the tube hanging over the block and you can sand the hinge strap into the tube so it wont be seen after painting. Holding the strap under your finger prevents the strap from bending. Its not as strong as brass. Once its glued to the port lid it wont matter. It will be plenty strong as only the tiniest portion will stick out above the top edge of the port lid. To small to bend.
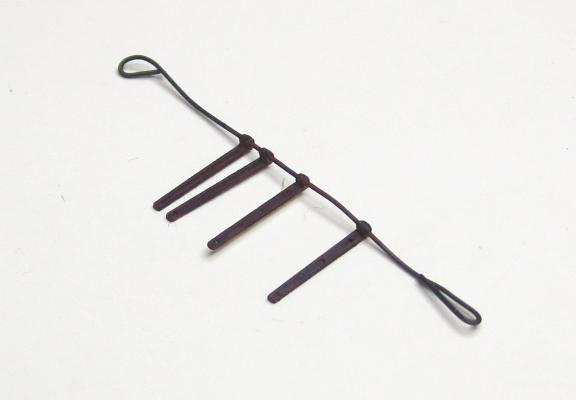
To paint them. place them on the wire so you can paint without having to hold them.
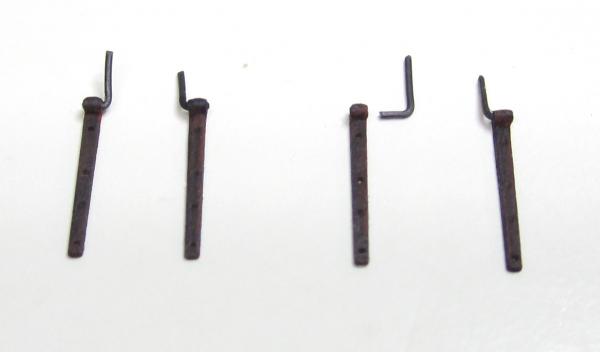
Then ....small "L" brackets are made from 28 gauge wire which will create the hinge pin and secure the lid into the hull. Thats it!!!
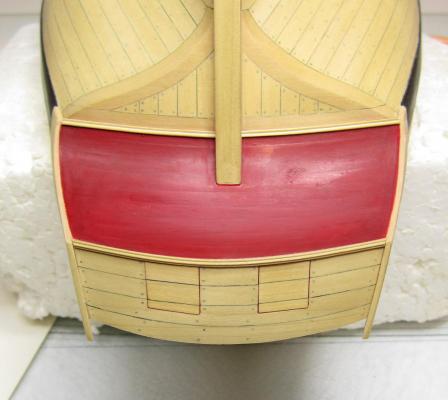
These will be used for the stern port lids.
Chuck
- druxey, egkb, qwerty2008 and 32 others
-
 35
35
-
Its like paying a ton of money right now for a hobby 3d printer. It would pretty much be a waste a money. This is usually used for the scrap booking hobby and is best for cutting paper and cardboard. Try cutting anything like basswood over 1/16" thick and you will run into problems. You would likely to cut through 1/16" boxwood at all. This is the same model often seen on EBAY and its made in china. Its not a good machine at all. In fact I think its dangerous. I have read horror stories about these cheap Chinese machines. Best to double the price and go for a 60 watt machine by a reputable maker. Its not a good machine at all. You could actually buy that same machine on ebay or through other sources for half that price. That is a rip-off if I ever saw one.
See this
Its just a waste of money.
I paid about $5500 give or take for my 60 watt laser and it can cut through quarter inch ply in one pass on 60% power. This $$ includes the laser cutter ....putting in a good exhaust system, and a dedicated electric line. Better focus lens and longer life laser tube. Larger cutting area. The machine is well built and I have never had any issues with it. The exhause is super important. I would never cut Styrene with it as listed on the MM site either. That stuff melts and the fumes are bad. My advice...stay far far away!!!
Have a look
\https://www.bosslaser.com/laser-machinery/entry-level-co2-lasers/boss-ls-1415-122-detail
Chuck
-
Maury, Thanks, but ....No, not at all. Whats the point of that? In reality they were let into the keel by about half their thickness. At least according to Lavery and Goodwin. Its a detail that wont be seen at all and its a difficult task. These are just glued right on. They would still stand proud of the surface of the keel and stern post.
Goodwin states that the fish plates and horse shoe plates were about 1" thick and let into the wood by 1/2". They were fastened with copper bolts from one side through to the other.
What did they do later when hull's were plated? There is no real source as to how it was done. It makes sense that they would simply let them into the wood by the full thickness. But I have never found any hard and fast source about it. They werent let in completely on the Victory and she was plated. But I would like to add two points. Just so folks know where my head is at with such minutia. I get asked a lot about some of these details and this is actually one of them.
I have no record that Cheerful was actually plated anyway to add another complication. I imagine at this time most ships were but I am not sure if it was reserved for larger vessels only. I have never seen a period cutter model plated and havent read that in general they were not, saying that I would not have plated this model anyway.
In addition, that is such a small detail that I am not real worried about it either way. When I weigh the pro's and con's..even the best model builders have trouble doing this. I have seen some attempts by the best and it still looks sloppy to me. I applaud them trying but in reality dont understand why they would even try. I would rather bend a bit on the accuracy here if its actually the case and opt for a cleaner crisp look. Something that was regularly done by contemporary ship modelers. Not every detail has to be executed. Just my thoughts as I look for another excuse not to make any more rope today. So please excuse the longer response as I procrastinate a bit more. Sometimes I laugh softly to myself when I see the level of detail some builders insist on trying to put on their models. Just my opinion.
Having said that. I made the mistake of adding up the number of treenails on this hull. Its about 6500. I drilled 6500 holes. So although I am a bit crazy as most non-modellers tell me, I think there are even a few others that have gone a bit further off the deep end. I am not there yet.
So Maury.....
 long story short. Thats a ride on the crazy train I am not willing to take just yet. But knock yourself out and give it a try.
Chuck
- dgbot, Stuntflyer, cog and 12 others
-
 15
15
-
Wow...you made it home pretty quick. It was a pleasure to meet you in person Mike. Thanks for the kind words.

- Stuntflyer, wangshuoliurui and GLakie
-
 3
3
-
You are referring to the rudder port?.......No special technique really. I will just drill a pilot hole as large as my preferred needle file. Then I will slowly enlarge it to shape. Its interseting to note that the stern post should have extended through the counter as well. I designed it so another small piece will be glued inboard to fake it. No one will ever know. In fact it will look like you have the tightest planking joints around the stern post to allow it to pass through so nicely.
Chuck
- tadheus, kees de mol, gjdale and 8 others
-
 11
11
-
Yes indeed!! This will be used for the port lid hinges as well. I may add them this week just to see how they work. But it will be a while before I add them to the store. I want to include a few other elements like the gudgeons and pintles. Thats a little ways off yet. Sort of a metal-works package. Most of it anyway. But there will be some brass used where extra strength is needed. That wont be included with this.
Chuck
-
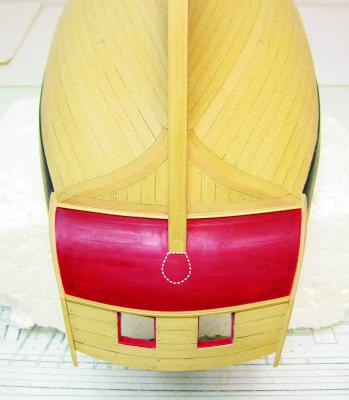
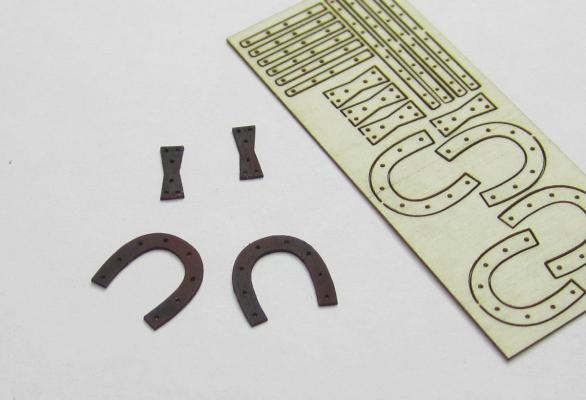
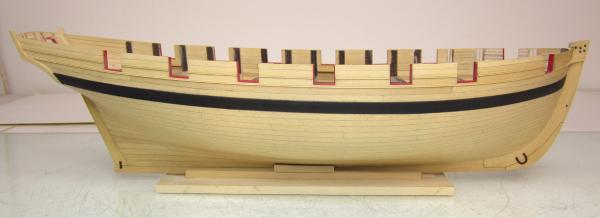
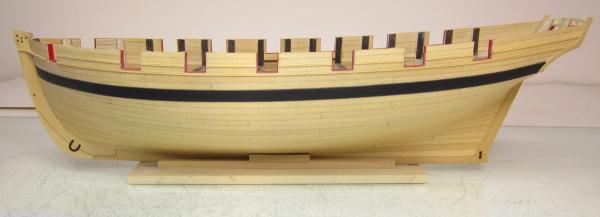
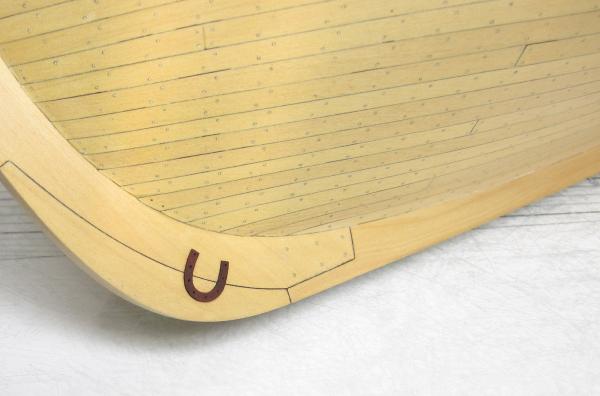
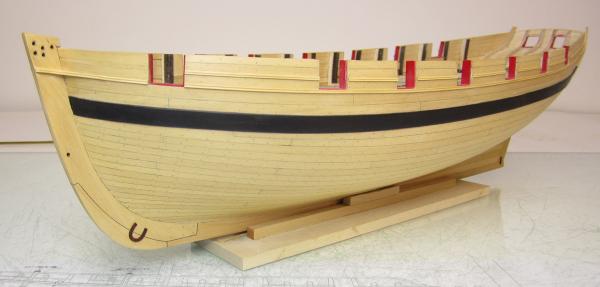
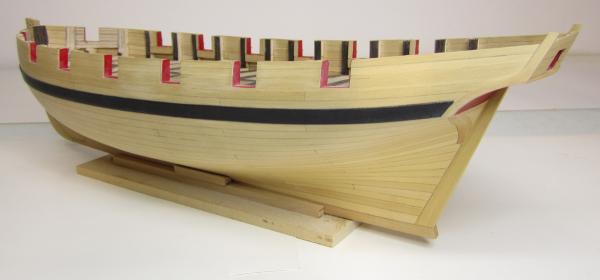
The port side is done and treenailed. I also made the horse shoe plates for the stem and keel plate at the stern. These were laser cut from laserboard. I painted and glued them on. They have little holes cut through them as you can see. The beauty of that is after gluing them with yellow glue and placing them on the model....a little bit of glue seeps through the holes and forms a nail head. But if you dont want to do that, you can drill through the holes with a #78 bit and insert some 28 gauge wire as bolt heads. ....Or just leave it as is. I will be drilling and inserting the wire as bolt heads later on. Also all of the fancy molding is in position that I want to add at this point. Now its time to thin down the bulwarks inboard. FUN ....FUN!!!

Chuck
- rtropp, chevygrunt, druxey and 36 others
-
 39
39
-
For those of you who have never seen a complete issue of the Journal.....and if you are considering joining as a full member of the NRG;
Click Here to go to the page that talks about the Journal. You will get four issues per year with your full membership. At the bottom of the page I have provided a link so that you can download an entire issue to check it out.
-
Im moving this topic...be sure to read "how to start a build log" . Since this doesnt constitute a build log I will change the the title to name it properly and move it to the nautical research forum. Be sure to post in the appropriate forums and read the pinned topics for any and all info on what each forum is about. This is really important when posting on the site.
Thanks
Chuck
ADMIN
-
-
Just finished planking the port side. I added the stern post. Now to treenail the port side and add the molding...
 It feels good to have it all planked. It will feel even better when the treenailing is done. I was getting tired of seeing the hull without its stern post. I think it really makes a difference at this point. At least from the starboard side.
 -
-
I sand a little bit after every four or five planks. Then I apply one coat of wipe-on-poly. It helps to keep it clean with the wipe on poly. Then after the entire side is planked....its sanded down and finished again. Then once again after treenailing.
- john2013, qwerty2008, tarbrush and 14 others
-
 17
17
-
Lou,
Basically I just sand the heck out of it to remove any CA that may have absorbed into the wood. Using Boxwood is also an advantage as its dense. The glue doesnt absorb very deep at all. So I am not afraid to sand the hull very smooth and thin down the planking. Typical planking is not a scale 3" thick. In fact, the topside planking above the wales on Cheerful was only 1.5" thick. Its actually noted on the planking draft. So using 1/16" thick strips is way out of scale. This is why I actually used 3/64" thick strips and then sanded them down considerably after I was done which thinned them down to about 1/32" or so. This way you get to the nice clean wood that is blemish-free.
FYI....The wales were 4" thick and the bottom planking under the wales was 2.25" thick as noted on the original planking expansion.
Chuck
- qwerty2008, GuntherMT, captainbob and 4 others
-
 7
7
-
Im not sure I understand the question. The uprights are straight up and down....no angles. They are not square to the keel per say because the keel isnt straight. The keel is bent up at the stern which is a typical feature with a rockered keel. So to better explain....they are all parallel to the bulkheads and straight up and down. That is an easier reference. Just follow the plan. As you can see....they will be perfectly straight and even with each bulkhead and even the edge of the paper for the plan.
-
Good question....Its mid ship. So dont measure up from there to find the height of the port sill. You would be best to measure 1/8" up from your bulkhead (top of deck after planking) and that will be the top of the deck. The false deck is 1/16" and then teh planking is another 1/16" even though I will go with a slightly thinner plank.
The top of the port sills is 1/2" from the top of the bulkhead (deck at side). So if your batten doesnt lay across your bulkheads smoothly, it probably means one bulkhead is too high or to low. Especially after you measure that distance up from the top of the bulkhead to the sill. The top of the bulkheads will be faired later so basically.....dont over analize it. Just run the port sill batten so its smooth. Then check that the deck (Top of bulkheads) will be 1/2" below that. If not....the top of the bulkhead for the deck will need to be either sanded down or built up slightly.
Chuck
-
Medium CA.......Just a drop on each bulkhead. I only glued two at a time and worked my way across the hull.
Chuck
-
-
Yupp it was included. Just like the original draft I posted. But I knew they were all 3/16" planks at the center of the hull so it wouldnt effect that. So adding them before lining out made it easier to visualize the eight remaining planks in the first belt.
-
Everything below the wale, I did include the garboard......... I actually have a second planking draft that is slightly different and shows 21....this one is just more clear to post, not to confuse the situation. There are also two deck plans. All original but with slight differences. The important thing to note however is that they are identical in showing no steelers and the one drop plank.
When I started planking, I had two versions of my own plans ready to go....I found that after doing the math, the 20 strake scheme was a perfect match to fit 3/16" wide planks mid ship in two belts. Once the hull was lined off and I divided into two belts, below. Each ten plank belt divided up into perfect 3/16" wide strakes at the center bulkhead.
The break at the square tuck divided the hull perfectly with ten strakes in each belt. Whereas the one that showed 21 strakes would need a funky smaller fraction. Its a lot easier to rip 3/16" wide planks and its a standard wood thickness to buy, so I went with that one.
As a side note....I added the drop plank and the first two strakes in the first belt before I lined off the hull. It just made it easier to do the lining off. Thats why you can see them in the picture while I lined out the hull.
- Guillermo Madico, mtaylor, rtropp and 21 others
-
 24
24


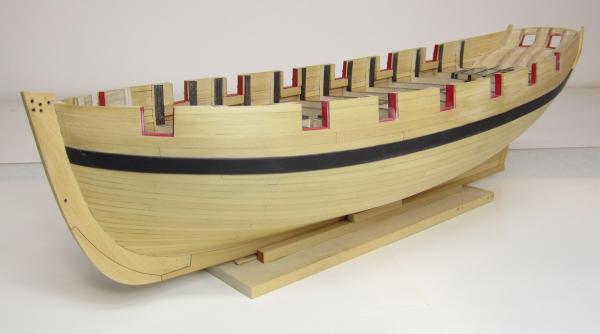
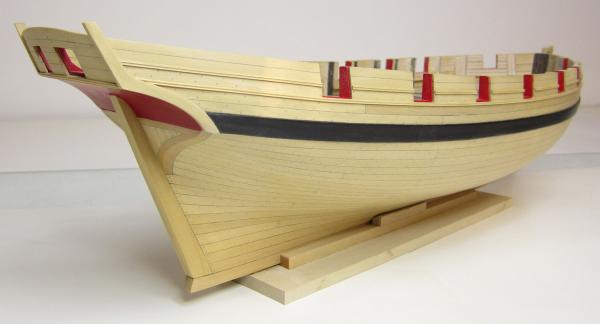
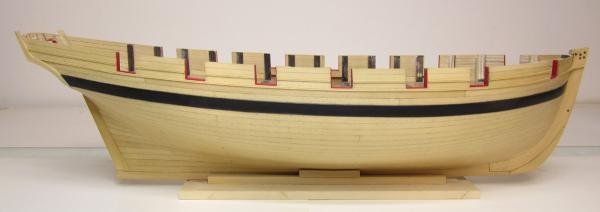

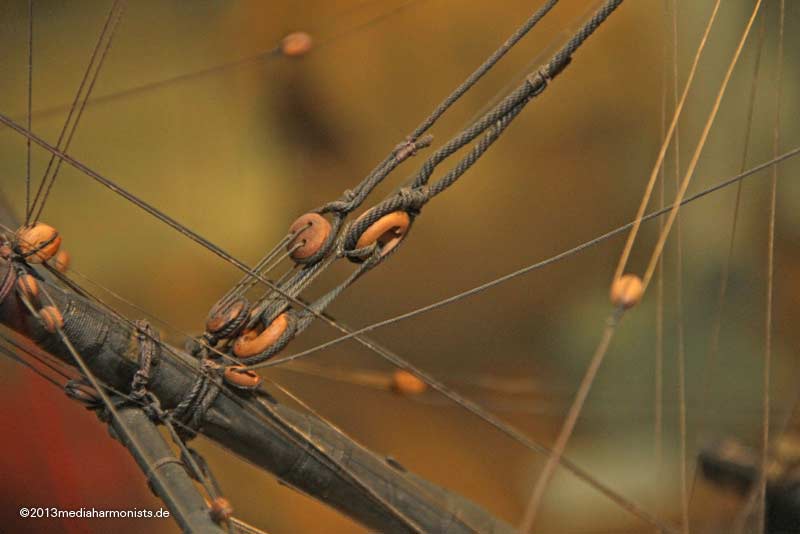
 here are some examples....on contemporary models.
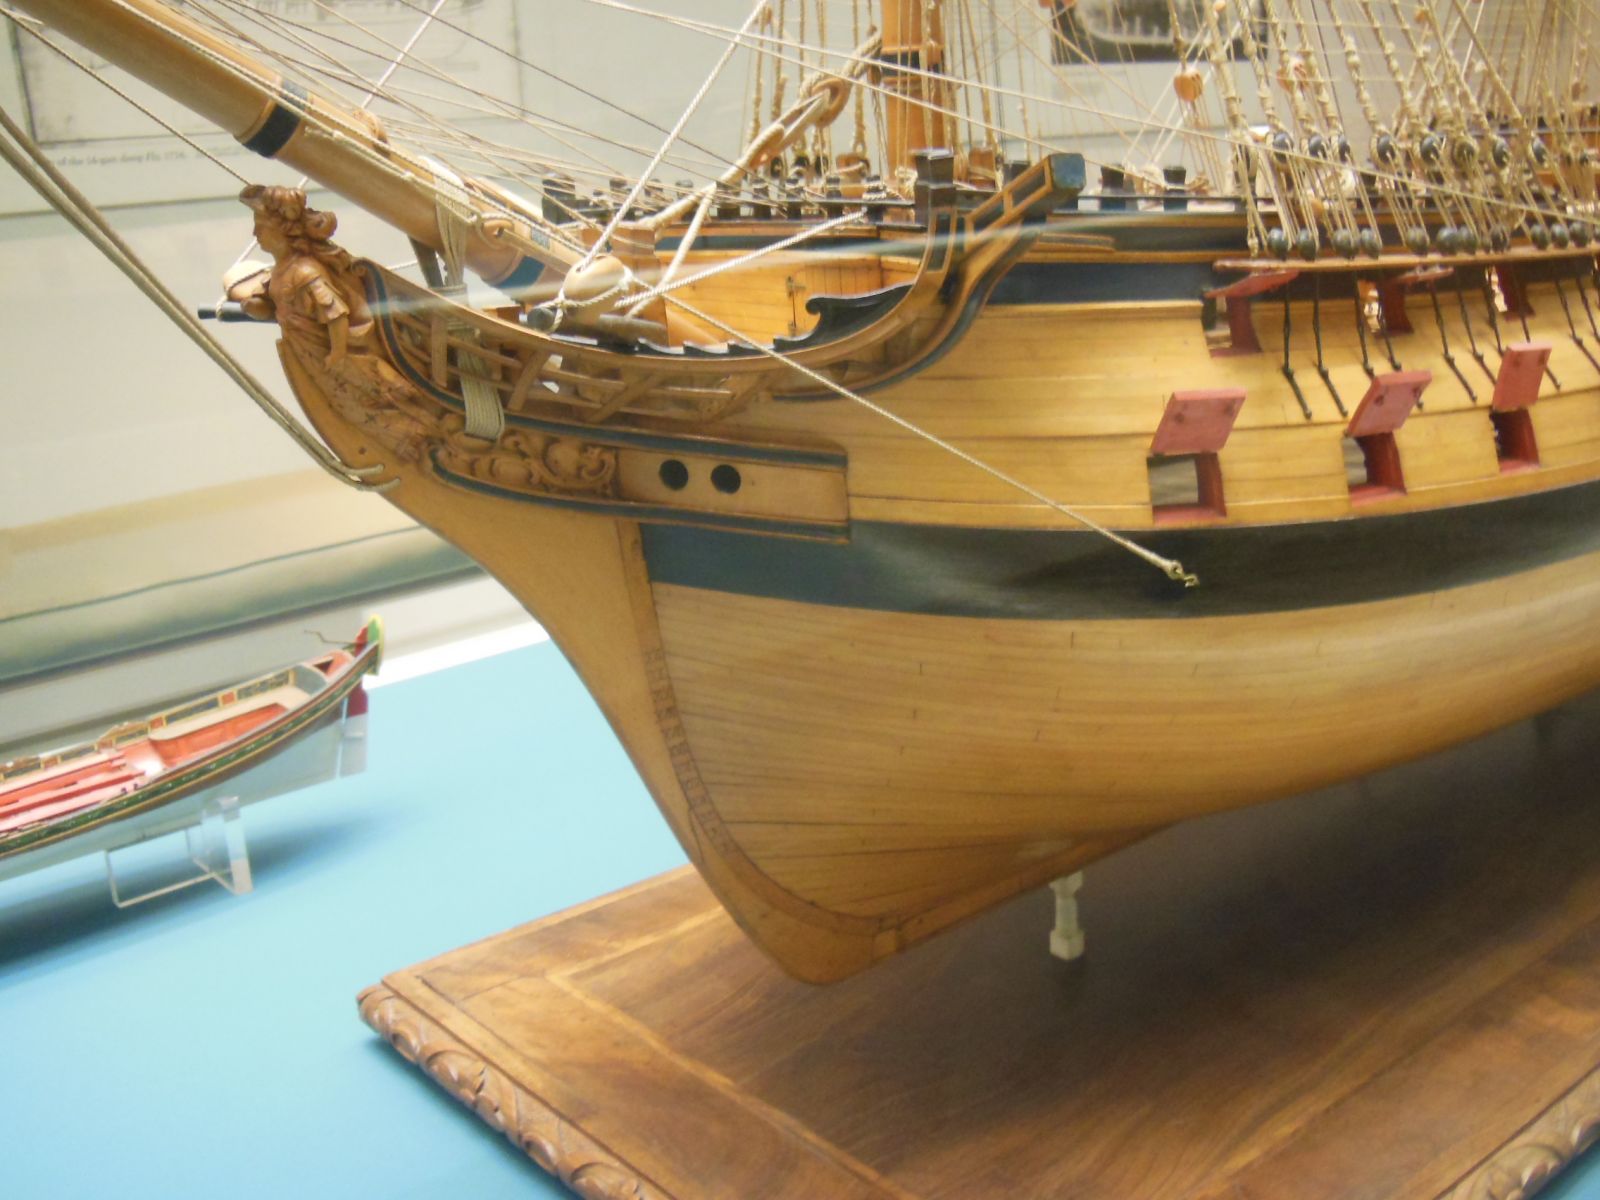
Old ships transporting horses and wagons???
in Nautical/Naval History
Posted
Like this