HOLIDAY DONATION DRIVE - SUPPORT MSW - DO YOUR PART TO KEEP THIS GREAT FORUM GOING! (Only 51 donations so far out of 49,000 members - C'mon guys!)
×


gjdale
-
Posts
4,891 -
Joined
-
Last visited
Content Type
Profiles
Forums
Gallery
Events
Everything posted by gjdale
-
 That's a nice looking set of balusters Sherry. Love the soccer net approach!
 -
Jimmie, The lower deck guns are "false" guns. They are simply a barrel with a "tang" on the end. Behind the gunports will be a strip or block of wood. A hole is drilled in this to accept the tang of the gun. A jig is usually made and used to ensure the hole is centred in the gun port. Hope that answers your question.
-
Just beautiful Ed.
-
Nice to see the framing started John. Looking good.
-
Victory by mikec - FINISHED - Mamoli
gjdale replied to mikec's topic in - Kit build logs for subjects built from 1751 - 1800
Great results Mike - she's a real beauty. -
Thanks for that table Ed - very useful.
-
This looks like an interesting build to follow Nigel - think I'll pull up a seat too! Move over Sjors, and pass the popcorn please.
-
'Bout time you got here with the popcorn Sjors! I've saved some room for you next to me.
-
And that differs from summer there how, Craig? Oh yes, I remember......the rain is warmer in summer!!! :P
- 366 replies
-
- 1
-

-
- granado
- caldercraft
- (and 1 more)
-
Nicely done Sjors. She's moving along quite briskly now.
- 1,616 replies
-
- 1
-
-
- caldercraft
- agamemnon
- (and 1 more)
-
Thanks Lawrence, I'm going to have a bit of a play to see how that idea looks. Sjors and Jim - thanks fellas, there are some who'd say I don't have a clue what I'm talking about either!!! . But glad to know you're hanging in there with me anyway.
-
Hi Patrick, Looking good. That Microglaze is what I used on my stern and quarter galleries rebuild. I have been more than happy with the results too.
-
Glad to hear it Kevin and I hope you are feeling back to 100% yourself. I look forward to new updates.
- 1,319 replies
-
- 1
-
-
- caldercraft
- Victory
- (and 1 more)
-
I think you are in need of a creative accountant Rusty, one who could turn your lathe into a tax deduction!
- 421 replies
-
- 5
-
-
- granado
- bomb ketch
- (and 2 more)
-
Kevin, I think the fact that you are asking suggests that your heart is really in the Victory. I for one would be delighted to see you return to her, as I think you were doing an excellent job with her. Go back to the Bismarck occasionally when you feel like a change of pace.
- 1,319 replies
-
- 5
-
-
- caldercraft
- Victory
- (and 1 more)
-
Progress is progress Sean, no matter the speed. Just remember to enjoy the journey - the destination will take care of itself.
-
Thanks for the input everyone. Just to show how varied opinions are, we seem to have a pretty even distribution of votes between three options, and another of going 50/50. I think now then it will come down to "Captain's choice", though the Admiralty will no doubt need to be consulted first! It may well be a while before I get to make that final decision though as there are family matters to attend to this weekend, and a very busy couple of weeks at work. Thanks again for the input one and all.
-
Not only is your workmanship superb Johann, but your photography too is exceptional.
-
At least you won't go hungry for the rest of the build Timmo! Great looking BBQ/Pizza Oven, by the way.
-
Whew, just made it in time. Where's Sjors with the popcorn? Looking forward to the all new and improved Licorne II Mark.
-
Looking great Rob. That little side project should keep you busy too! Hope the gnats are good company
-
Excellent repair job Sherry! Impossible to tell where the damage was now. Love the "vine and leaf thingies".
-
Good to know you're starting with a full set Craig. Looking forward to seeing some building........
-
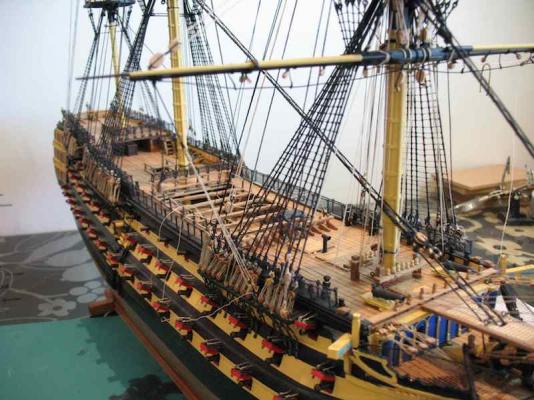
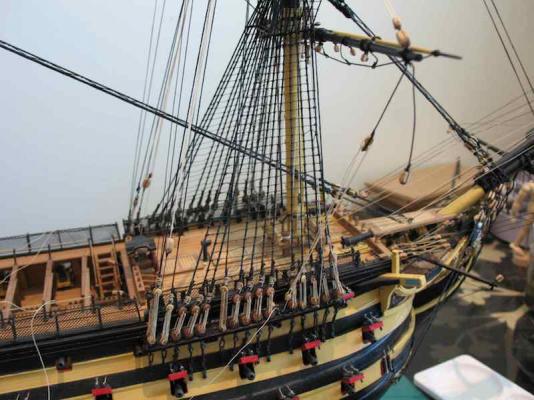
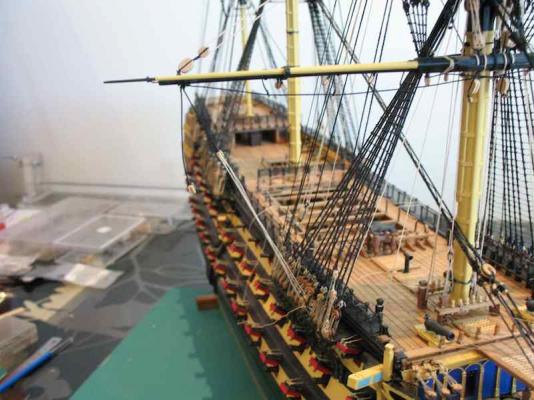
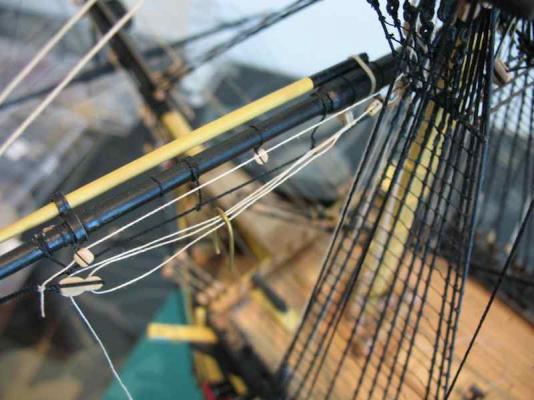
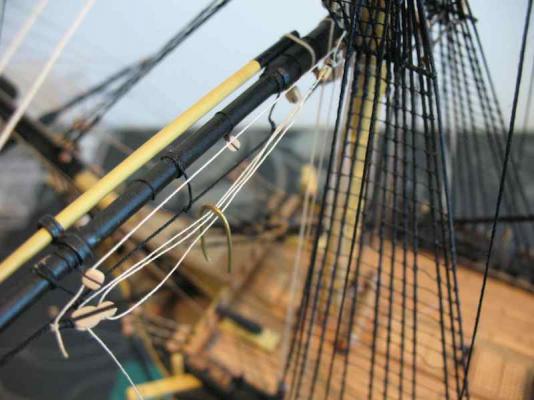
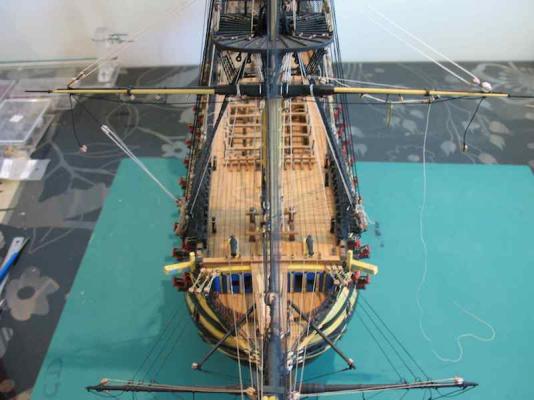
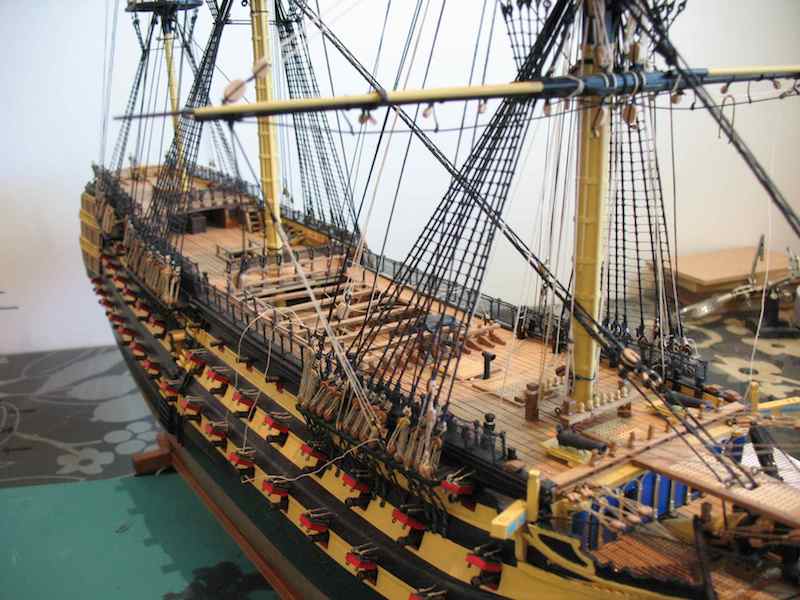
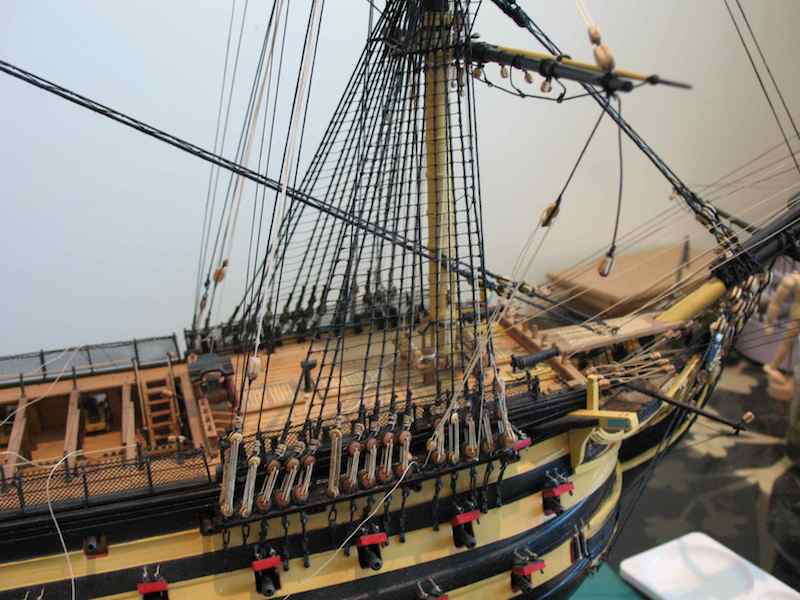
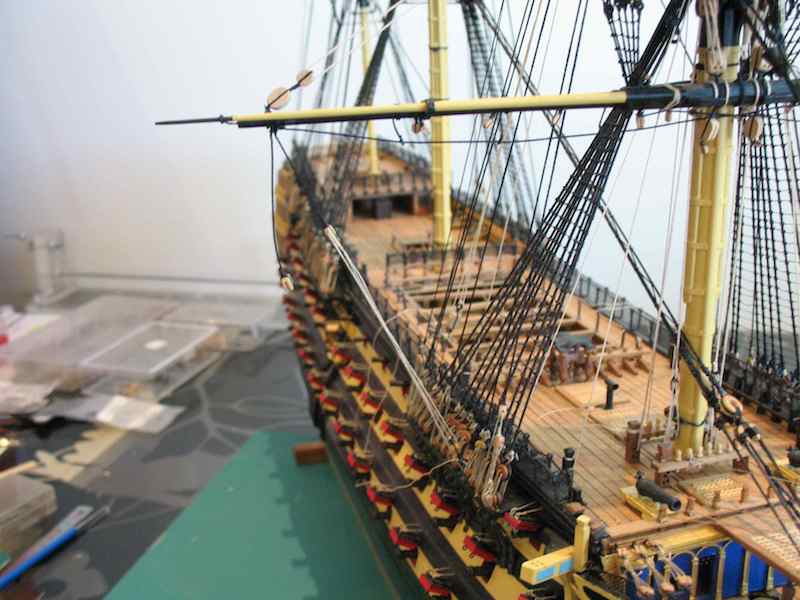
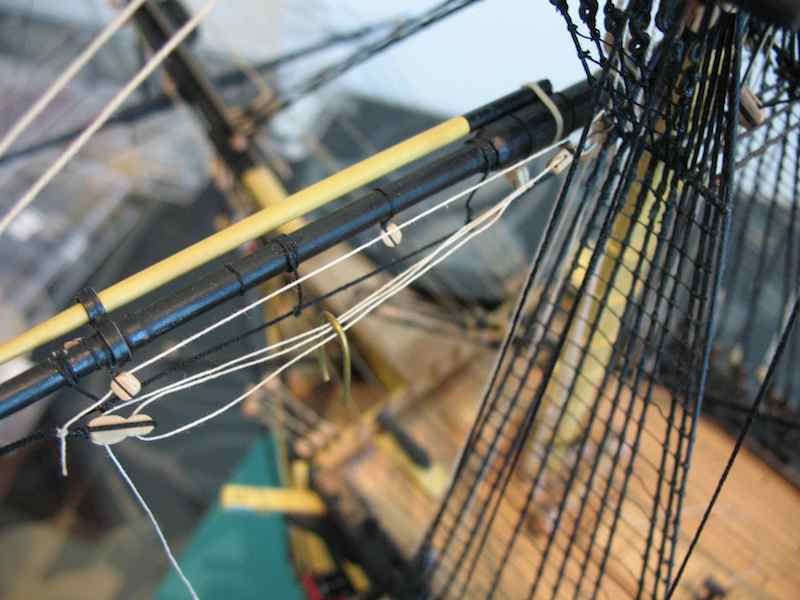
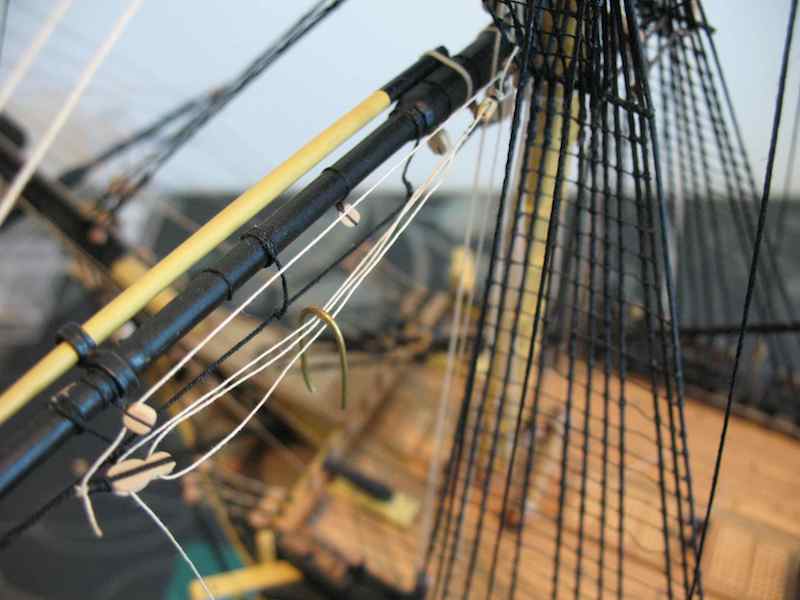
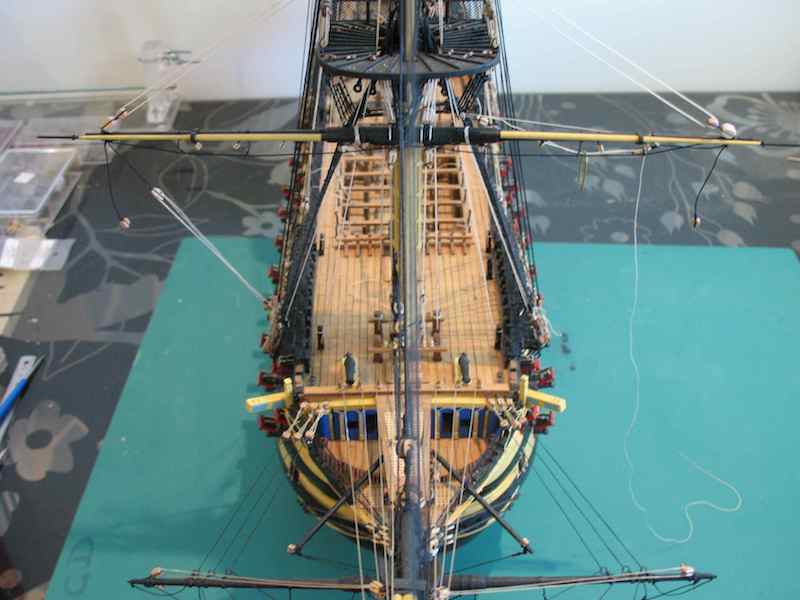
I need to make a decision now about how to display the Yard Tackle Pendants. Basically, I can show them "in use", by which I mean with the tackle extended and hooked into a ringbolt in the channels (which is what the kit was trying to show - I think), or I can show them "triced up" (showing the tricing lines rigged, with the tackle hooked into the futtock shrouds). I think there is a third option, which would be to have the Tackle Pendants secured along the yard, with tricing lines removed (which I think would be their normal "sea-going" position). I decided to try rigging one of each of the first two options to see what they looked like. But before I could do that, I realised that the Long Tackle Blocks in the pendants were upside down (oops....) Re-doing those in situ was something of a challenge, but not too difficult. While I was at it, I fixed the ones on the Main Yard before I got to fitting it! I'd really appreciate some opinions on which version to settle on, so I took some pictures of each. This proved to be harder than the rigging job itself! Apologies for the poor photos - these are the best I could manage. So, here are a few showing Option One - "in use" (final belaying not yet completed): And here are a few showing Option Two "triced up" (final trimming of lines not yet complete) (Note: the brass wire is a weight to put some catenary in the tackle line): And finally, here is a head-on shot hopefully showing both options: So waddayareckon? Option One or Option Two (or something completely different?)