Landlubber Mike
-
Posts
4,554 -
Joined
-
Last visited
Content Type
Profiles
Forums
Gallery
Events
Everything posted by Landlubber Mike
-
 Wow, this is sure to be another masterpiece. Hope you don't mind me following along. Loved your Dragon, and it's clear your Tiger is going to be another beauty.
 -
Aldo! Thanks for looking in my friend. It's a really beautiful subject, and Euromodel makes a nice kit. Plenty of complexity and optionality from Euromodel to help me learn new skills. It, along with the other two models I'm working on should get me to the point where I can start trying scratch builds. I see you mothballed your Pegasus, are you going to take it up again? I'm at the point where I am going to start scratch building some of the decorative elements of the ship. I wanted a little more experience before doing so, and started the Charles Morgan. Then I needed a break from the Morgan so started the Renommee. I ran into stages of burnout with the Badger (some lasting six months) that I found bouncing between builds helps keep my interest going. Nils, thanks very much and thank you for looking in. It's a beautiful subject, and Euromodel makes a very nice kit that allows you to add as many details as you would like, so it's been fun to work on. I was originally thinking of selling it last year to move to scratch building, but I've already gained valuable experience with this kit that I'm glad I'm building it.
-
Nils, I just spent the last hour going through your log and some of your completed logs. Can't believe I missed this one! What a beautiful project! I have to agree with everyone that your use of figures really brings your models to life. I'm also so impressed by how you have managed to find external detail pieces like the decorative brass railings and added them to the model so seamlessly. That decorative brass rail in particular worked very nicely. Thanks for posting such a detailed log. I learned a lot of tips and techniques going through it. For example, that hollow drill bit worked out very well. Also, your work with cast resin for the ornamentation looks like a very good technique that us fellow modelers should learn.
- 692 replies
-
- 7
-

-
- eagle of algier
- chebec
- (and 2 more)
-
Just read through your log Zappto, very nice work on a beautiful subject! The colors and details you used, along with your craftsmanship, are making this a real showpiece for Mamoli.
-
Nils, so sorry I missed the conclusion of this build. Wow! Really amazing work on this and the other models in your personal museum. Absolutely incredible detail and precision. Your work on such complex curves for models like this, the Pamir and Gorch Fock and really impressive. I also look to your Pegasus log often when working on mine. By the way, your wife is a saint for helping and allowing for such large models to be displayed. When I finished my first model (the Badger), my wife was concerned that I'd fill the house with models. I told her I work so slowly that she won't have to worry about that ever happening. Congratulations again my friend. I just signed up for your Chebec log which is going to be another stunner
- 2,625 replies
-
- 4
-
-
- kaiser wilhelm der grosse
- passenger steamer
- (and 1 more)
-
Aldo!!! I'm so happy to see you back here my friend. It's been quite some time, and I was wondering how you were doing. You've made some really nice progress on your Triton build - it's coming along fantastic! It's really cool to watch you move from kits to scratch building, in particular, your work with the plans and CAD. The CAD stuff is a brave new world for me, so I'm taking notes while watching you. Stay good my fellow Badger Brother. Glad to see you are back
-
Really impressive work Jason. Top notch, masterful joinery, painting, etc. Incredible! On the rudder coat, I saw that Micromark now carries “leather paper” - I think it’s a kind of textured paper that simulates leather. I’ve never used it so can’t vouch for it, but just throw that out there if you are looking for potential materials.
-
Very nicely done BE. The stern to me is one of those make or break parts of the model, and it looks like you executed it flawlessly.
- 574 replies
-
- 4
-
-
- cheerful
- Syren Ship Model Company
- (and 1 more)
-
Looks really nice from here Gary, don’t be too hard on yourself! It’s very nicely done! Are you planning to paint or stain the hull below the wales? At first I thought you painted it white to simulate the white stuff, but I’m guessing it’s the natural basswood? Whatever it is, it’s a nice contrast to the other colors of the hull.
-
Thanks very much Hubac and Russ. Glad to get confirmation from others! Chris, I think that might be on the cards. I need to start practicing though. It’s actually a more complicated figurehead in that the Zeus figure is fronted by an eagle with an outstretched wing, that I think Zeus is holding onto. Might be a little tricky but possibly not too bad with the cast figurehead as a model.
-
Looks great Russ. White paint can be tricky, if not unforgiving when it comes to showing mistakes. Your build and paint job look fantastic!
- 420 replies
-
- 2
-
-
- captain roy
- lugger
- (and 2 more)
-
Joe I’m down in FL at Disney with the family. Nice break from the cold we’ve been having in our area!
- 682 replies
-
- 4
-
-
- halifax
- lumberyard
- (and 1 more)
-
Aren’t there parts that are 1.5 and 2mm ply? My Caldercraft Badger kit had similar ply that chipped if you looked at it.
-
Bob, happy New year to you. Just caught up on your log and wasn’t surprised to see your usual high level of craftsmanship. Nice job!
- 682 replies
-
- 4
-
-
- halifax
- lumberyard
- (and 1 more)
-
The ply was really crumbly for me too. At least the deck ply will be covered - I believe that some of the thin laser cut sheets are made of similar crap 👎. Not a big deal as I’m scratching those parts, but just forewarning that these are delicate and you might need paint and filler.
-
I didn’t want to find out. I suppose if you’re very careful everything out be fine but I preferred having more stability. It was pretty easy to do, so why not.
-
Take a look at my Pegasus log. I added additional support for the deck along the centerline to be on the safe side. The bulkheads don't adequately support the deck.
-
The veneer saw is a great tool. I bought one to saw the bulkhead extensions after BE’s recommendation. Not a necessity, but makes things very easy!
-
Don, let me add my admiration to the others. Really nice job! I’m not aware of other kits that take this temporary approach, but makes a lot of sense to me. Another creative feature of these MarisStella kits.
-
I believe I did get smaller cannons for the swivel guns. Don’t remember if they were RB of not. I believe they were. I also have some Caldercraft ones that could work. For hull planking, the planking runs were certainly made up of multiple planks. TFFM (I believe volume 2) has a sample hull planking diagram. Shorter planks, especially if you spile them, will be less prone to clinking.
-
Micromark has some "Age-It" products that will cause and aging effect. I think they come in brown and gray tones. I tried them out and they have a nice effect on various woods.
-
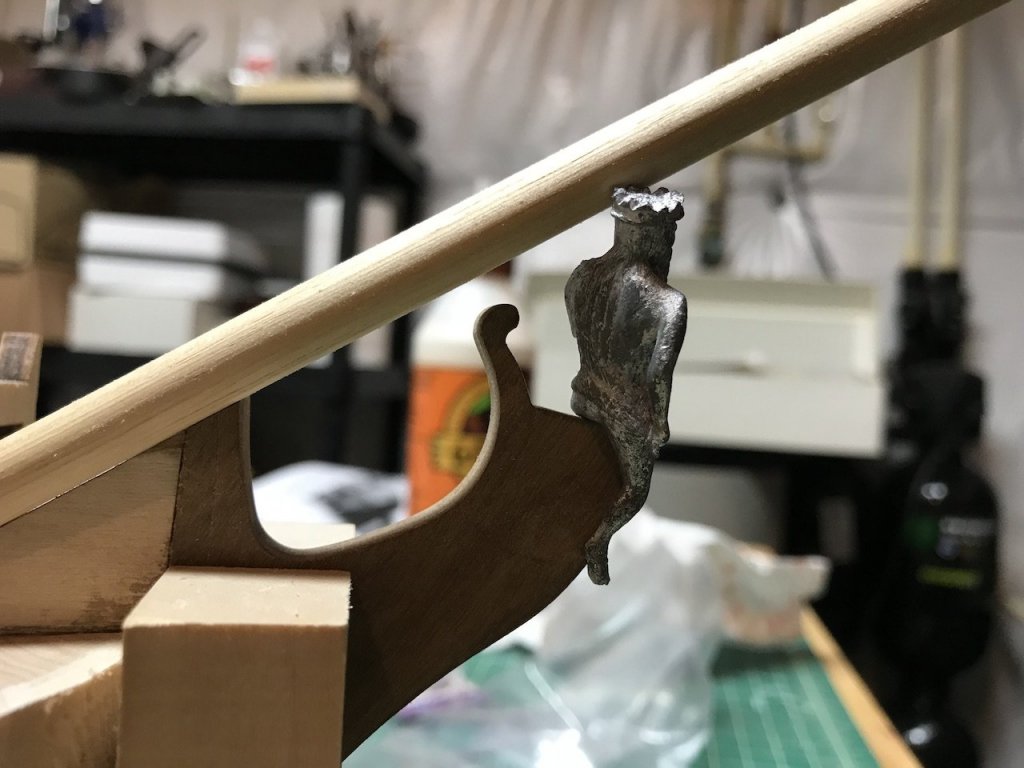
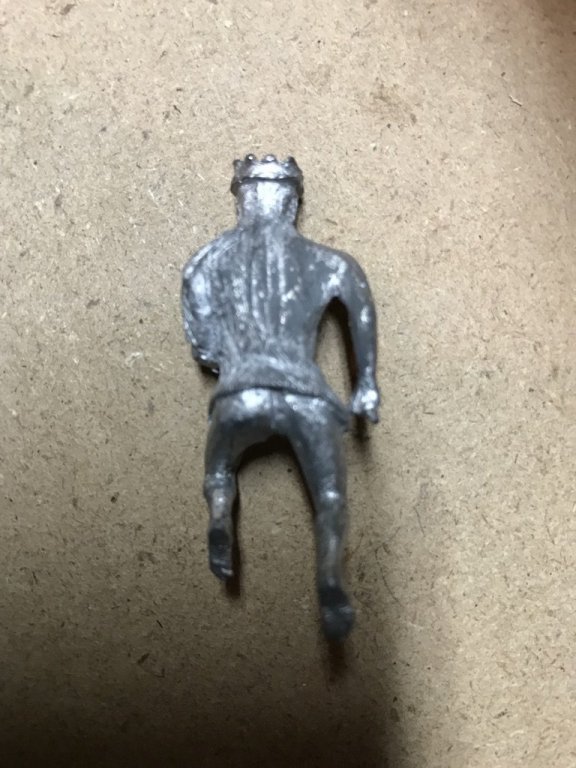
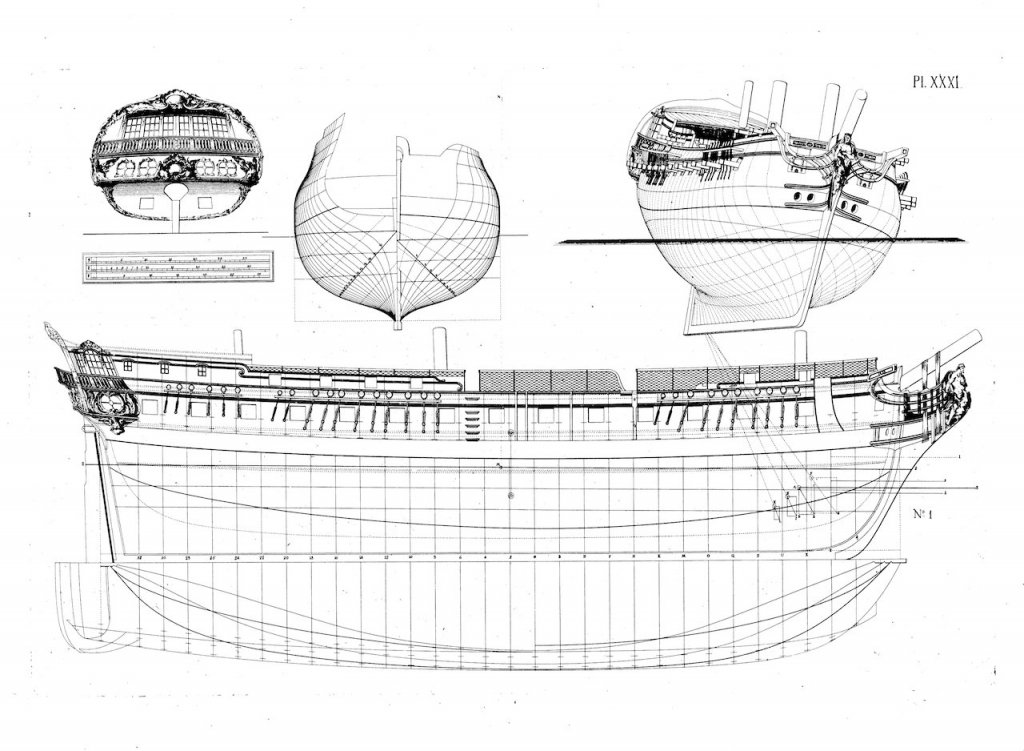
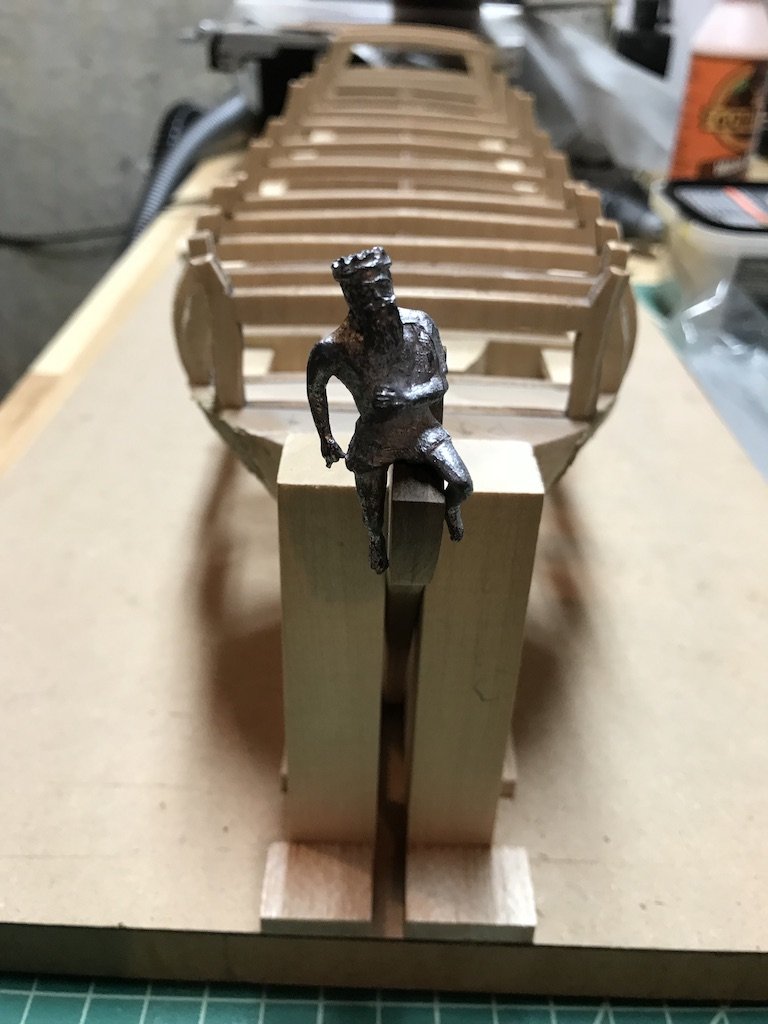
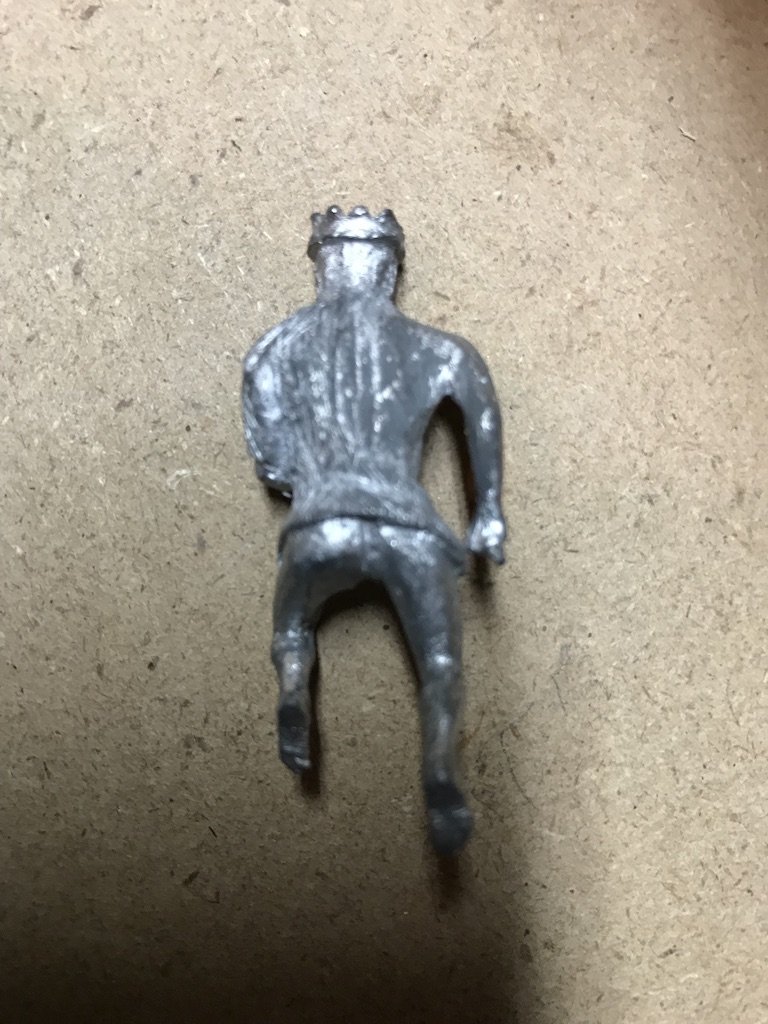
Figurehead In my hull prep work, I cut out a portion of the first bulkhead and a bit of the false keel and filler blocks on either side to help seat the bowsprit. I figure that rather than having the bowsprit sit on the gun deck, it would be a little more secure if it went through the gun deck and then the gun deck and planking could serve as a sort of anchor just like mast slot blocking on for the masts. In doing so, I decided to test fit the figurehead and discovered a few problems. As you can see, the figurehead doesn't sit squarely on the stem. Even if I squared the figurehead's, uh, bottom, a bit (or filed down the stem) so that it would sit flush, the problem is that the figurehead still will sit too high on the stem for the bowsprit. In the second picture, you can see the problem, even with the figurehead sitting at the front edge of the bowsprit. I went back to the plans to see if perhaps the rake of the bowsprit as set by the false keel and stem (two parts of which matched perfectly) was off, but the rake was in the range of both the plans (oddly, plan 7 specifically says 29 degrees from the waterline when plan 17 shows 32 degrees) and Chapman's Architectura (which was about 31 degrees). The false keel is around 31 degrees, so the problem is not with the false keel. So given that the rake of the bowsprit as set by the false keel is correct, the figurehead needs to sit much lower, as the bowsprit should clear the top of the figurehead by around 6mm. As you can see in Chapman's Architectura, the figurehead pretty much sits way back on the stem against the curly piece of the stem, and the line of the curly piece to the top of the figurehead is roughly parallel to the line of the bowsprit. Interestingly, in the few pictures I've found of others working on the kit, it seems as if the builders chose to increase the rake of the bowsprit to accommodate the figurehead. I think I'm going to stick with the current rake, and instead figure out what to do with the figurehead itself and the stem. For this stage of the build, I just needed to ensure that the rake of the bowsprit and seating was set up correctly, so I don't have to make any decisions at this point. My guess is that I will at some point have to lower the seat on the stem. It might come down to carving a new figurehead too if I can't modify the kit figurehead to sit squarely on the stem.