Jump to content

Recommended Posts

Posted

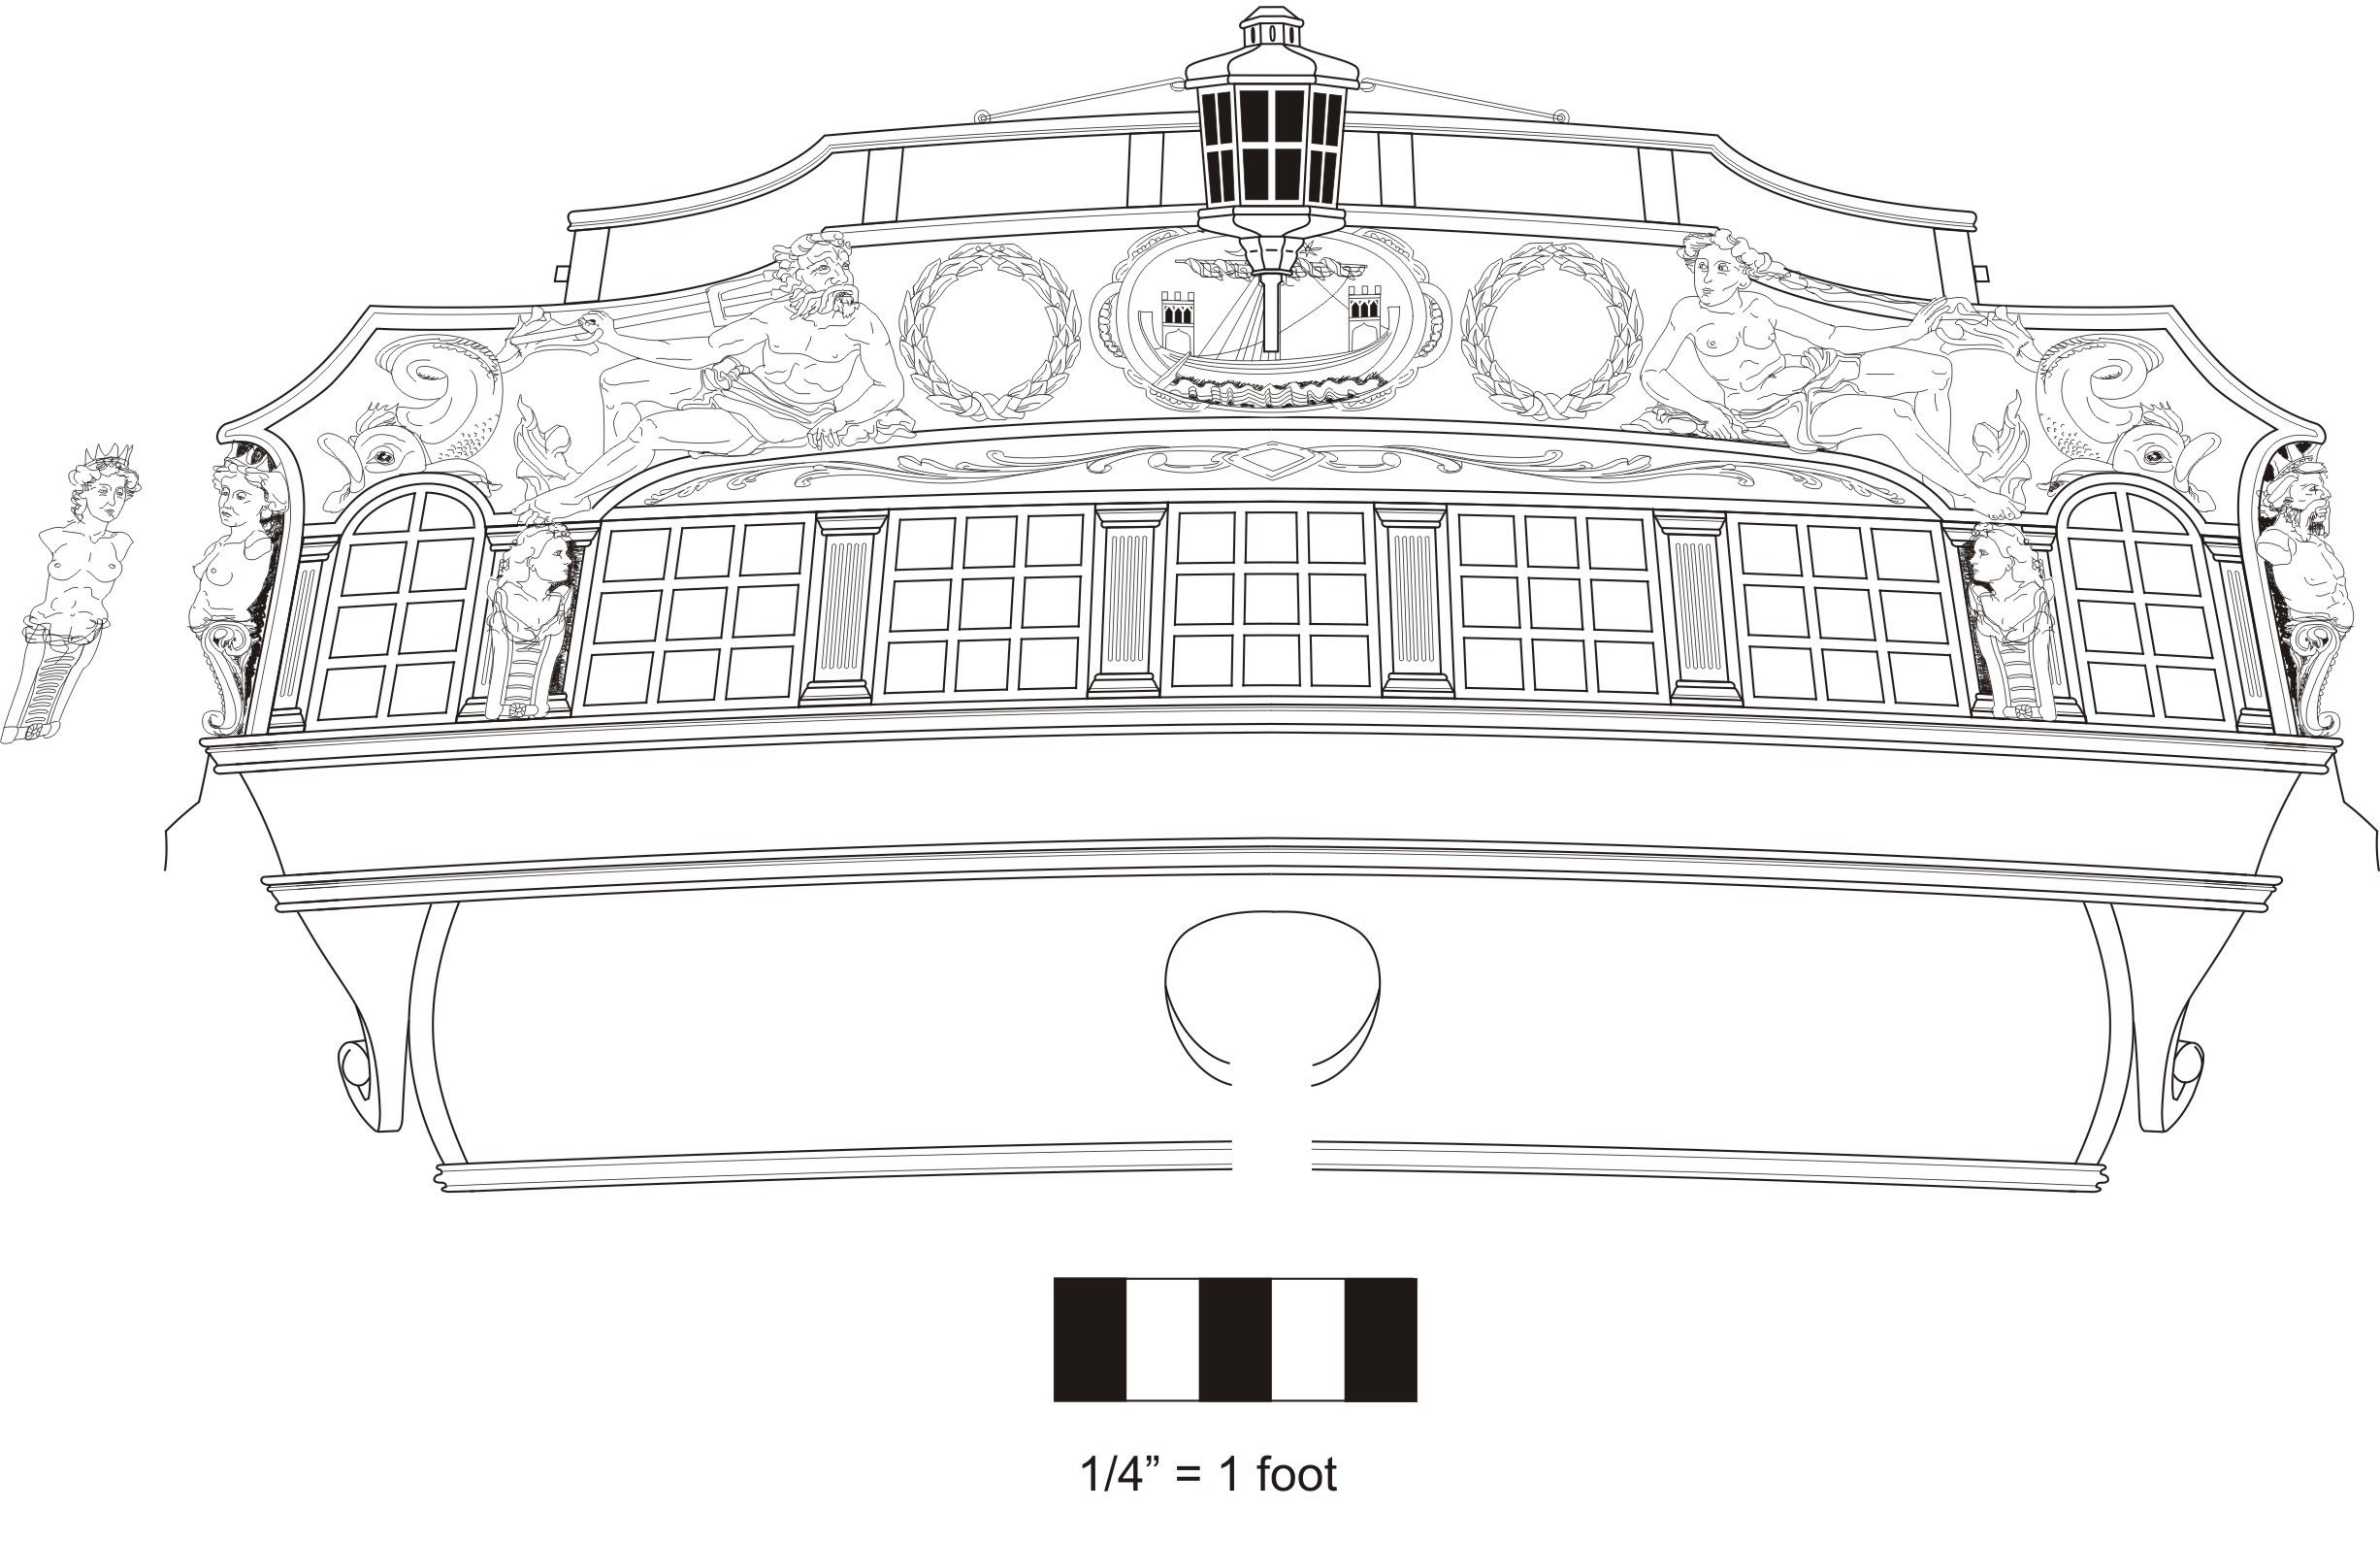
Here is what the frieze with the name looks like tested on the model.  Its a little crooked but this is just a test...its not glued on yet.   I think this one is the winner.  Thank you David for helping me with the font. It looks very good and much better than my attempts.


friezetest3.jpg

friezetest4.jpg

Posted

Just a small update...I have put the seats in the galleries.  This means I can start closing them up next.  The seats are made of two laser cut pieces that are 1/32" thick.   The front panel and the top.   You still need to bevel and tweak the edges for the best fit.


seatqgall.jpg

Posted

Your work is so clean and exact.  I keep finding my self pulled back into this log.  This will be a beautiful ship.   I am so tempted to jump in.  I only hesitate due to the fact I have two builds started and two other kits collecting dust and my life causes me to drift in and out of model ship building like the tide.  


What really is appealing to me is the way you are doing this.  I admire the work of Masters like you and others on this forum.  When I look at some of the build logs on MSW I often think, I wish I could build a ship with that level of craftsmanship.  The closer I look at this log the more I believe you are really paving a way for others to learn and bring their skills to the next level.   Not only is the kit superb and provides a solid foundation but your log and teaching style provides the guidance a novices like myself would need.  I know form the many enjoyable hours I have spent reading a number of your build logs over the years that is not an accident but by design.  


My hats off to you Sir!

Mark

Current Builds: 18th Century Merchantman 1/2 Hull  Smuggler  Pride of Baltimore II

Gallery:  Yankee Hero  Armed Virginia Sloop
Future Builds: Rattlesnake, Fair American

Posted

Personally, I think it would be awesome for Chuck's figure to be seated on the seats of ease, holding a miniature set of plans. Imagine future historians peering through the lights and trying to make sense of that one!

Greg

website
Admiralty Models

moderator Echo Cross-section build
Admiralty Models Cross-section Build

Finished build
Pegasus, 1776, cross-section

Current build
Speedwell, 1752

Posted
9 hours ago, Blue Pilot said:

Your work is so clean and exact.  I keep finding my self pulled back into this log.  This will be a beautiful ship.   I am so tempted to jump in.  I only hesitate due to the fact I have two builds started and two other kits collecting dust and my life causes me to drift in and out of model ship building like the tide.  


Hi Mark,

Like you, I have a couple of unfinished builds but decided to take the plunge anyway.  And, like you, I tend to drift in and out of model ships but I wanted to try my luck at scratch building and figured this would be a good start.  I have to admit, for only $15 it's not a huge loss if I decide that I'm over my head or this is too advanced for me.  For any build where I can get Chuck's build log and advise, I would have to say it's more than worth the money.


I would love to buy Chuck's kits for this build but it wouldn't be a scratch build.  I'm going to try to muddle through with the few tools I do have. I may have to tap out and place an order or two with Syren but for now I'll go it alone.


Take the plunge. There is nothing (or at least very little) to lose.

Derek

If you want to build a ship, don't drum up the men to gather wood, divide the work and give orders. Instead, teach them to yearn for the vast and endless sea  

Antoine de Saint Exupery


Current Builds

Bluenose - Model Shipways - 1:64 Scale

Fair American - Model Shipways - 1:48 Scale

HMS Winchelsea 1764 - Group Build

On Deck

Guns of History Naval Smoothbore Deck Gun - 1:24 Scale

Finished Builds

Mare Nostrum - Artesania Latina - 1:35 Scale

Guns of History Carronade - Model Shipways - 1:24 Scale


Member of the Nautical Research Guild


Posted

To close up the Qgalleries, I  started by adding the top.  This is laser cut (1/16" thick)  It is important to create the same angle as the bottom.  This was marked with the paper template earlier.  You can see my tick marks in pencil.  Getting this angle correct is crucial just like the bottom of the Qgalleries.  Otherwise your windows wont fit well.  The aft edge needs to be beveled to sit flush against the transom.


qgall1.jpg

Next we need to put in the uprights between each window.  These are two layers of 3/64" thick laser cut strips.  One layer is slightly wider than the top layer.  This forms a rabbet on both sides when glued together as shown below.  You will need four of these on each side.  Clean the laser char off each layer before you glue them together.


qgall2.jpg

You should also paint the top face of these blue before you start shaping them.  Yes you will need to touch these up later but this helps.  I am using cerulean blue acrylic paint.  It is a pretty good match to the friezes.  You can see these four pieces glued into position below.  One note.....the two outside pieces dont have a rabbet on the outside edges.  They were sanded away.  The rabbet is used to catch the windows when they are inserted later.  In fact, how do you know where these should go so they are spaced the proper distance apart.  Use the laser cut windows as a guide.  I started by gluing the two outside pieces on first.  Then I positioned a window temporarily so I knew where the next one went.  Do this carefully so all your windows fit.  Its good to do a dry fit first.  Use rubber cement to temporary hold the uprights in position.  


qgall3.jpg


Another important note....the forward upright has a very drastic bevel on its forward edge so it fits snug against the planking.  I also left each upright a bit longer and once glued in place, I sanded them flush with the top.  It should look like this when you are done...but the windows are NOT glued in at this point.  Dont do that yet....


You will also notice that these uprights stand proud of the transom edge....that is OK and by design.  It should stand proud by one layer or 3/64" along the transom.


qgall4.jpg

Then we had to insert the top above each window.  There are two layer remember?  But you seriously only need to put the outside layer on.  Its OK to leave a gap because the roof (with its shingles) will cover those gaps.  I used 7/32" wide x 3/64" thick strips.  This is wider than you will need.  But after getting the angles correct and they are glued in position, you can sand the tops down flush like the uprights.


qgall5.jpg

Lastly....we need to add the fancy molding along the top edge of the Qgallery.  It is scraped like the others and is also 1/8" wide and 3/64" thick.

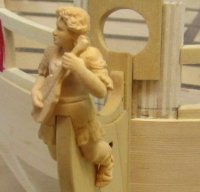
You will need to bend this to get it to lay against the surface properly.  I also had to file out the aft edge of the molding so the figure would fit.  I used a sharp miniature chisel actually after the molding was glued into position.  I think you can see what I did so the shoulder of the figure would fit.


qgall7.jpg

qgall6.jpg

To finish it up I will have to add the fancy fluted columns in between the windows next...but I ran out of steam and will do that during the week. 😊


Posted

Looks beautiful Chuck, you Sir are a true craftsman. Wish I had a tenth of your talent.


Will the frieze and these two figures be available when this chapter is issued?

Regards,

Jim Rogers


Damn the Torpedoes , Full speed ahead.   Adm David Farragut.

Posted

I hope so.  I actually have three resin sets of figures right now.  Jack is almost ready with his so you can order them.  The friezes will be available to download.  


But you guys still have a long way to go!!!! Theres a lot planking ahead you guys.   Dont rush through that....this stuff will be ready when you are ready.  😃

Posted
15 hours ago, Chuck said:

To close up the Qgalleries, I  started by adding the top.  This is laser cut (1/16" thick)  It is important to create the same angle as the bottom.  This was marked with the paper template earlier.  You can see my tick marks in pencil.  Getting this angle correct is crucial just like the bottom of the Qgalleries.  Otherwise your windows wont fit well.  The aft edge needs to be beveled to sit flush against the transom.


qgall1.jpg

Next we need to put in the uprights between each window.  These are two layers of 3/64" thick laser cut strips.  One layer is slightly wider than the top layer.  This forms a rabbet on both sides when glued together as shown below.  You will need four of these on each side.  Clean the laser char off each layer before you glue them together.


qgall2.jpg

You should also paint the top face of these blue before you start shaping them.  Yes you will need to touch these up later but this helps.  I am using cerulean blue acrylic paint.  It is a pretty good match to the friezes.  You can see these four pieces glued into position below.  One note.....the two outside pieces dont have a rabbet on the outside edges.  They were sanded away.  The rabbet is used to catch the windows when they are inserted later.  In fact, how do you know where these should go so they are spaced the proper distance apart.  Use the laser cut windows as a guide.  I started by gluing the two outside pieces on first.  Then I positioned a window temporarily so I knew where the next one went.  Do this carefully so all your windows fit.  Its good to do a dry fit first.  Use rubber cement to temporary hold the uprights in position.  


qgall3.jpg


Another important note....the forward upright has a very drastic bevel on its forward edge so it fits snug against the planking.  I also left each upright a bit longer and once glued in place, I sanded them flush with the top.  It should look like this when you are done...but the windows are NOT glued in at this point.  Dont do that yet....


You will also notice that these uprights stand proud of the transom edge....that is OK and by design.  It should stand proud by one layer or 3/64" along the transom.


qgall4.jpg

Then we had to insert the top above each window.  There are two layer remember?  But you seriously only need to put the outside layer on.  Its OK to leave a gap because the roof (with its shingles) will cover those gaps.  I used 7/32" wide x 3/64" thick strips.  This is wider than you will need.  But after getting the angles correct and they are glued in position, you can sand the tops down flush like the uprights.


qgall5.jpg

Lastly....we need to add the fancy molding along the top edge of the Qgallery.  It is scraped like the others and is also 1/8" wide and 3/64" thick.

You will need to bend this to get it to lay against the surface properly.  I also had to file out the aft edge of the molding so the figure would fit.  I used a sharp miniature chisel actually after the molding was glued into position.  I think you can see what I did so the shoulder of the figure would fit.


qgall7.jpg

qgall6.jpg

To finish it up I will have to add the fancy fluted columns in between the windows next...but I ran out of steam and will do that during the week. 😊


beauteful... hats off☺


svein erik

Posted

Thank You!!!


I added the columns to the QGalleries.  The top and bottom of the columns were done using a scraped strip of boxwood.  Basically you scrape the strip like you would make a molding.  Then cut off tiny pieces that become the top and bottom of each column.  You still must file the sape on each side to finish it off.  This was a 3/32" x 3/64" boxwood strip.


Then the fluted column was added between these two pieces to complete each column.  These are laser cut from .025" thick boxwood.  They have laser etched flutes.  


Note how just a small strip of blue remains on each side of the columns.  I will start working on the other side so now so I complete the galleries at the same time.  Then I will put the shingled roof on each qgallery.


colums.jpg

colums1.jpg

colums2.jpg

Posted

Chuck, you're doing a great job on the QGalleries. Very methodical and neatly done. Did you manage to straighten out the frieze with the name? How is the tissue paper working out?


Mike

Current build - Sloop Speedwell 1752 (POF)

Completed builds - 18 Century Longboat (POB) , HM Cutter Cheerful  1806 (POB), HMS Winchelsea 1764 (POB)


Member: Ship Model Society of New Jersey

Posted

Yes that was all straightened out, thanks.  The tissue paper didnt work.  I used plain paper and it worked well.  The friezes you see are glued on permanently now.  More to add soon. 


colums3.jpg

Posted
On 11/30/2019 at 4:16 PM, Chuck said:

Just a small update...I have put the seats in the galleries.  This means I can start closing them up next.  The seats are made of two laser cut pieces that are 1/32" thick.   The front panel and the top.   You still need to bevel and tweak the edges for the best fit.


seatqgall.jpg

Hi Chuck,


Would there be an outlet hole in the quarter gallery's floor, below the seat's hole?  It doesn't look like there would be anywhere for such a hole to go, what with the carved bit supporting the quarter gallery's floor from underneath.

Or does the seat in fact go over a chamber pot?  If so, I'm guessing that either the seat or the kick panel would have to hinge to allow removal of said article.  Or possibly the seat could just be loose, fitting snugly in the nook formed by the two walls and the kick panel.  Then it could simply be lifted off for maintenance access to the enclosure.

‘I looked into a book on trigonometry once,’ said Martin. ‘It was called A Simple Way of Resolving All Triangles, invaluable for Gentlemen, Surveyors, and Mariners, carefully adapted for the Meanest Understanding: but I had to give it up. Some understandings are even meaner than the author imagined, it appears.’

Posted

Yes there would be but they are seldom shown on ship models.  You could of course add one.  But its a bit "kitchen sink" for my tastes.


J6012[1].JPG

Posted


Hello, I would like to build it on a 1/35 scale, what should I do to print them in my work, I put it in 125%? I hope you can help me. Thank you very much, I'm sorry if it was not the thread to ask.

-HMS Tritón 1/48 1773 en scracht (TERMINADO)

-HMS Winchelsea 1/35  1764 full scracht (EN PROYECTO)


notpirate.png

Posted

Math isnt my thing....I will leave it to one of the other guys to give you that percentage!!!  :blink:  Keep in mind none of the stuff will fit that is offered as a laser cut package and also the carvings.  You will need to build it all at that scale.


Chuck

Posted

Hope this helps: 1/48 * x = 1/35 ==> x = 48/35 = 1.3714 or 137.14%

Regards Christian


Current build: HM Cutter Alert, 1777; HM Sloop Fly, 1776 - 1/36

On the drawing board: English Ship Sloops Fly, 1776, Comet, 1783 and Aetna, 1776; Naval Cutter Alert, 1777

Paused: HMS Triton, 1771 - 1/48

"Have no fear of perfection - you'll never reach it." Salvador Dali

Posted

Thank you for answering Mr. Passaro, yes, I want to build everything to scale, that's why I continue your work very carefully, however I need to know the percentage to print it at 1/35

-HMS Tritón 1/48 1773 en scracht (TERMINADO)

-HMS Winchelsea 1/35  1764 full scracht (EN PROYECTO)


notpirate.png

  • Recently Browsing   0 members

    • No registered users viewing this page.
×
×
  • Create New...