Elijah
-
Posts
1,310 -
Joined
-
Last visited
Content Type
Profiles
Forums
Gallery
Events
Everything posted by Elijah
-
 Nice job with that hatch! What do you use to blacken the parts?
 -
Nice progress Sjors!
-
Those are some fantastic looking gratings! I look forward to more!
- 1,306 replies
-
- 3
-

-
- syren
- model shipways
- (and 1 more)
-
Nice king plank!
-
Nice job! What is that rope on the boom for?
-
I'm not sure is this is what you mean, but Toni Levine's stove pipe has a conical shape, and it turned out great. Her ship is the Atalanta and is scratch built. http://modelshipworld.com/index.php/topic/198-hms-atalanta-by-tlevine-1775-148-scale-from-tffm-plans/page-54
- 648 replies
-
- 2
-
-
- niagara
- model shipways
- (and 1 more)
-
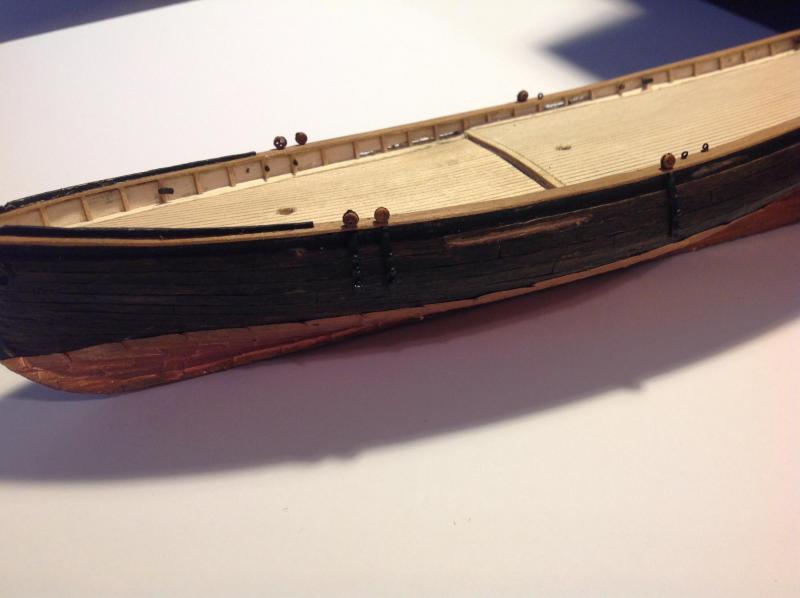
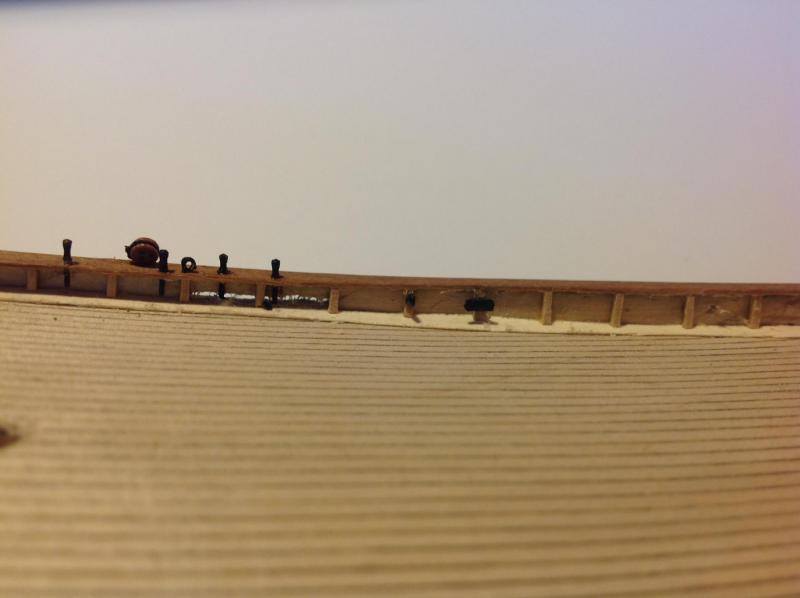
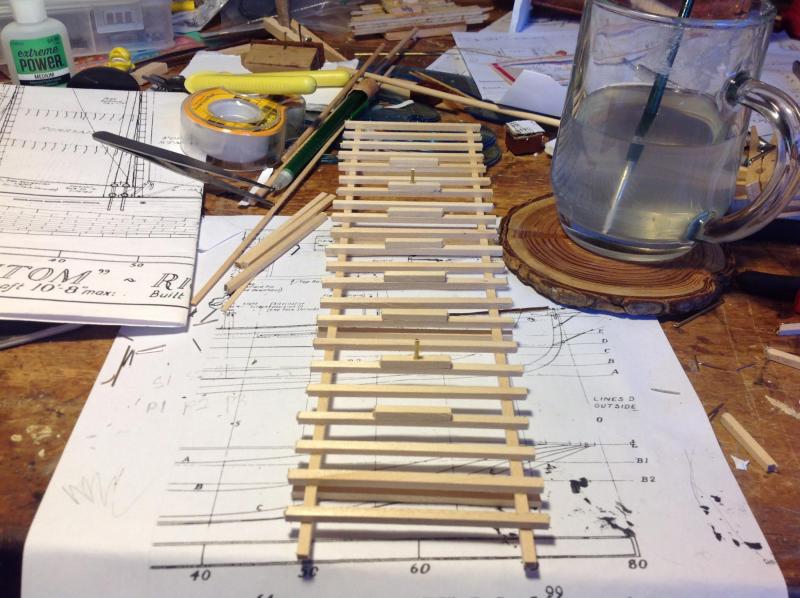
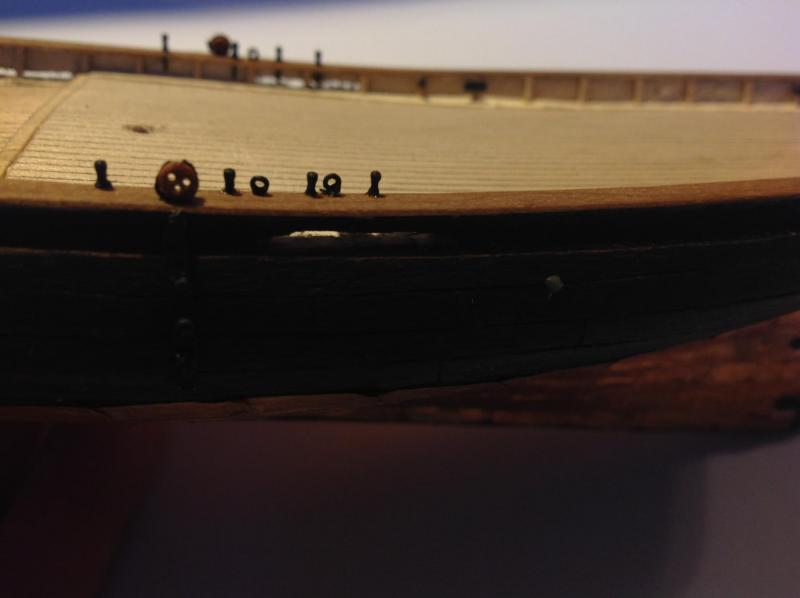
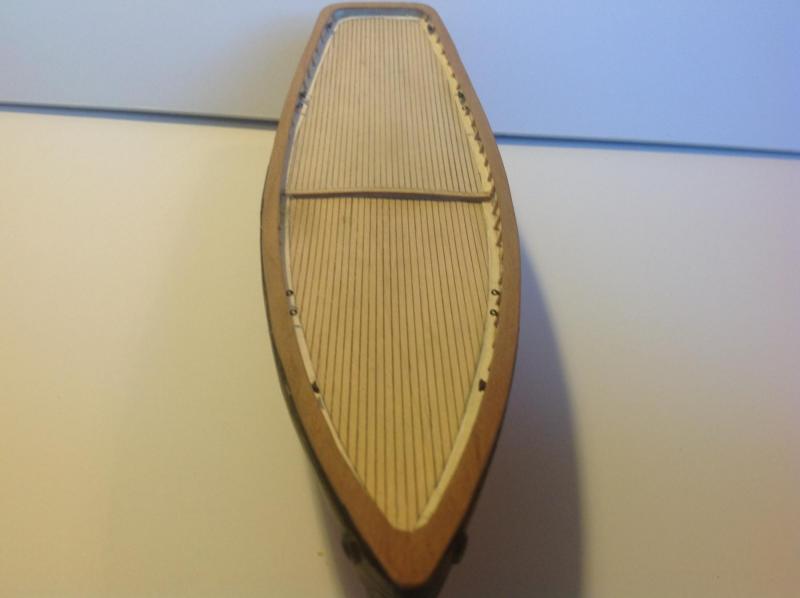
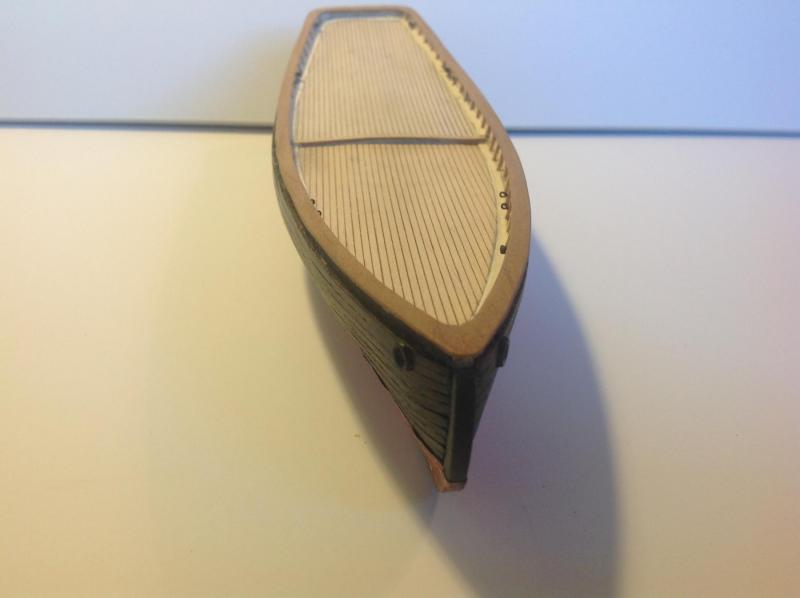
Hello again! Yesterday I had a sick day, so I got the whole day to build! You won't believe how much progress you can make when you have the whole day to work! I built the fairleads, splash rails, chain plates and deadeyes, belaying pins with rails, and some more eyebolts! The splash rails were fairly simple. I took them off of the plans and painted them. The fairleads were made from Manila folder and wire. The chain plates took the most time. I cut brass strips to the correct lengths, bent and shaped the hooks, drilled the holes, and cleaned them over a candle flame. The hole drilling was a bit more involving, as I broke the drill bit that was the correct diameter . I just used the next size down and drove a pin through each individual hole, widening it to the right dimensions. I painted them, and painted the pins that hold them on the hull. The deadeyes are held on by a thin black line that's kookier on the hook of the chain plate, threaded through the cap rail, and tightened around the deadeye. The line is held in place with ca. The belaying pins were painted at the head first, then glued in to the cap rail. After they were in the cap rail, they were painted on the lower half. The paint is only on the visible side, so it shouldn't rub off during rigging. None of these items were made completely perfectly, but I chose some of the more appealing photos . Though it isn't perfect, I am still happy with it. Plus, there isn't much I can change now, so why worry about it? Anyway, here are the pictures. I forgot. I also drilled the mast holes and have nearly finished the launching ways. Until next time!
- 701 replies
-
- 21
-
-
- phantom
- model shipways
- (and 1 more)
-
Should deadeyes be painted black, or would they be left natural during the late 1860's?
- 701 replies
-
- 4
-
-
- phantom
- model shipways
- (and 1 more)
-
I would just twist my pin vise in the other direction .
- 701 replies
-
- 3
-
-
- phantom
- model shipways
- (and 1 more)
-
Nice job! I like looking at the metal parts on your ship, they look fantastic! Nice job on the planking too, the edges fit together well.
-
Nice! I get a front row seat for once !
-
She is looking very nice and shiny! Very well done!
-
Nice to see you're back! I look forward to more progress!
-
Thanks everyone! Mike, they are fittings that came with the kit. Sadly, I am not done drilling large holes. Does anybody here have some advice as to drilling the mast holes at the right angle?
- 701 replies
-
- 5
-
-
- phantom
- model shipways
- (and 1 more)
-
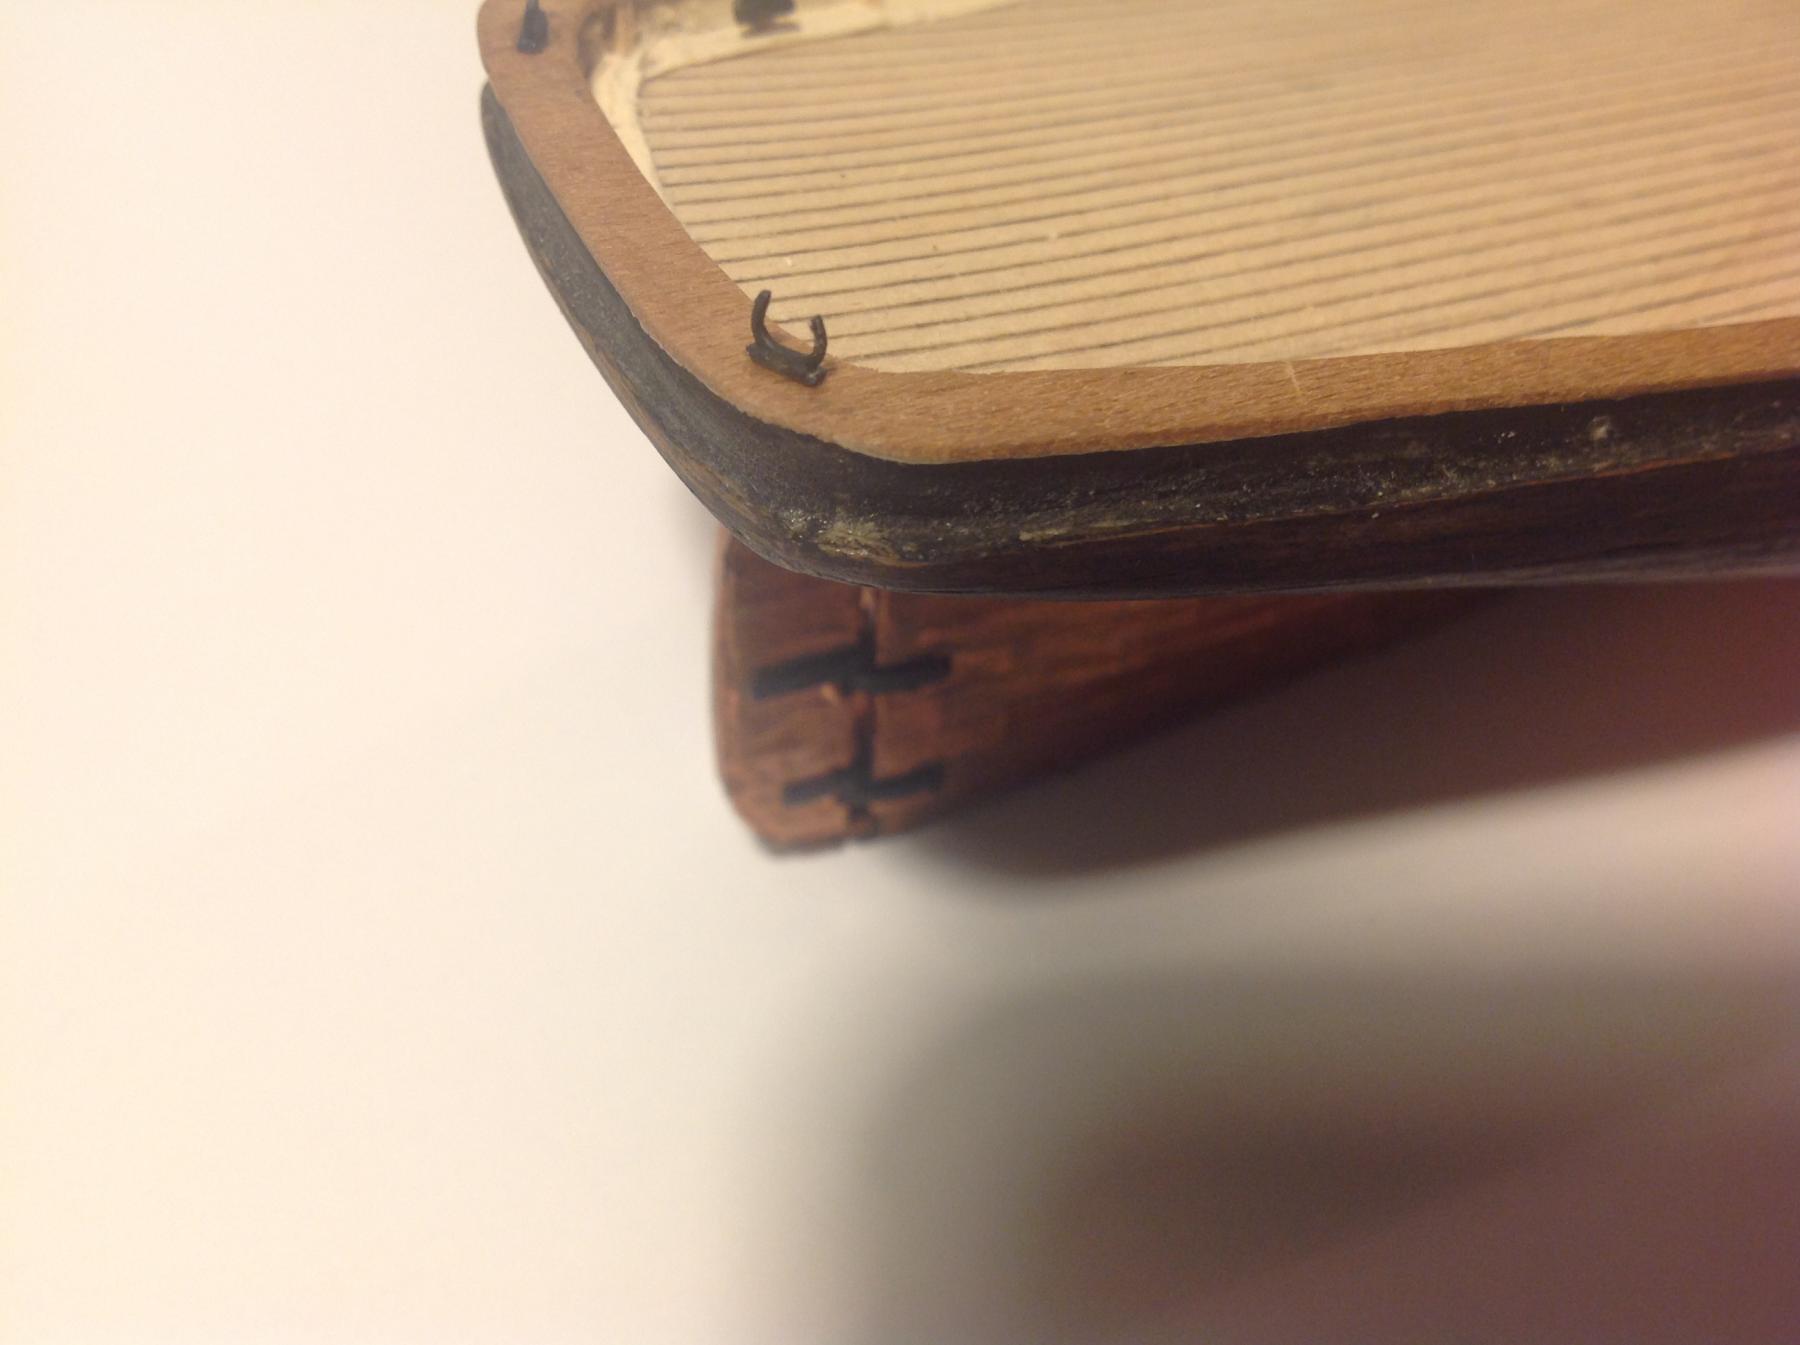
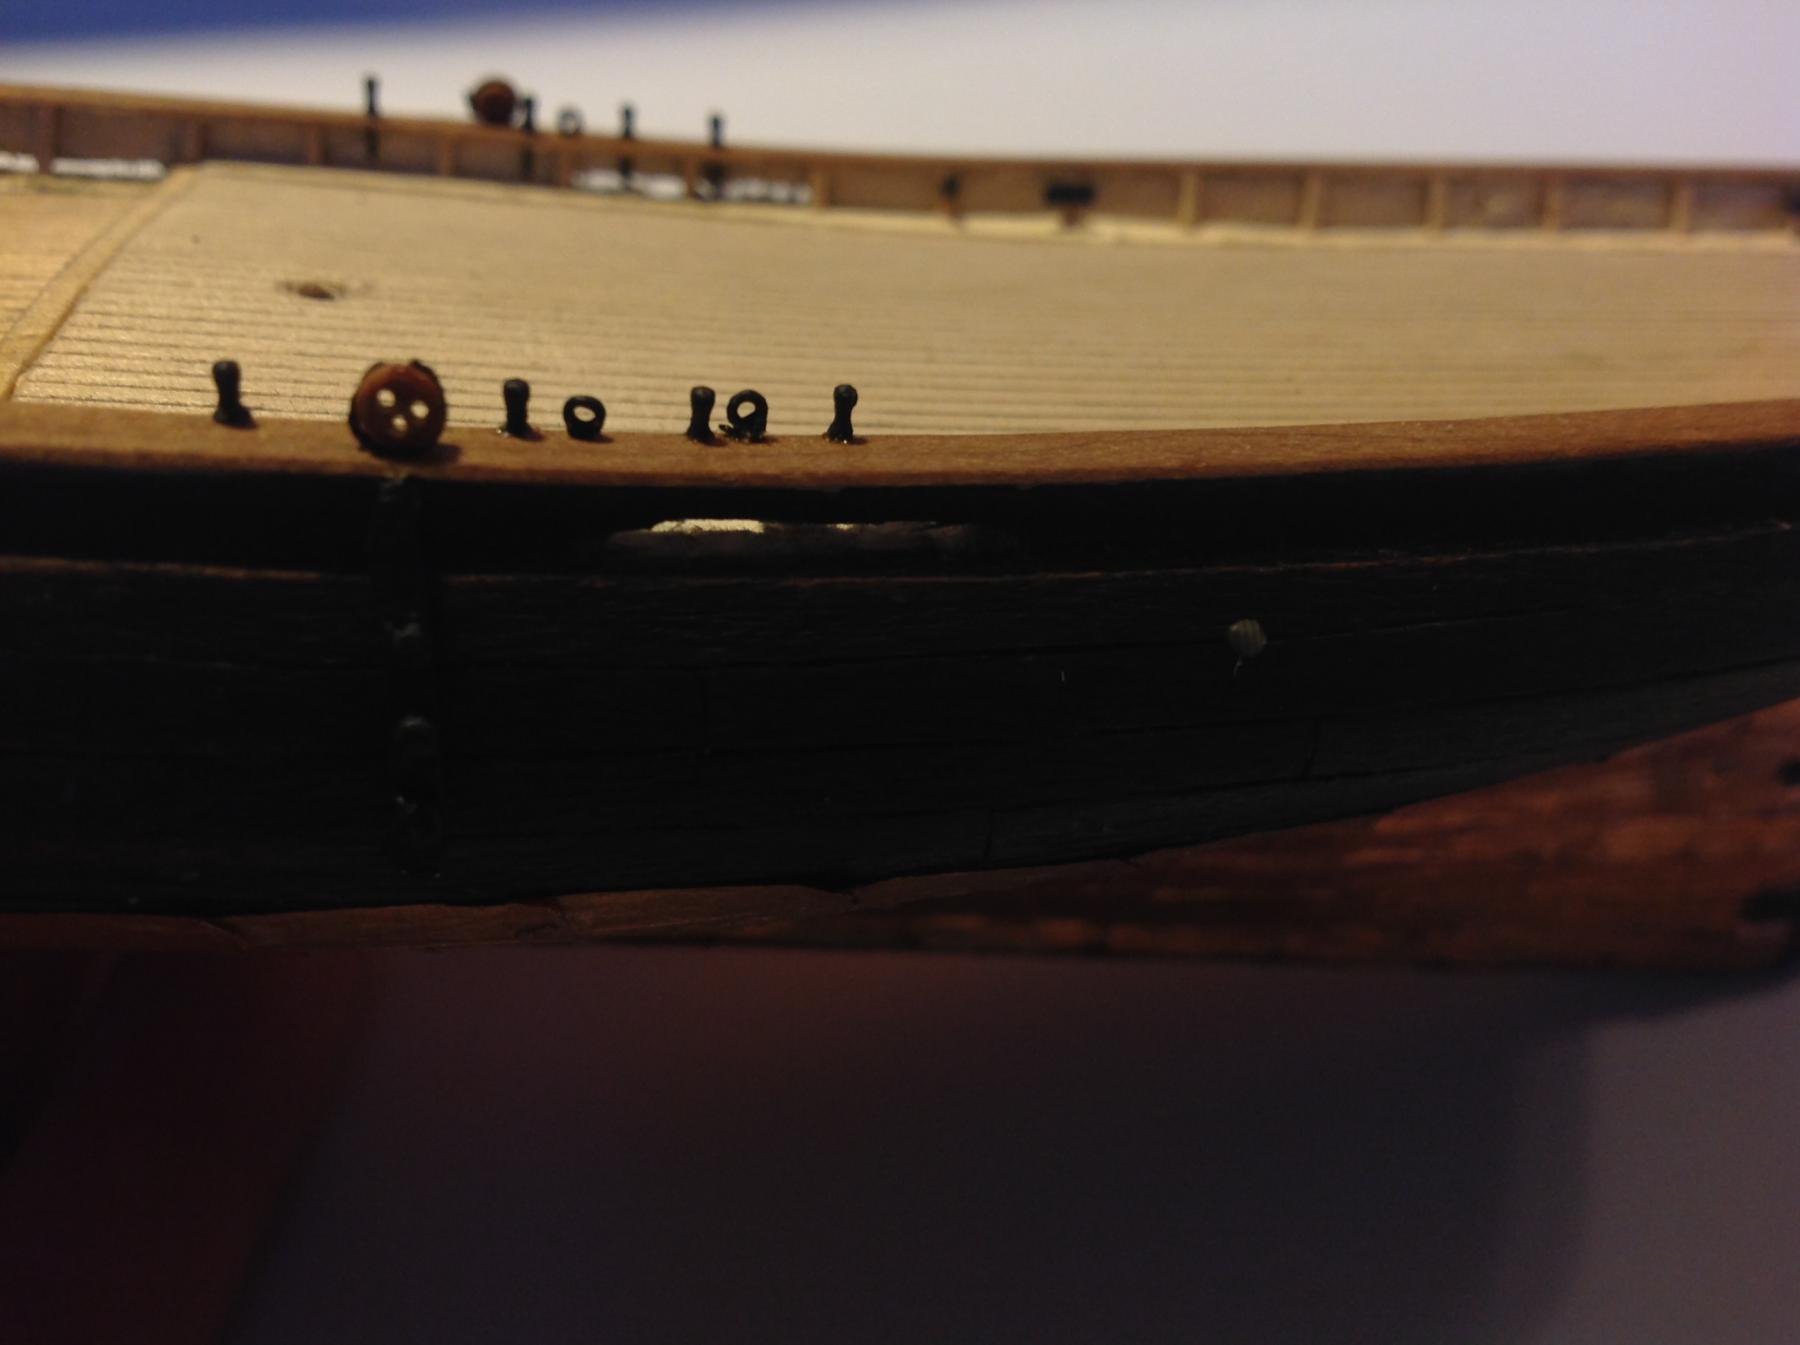
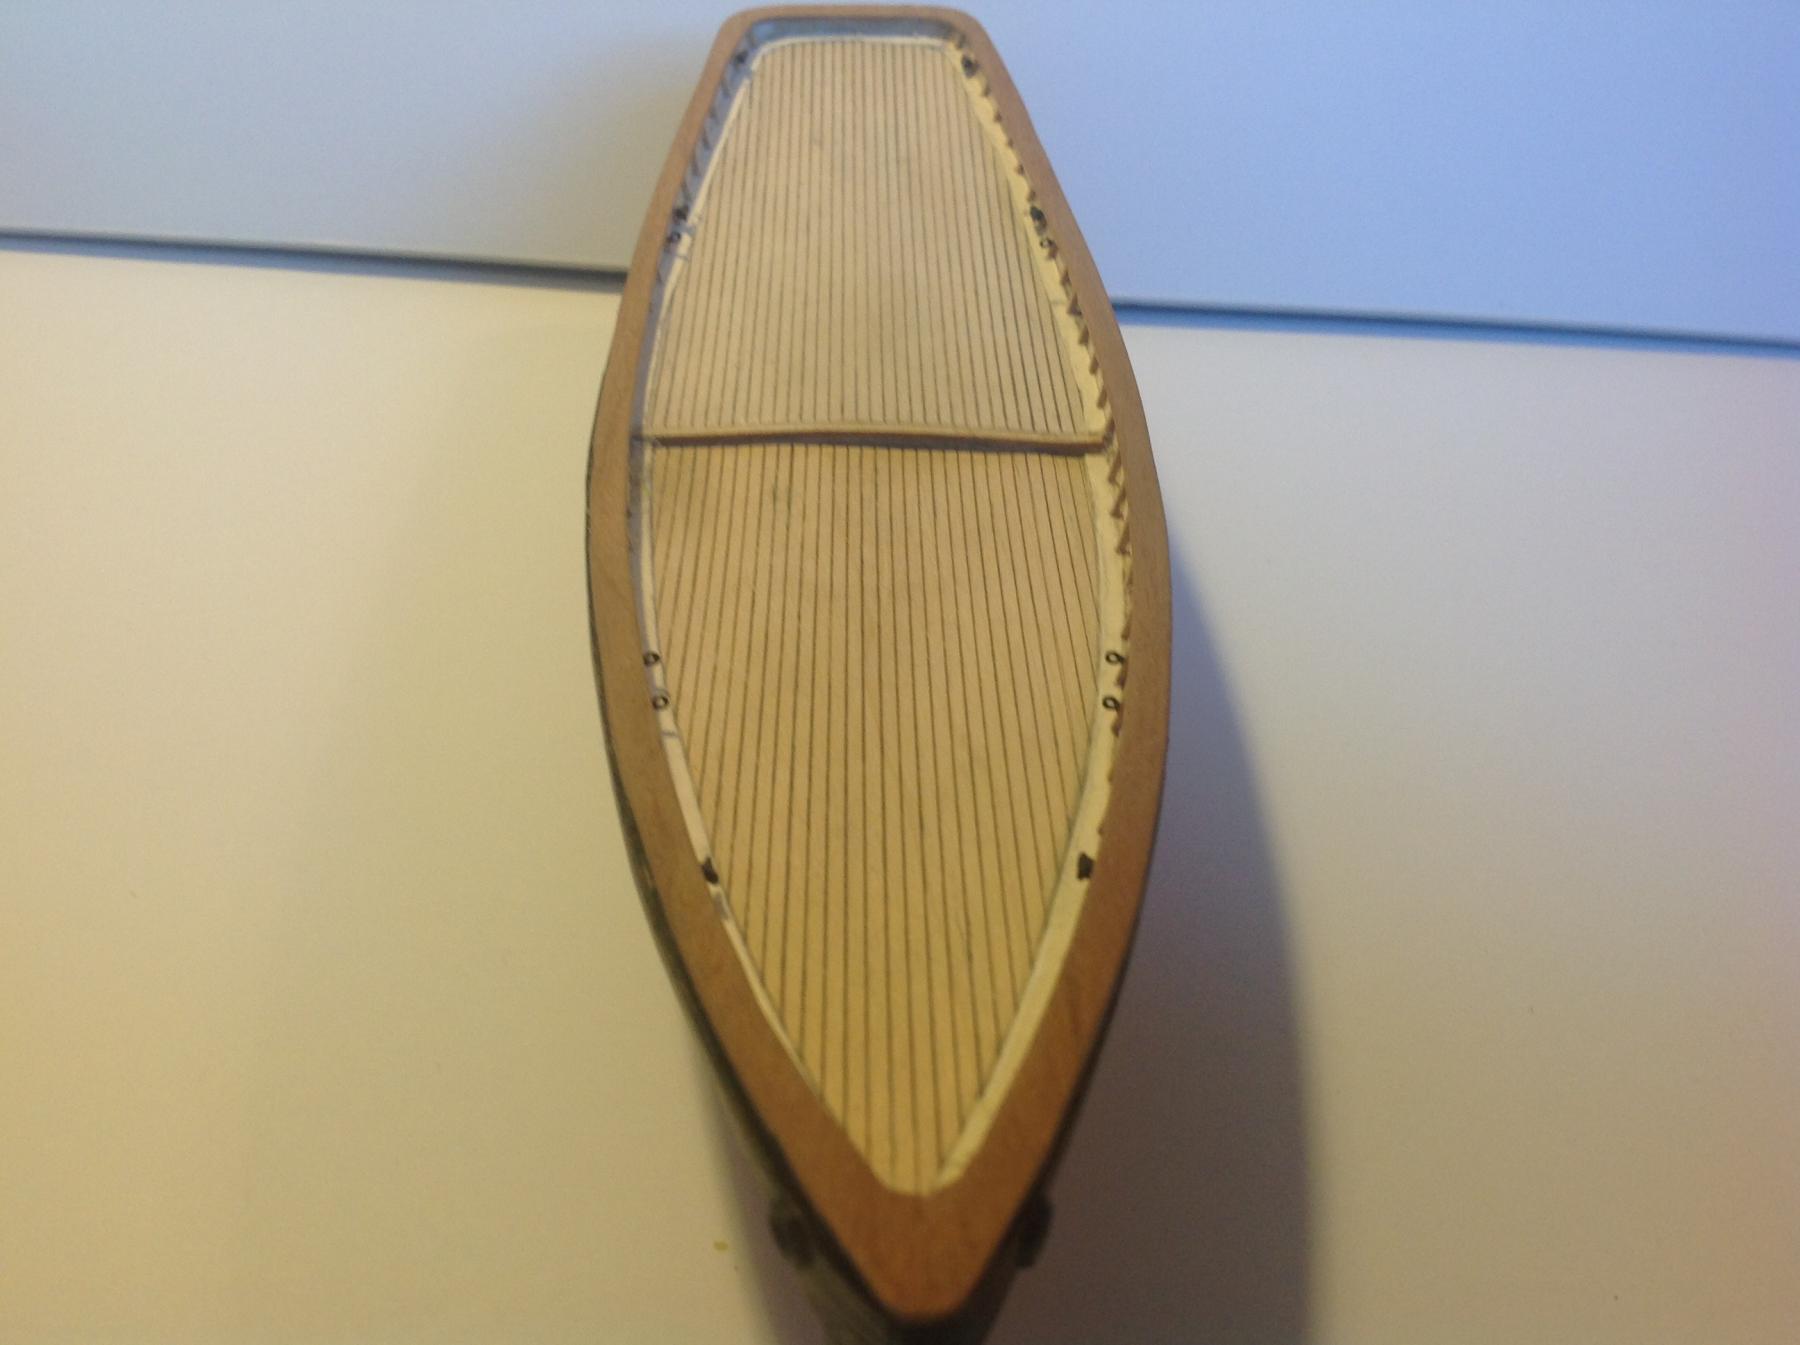
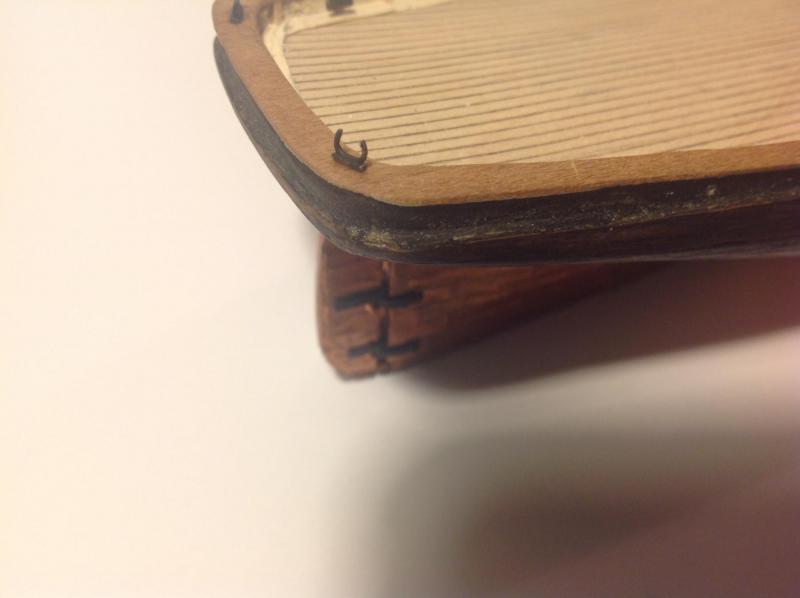
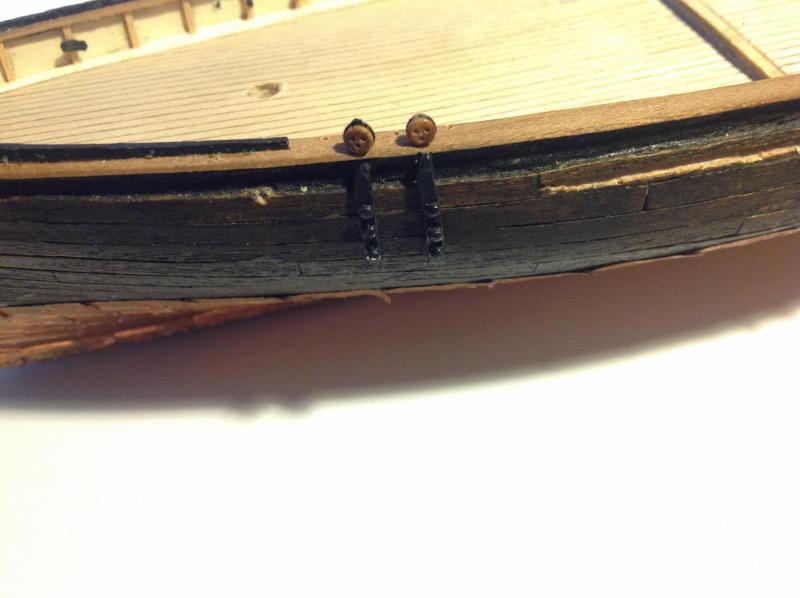
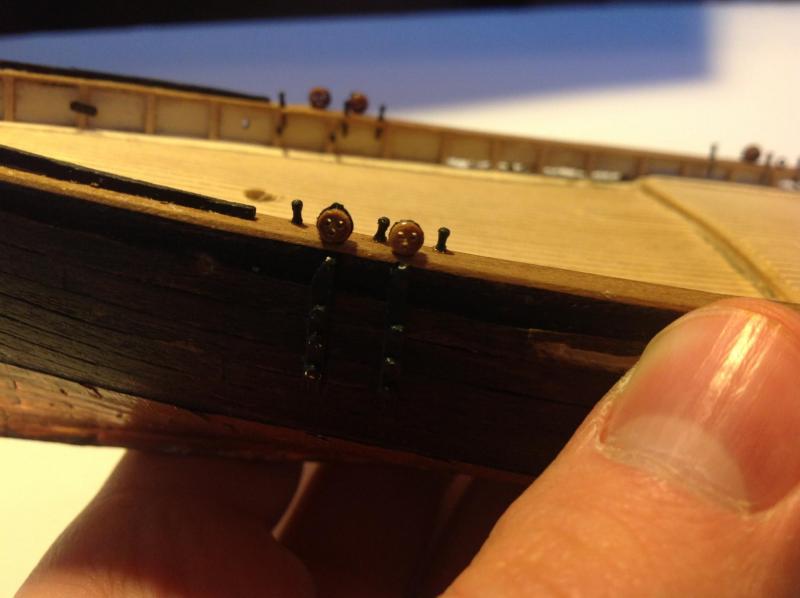
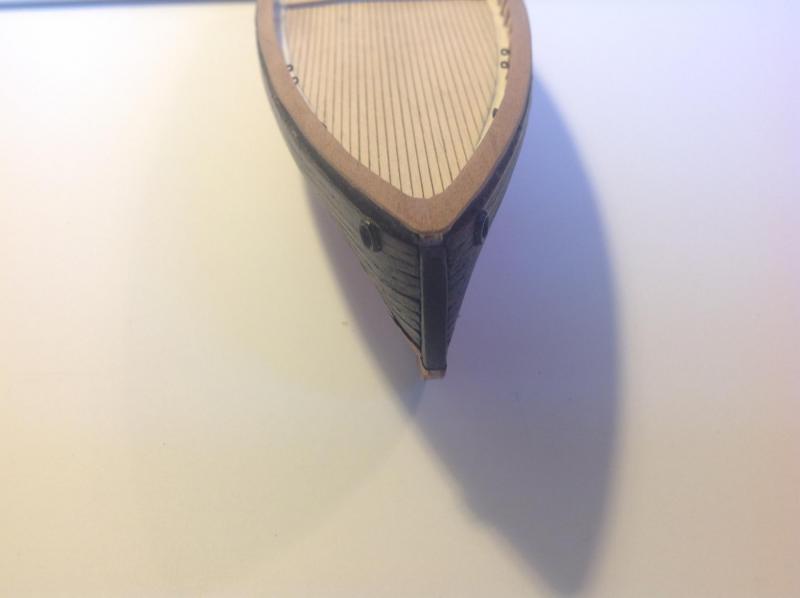
Hello again! I hope everyone is doing well! I have been continuing with tiny details. I made the eye bolts by burning of the plastic coating, cleaning them, paining them, and gluing them in the hull. I had drilled small holes in the stanching they are attached to first, as a way to make the connection stronger. I also drilled the hawse pipes. This was a bit nerve racking, but after consulting a few different builders, I was able to do it. I started with a tiny drill bit on the inboard side. I drilled halfway through, and did the same on the outboard side. I then enlarged the hole, and glued on the painted hawse pipe lids. Here are the pictures! Until next time!
- 701 replies
-
- 22
-
-
- phantom
- model shipways
- (and 1 more)
-
At this rate, you will be finished within two weeks! What do you do to make all the different parts fit the right shape?