Beef Wellington
-
Posts
2,249 -
Joined
-
Last visited
Content Type
Profiles
Forums
Gallery
Events
Everything posted by Beef Wellington
-
 She's looking fantastic Peter, always appreciate seeing updates so glad you got a prod! Your method for making the coils gives some very good results (assuming you are soaking with dilute PVA?), must confess that I don't really enjoy doing those too much myself but your efforts speak for themselves. Looking at the shots above, I'm wondering if you plan to mount the ships boats in the waist, it would be a shame to lose sight of all the details on the main deck.
 -
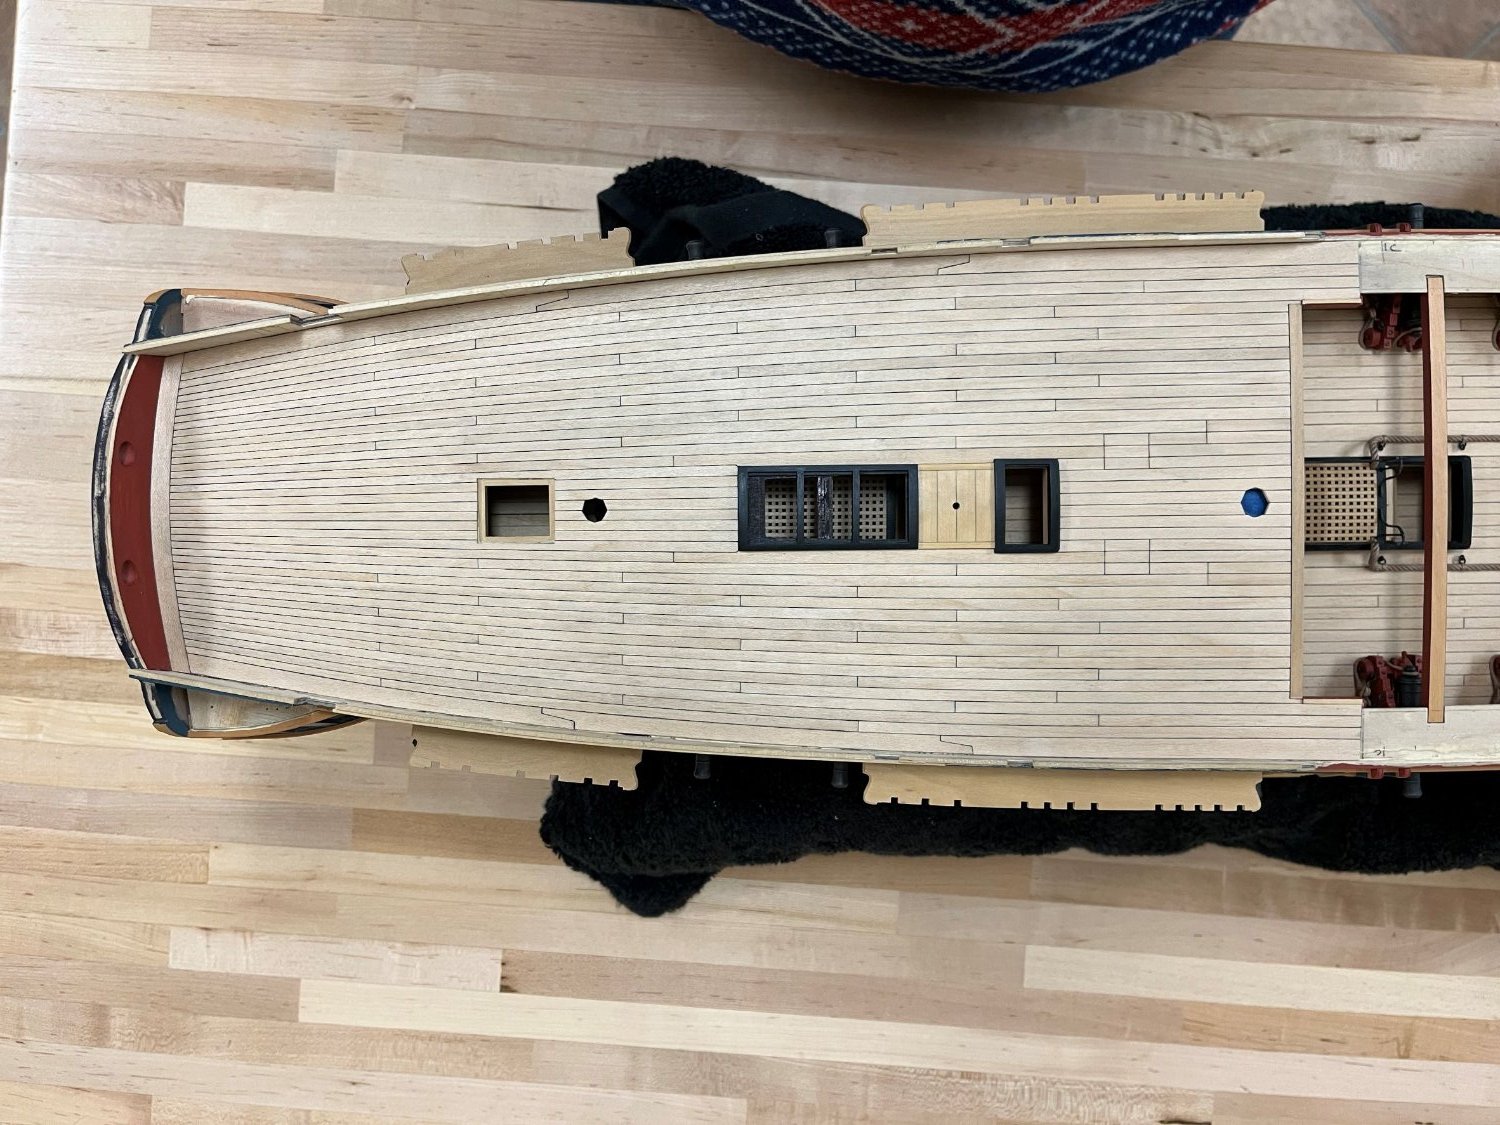
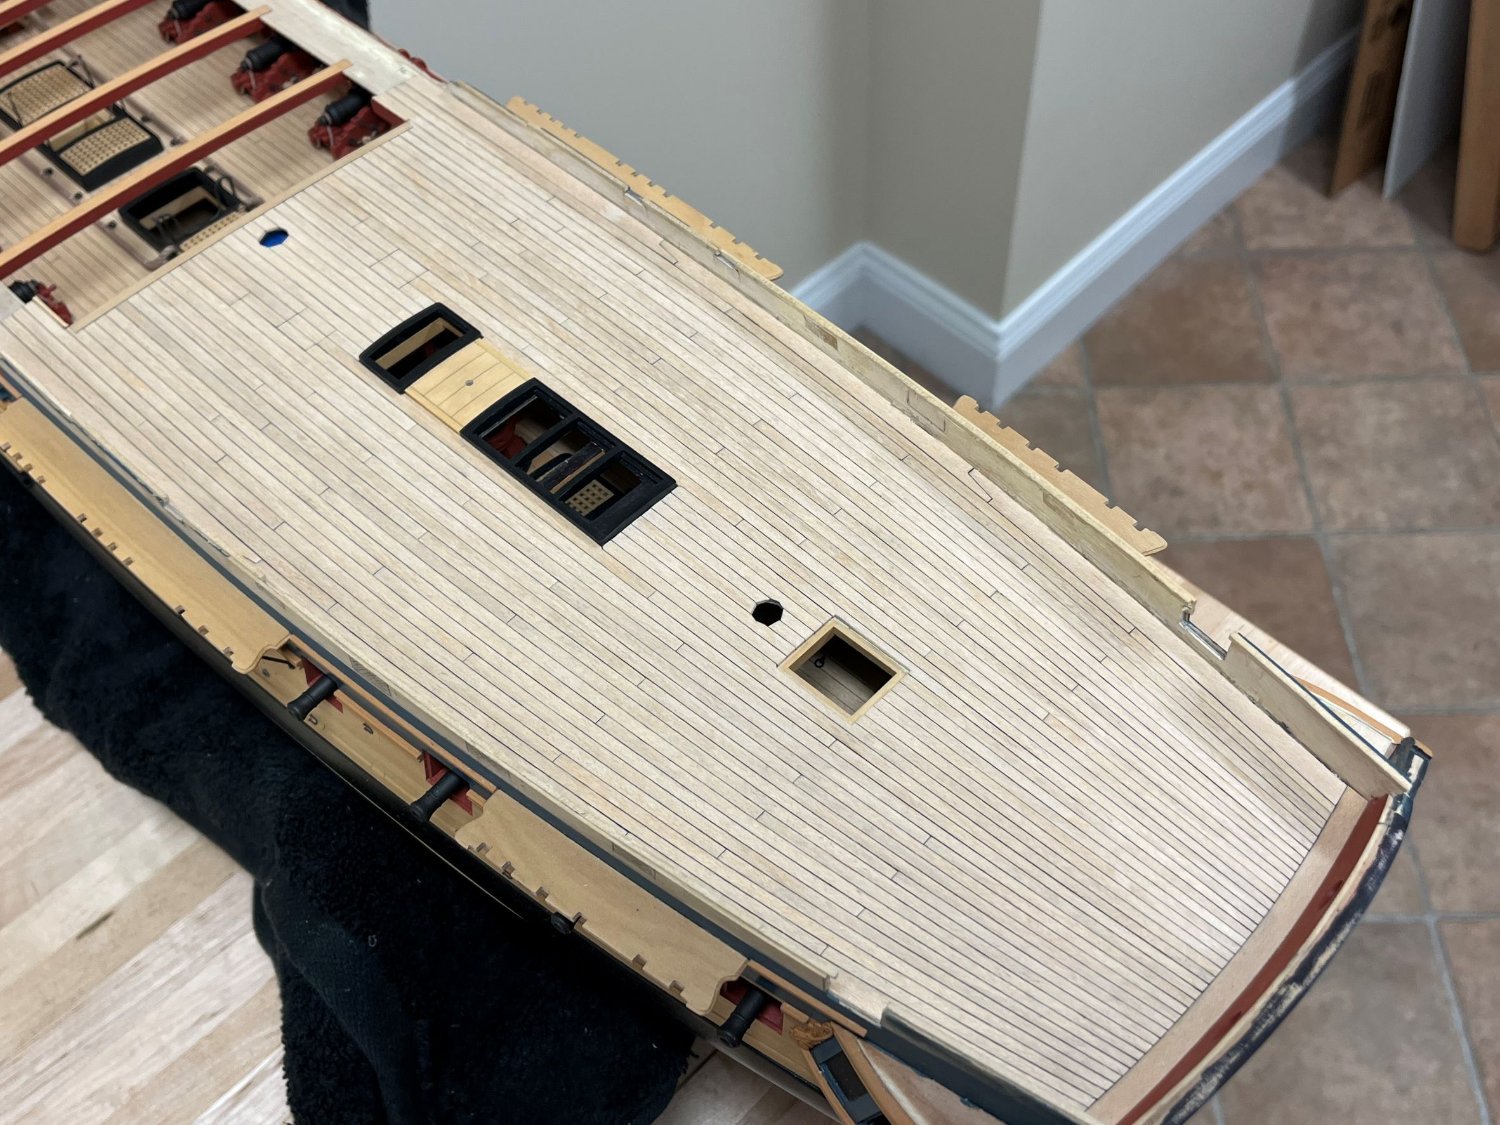
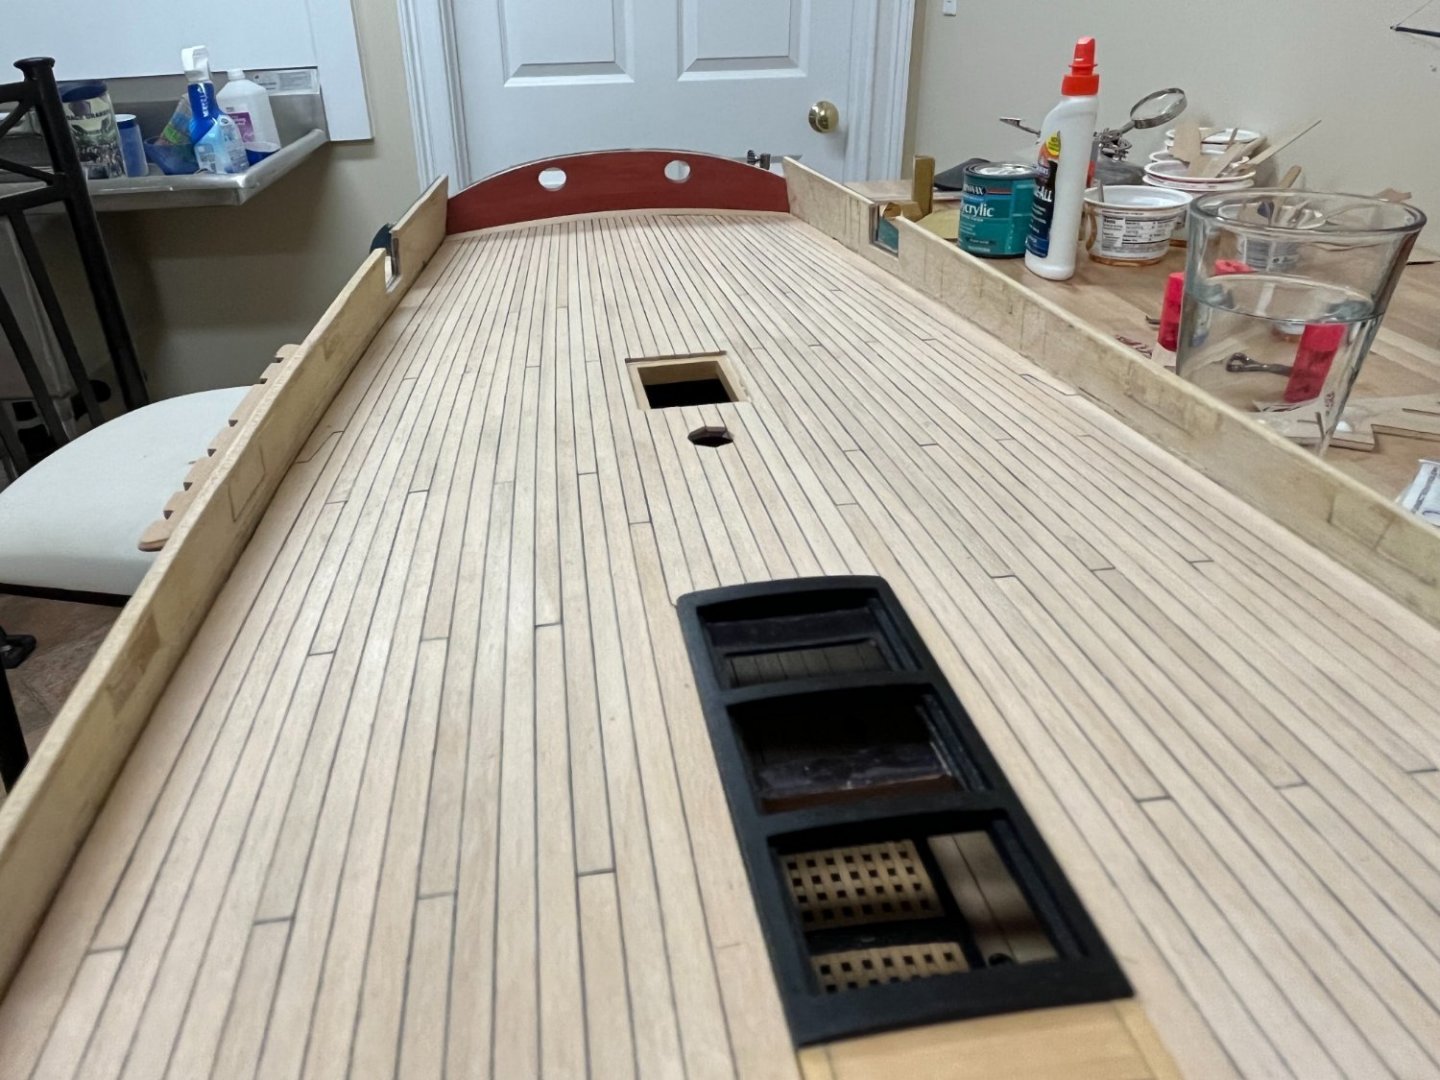
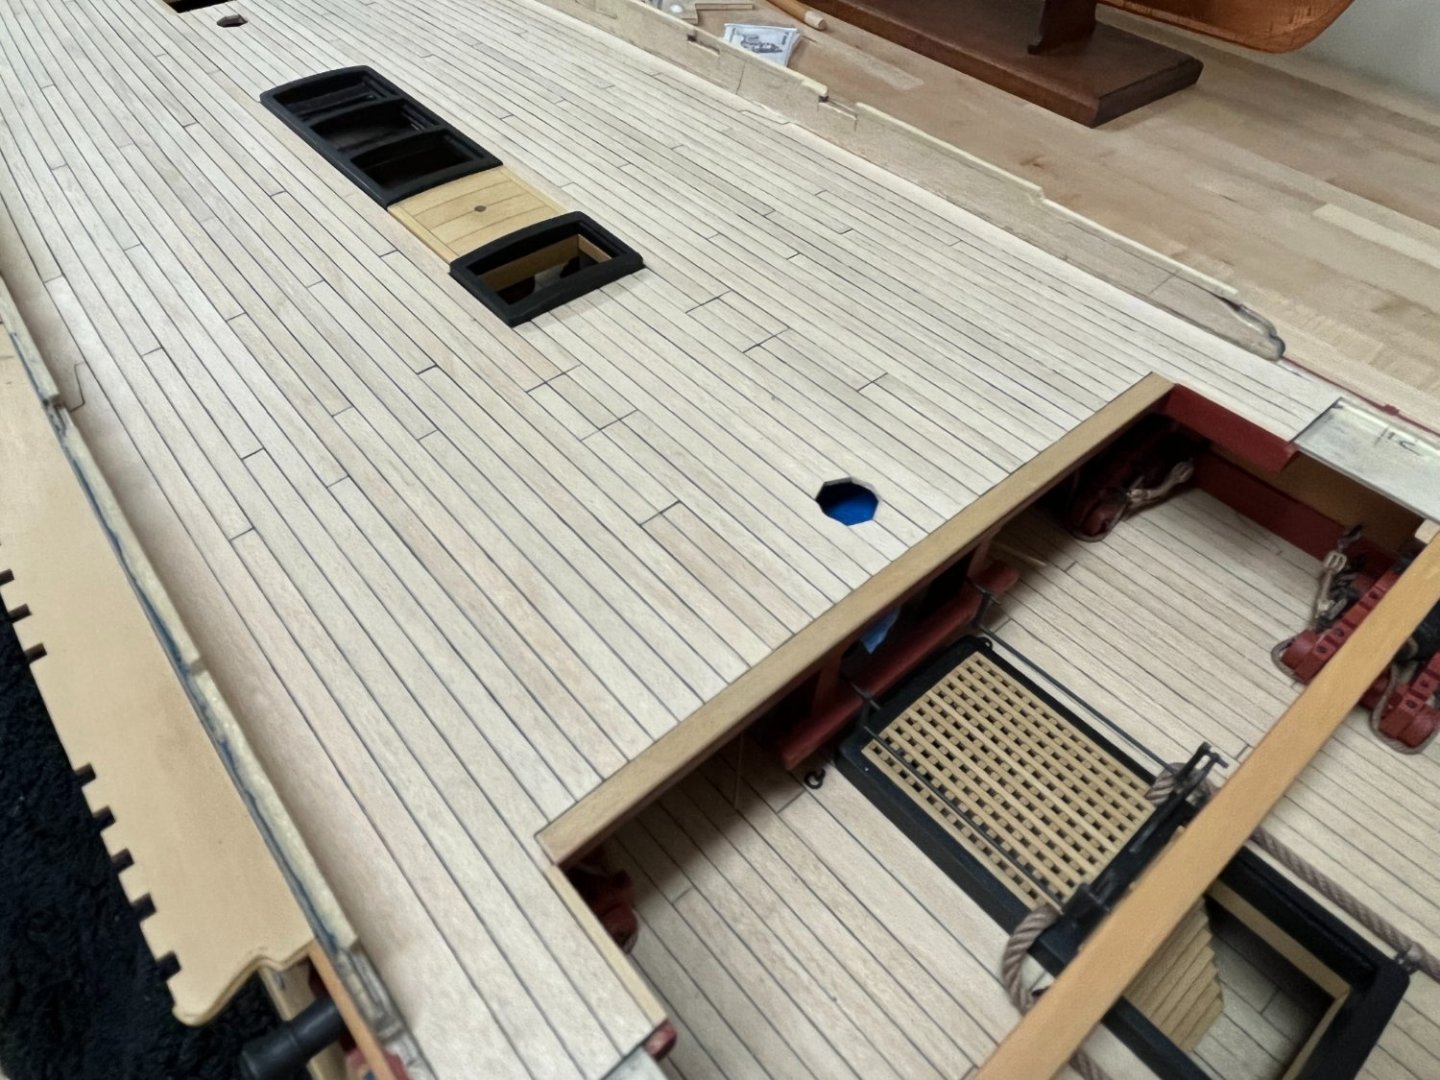
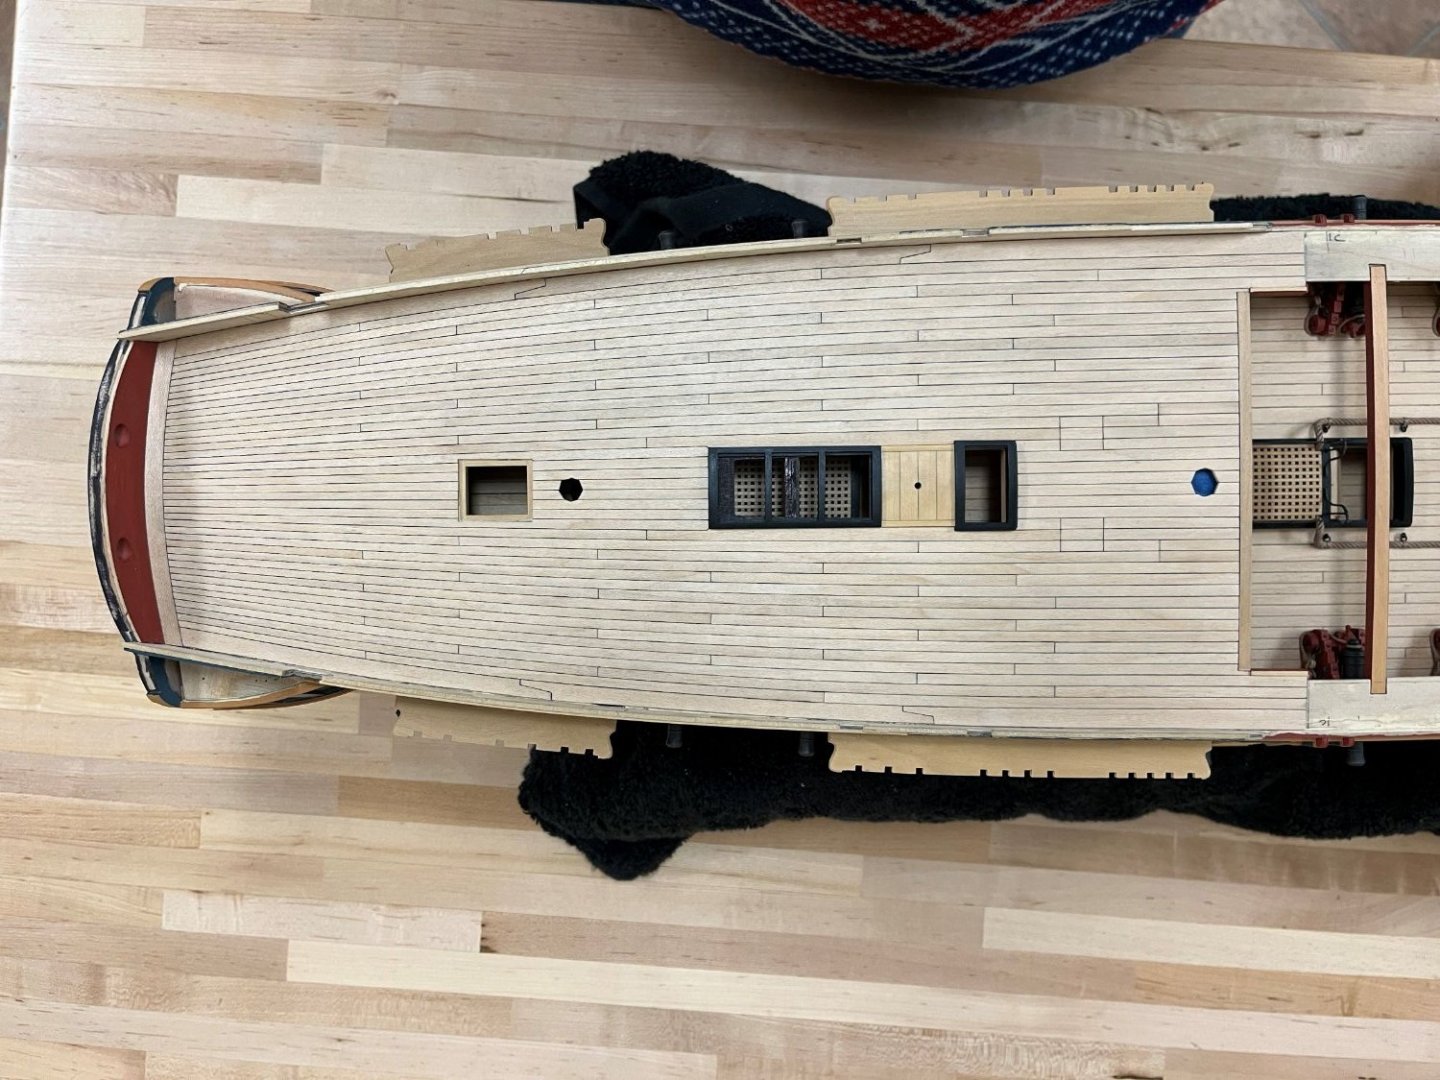
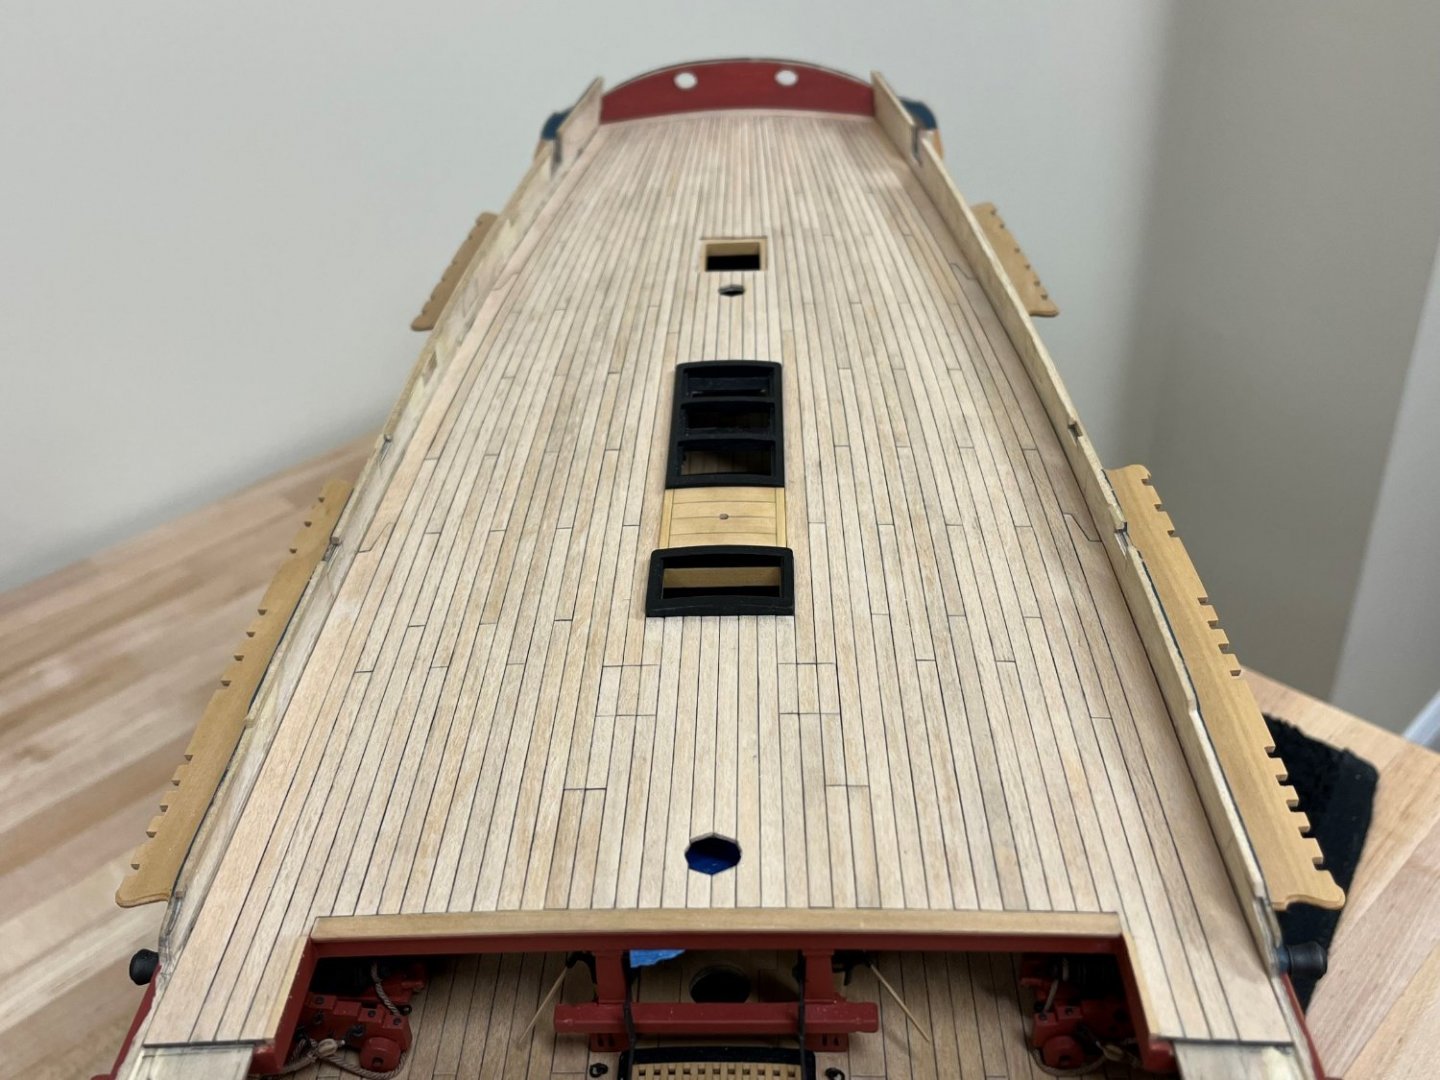
Happy New Year everyone! Know I have been absent for what seems an eternity, my usually slow pace was additionally impacted by the many hurricanes and storms that hit the US earlier this year, our basement had some water damage that put an end to ship modelling activities until it was sorted....which it just has been. Luckily, no damage was sustained to any models, but, I did lose a number of kit pieces and wood strip supplies that were stored in cardboard boxes. Luckily nothing terminal. Decent maple strip now needs to be even more carefully husbanded but hoping I will have enough to ensure consistent material on the remaining planking. The holidays provided an opportunity to get back into it and finally was able to complete the quarterdeck planking. Very slow and intensive, but I am happy with the result and the fact this is task at least is done. The pictures below show the deck without any tidying up and show the slight differences in plank thicknesses and pencil lead smudging, so next step will be to clean all of this up. The forecastle planking will require a slightly different approach and planning, but there are some additional things to finalise first which can wait for a future post. Cheers

-
Great to see you back at it Andy, your Confederacy is looking very nice, the blue will make for a nice change.
-
Spectacular Thomas, only wish the pictures you have posted could be enlarged more!
-
Catching up a little Rob, seems I've missed a few trials and tribulations but you've definitely overcome them. She really is turning into a beauty. The kit seems intriguing, they provide some really very low level detail but seem to omit or simplify some of the larger scale items like the rudder.
-
Nice work ECK, you do work at a prodigious pace, I'm very envious 🙂 Congratulations on completing her, that is a very impressive model collection you have there.
-
Great catching up on your progress, really beautiful planking, and really nice rework - as you say, there is very little that can't be fixed, and fixed very well in this case!
- 857 replies
-
- 3
-

-
- Sphinx
- Vanguard Models
- (and 1 more)
-
Thanks Dafi, that is great research on something that is easily missed or misinterpreted, once you see it, you can't unsee it! The cross (St George's) in the center in the center is something I've always struggled with conceptually when describing a 'compass rose'. Even though the star itself would only only be worn by the very few members of the order, it is one of those things that is more widely used and seems entirely consistent with your analysis. Below for example is a picture of a uniform rank star (commonly referred to as a "pip") used by officers of the 'Blues and Royals' in the British Army....not exactly naval I know, but supports the point...and interestingly regiments use their own, different, style of star.
-
Glad you shared this 'ancient' build BE, you really managed an excellent result and the modifications seem spot on. The approach and the detail shown on the modified headworks is very helpful and insightful, I can only imaging how long this took to achieve but the results are fantastic.
- 5 replies
-
- 1
-
-
- Norske Love
- Billing Boats
- (and 1 more)
-
Hi Dafi - definitely interested if you could share more detail on the Garter Star research/hypothosis, images etc. Catheads looks stunning! Cheers
-
Amazing work Mike, those PE modifications are a great idea and perfectly executed. Those small enhancements add yet more depth to the model.
-
The residual copper nails used to attach copper plating to the hull are probably the significant clue to the wreck being a Royal Navy vessel as this was universally adopted in late 18th Century. I believe there were also a small percentage of British merchant ships copper plated in this period, but given the expense it would probably be more likely on those travelling in warmer waters. Not familiar with Baltic Navy's coppering practices, but I suspect this would be far more limited due to coppering benefit primarily being protection in warmer waters, and the fact that these Navies would not have the same global cruising grounds.
-
I think there are a number of somewhat misleading statements made in the article especially regarding the potential size and nature of the wreck, but intriguing none-the-less. Will be fascinating to see how much is preserved and whether this is truly a 'warship'. https://www.dailymail.co.uk/sciencetech/article-10087485/Mysterious-40ft-long-shipwreck-Royal-Navy-warship-discovered.html
-
Very nice looking stern Dunnock! Its amazing how much work needs to go into this area but the results speak for themselves. BTW, I think you are referring to the "rudder coat".
- 310 replies
-
- 1
-
-
- Diana
- Caldercraft
- (and 1 more)
-
I suspect Chris is referring to the fact that the deck droops in between the bulkheads so there is no clean deck sheer line...looks like the prominent ribs on a starving cow's body.
-
Glad to see more CAF models appearing in logs...count me in for this one. Looks like a great kit.
-
Nothing wrong with that, spend your time on the things that WILL be seen!
-
For Beginners -- A Cautionary Tale
Beef Wellington replied to ccoyle's topic in New member Introductions
I think it is important to enter this hobby with a bit of humility, and dare I say it this modern technological age, an expectation that accumulating knowledge takes time and effort to accumulate. This site is a wonderful resource built up by people passionate about the hobby, sharing their experiences and knowledge, and contains many resources and answers (including to the question on "how to strap a block to a mast" outside of your question). Reference books are also important depending on level of interest, Lever's "Young Sea Officers Sheet Anchor", and Petersson's "Rigging period ship models to name but two. Understanding how things were done is necessary to then have an idea on how to model it. This is not a hobby for instant gratification, although I think Chris Watton's Vanguard model ship line come close to providing most, if not all, the knowledge needed to build out of the box. -
Oh boy, oh boy, oh boy! This is definitely my current dream kit, but not even close to making it a reality. Will need to live vicariously through you when you get going.
-
Congratulations Jorge, she is a beautiful model with just the right level of detail. Glad you finished her.
-
NAIAD 1797 by Bitao - 1:60
Beef Wellington replied to Bitao's topic in - Build logs for subjects built 1751 - 1800
Beautiful work, and you work so quickly! -
Chris, from what I can read there definitely is a general coincidence of the introduction of the carronade and the built up bulwarks in the 1790s, but I haven't seen anything that suggest that one 'requires' the other. There seem to quite a few examples of carronades with open bulwarks, definitely interested in learning more if there is anything you have found to point to.
-
Looking forward to this Mark, I've always had you down as a scratch only builder but am sure this will be a fun project.
- 505 replies
-
- 4
-
-
- vanguard models
- Sphinx
- (and 1 more)
-
Hi Wayne, embarrassed to say I've just stumbled across your log, curse this site for just having too much great content. Hoping you've kept up the progress, the masts look fantastic, and Harrier is in a class of her own. Cute dogs as well!
- 28 replies
-
- 1
-
-
- frigate
- enterprize
- (and 2 more)
-
Is there anything that suggests this shows anything other than a simple dual coaming structure, the steam scuttle above stove, and the adjoining forward one for the chimney structure. The dotted line just seem to represent the beam separating these (?). There seem to be many slightly different representations on models of the chimney surround being a wooden or iron structure sitting in the coaming.