Jump to content

Recommended Posts

Posted

That all looks so great. This is one of my favorite part of the build. 


Rusty

"So Long For Now" B) 


Current Builds: Speedwell


Completed Build Logs:  HMS Winchelsea 1/48   Duchess of Kingston USF Confederacy , US Brig Syren , Triton Cross Section , Bomb Vessel Cross SectionCutter CheerfulQueen Anne Barge, Medway Longboat


Completed Build Gallery: Brig Syren , 1870 Mississippi Riverboat , 1949 Chris-Craft 19' Runabout


Posted

Chuck that is some beautiful work. What size are the decking planks going to be? I want to mill them now.

Regards,

Jim Rogers


Damn the Torpedoes , Full speed ahead.   Adm David Farragut.

Posted

I am going to use 1/4” wide planks.   But for those who prefer a slightly narrower look you can go with 7/32”.  They will be 3/64” thick.   You will need a few 5/16” wide plans also for cutting the scarph joints and tabbed deck planks every now and again.

Posted

Thanks guys.  Yes I am aware of that stove.  I am not sure it would fit perfectly but I guess it wouldnt hurt to try.  Its a bit a cheat though....especially since we should at least try and build one.  Having it all done like that defeats the purpose in my opinion.   
 

It doesnt have to be made from scratch but it should at least be made....not just painted and stuck on the model.  Just my opinion though.

Posted

I forgot to mention that I will not be drilling the deck for the masts since there wont be any.  I simply painted the circles black on the false decking.  The partners are really thick and then there will be the mast coats so these holes will be pretty deep.  So it will look nice and neat this way and nobody will ever know.  AND they are so deep that if anyone was crazy enough to rig her, that they would be sufficiently deep enough to stick your masts into.


coaming5.jpg

coaming8.jpg

Posted

Sure the lighter one is cedar.....other than the slight color difference they both look and perform the task beautifully.  Keep in mind I just took this with my phone.   But you get the idea.


grating.jpg


Chuck

Posted

This ship just keeps getting better and better!


👍👍👍 from me for a Winnie cross-section. I would love for it to have the main mast and rigging with it too or at least as an option.


Bob Garcia

"Measure once, cuss twice!"


Current Builds: 

Hms Brig-Sloop Flirt 1782 - Vanguard Models

Pen Duick - Artesania Latina 1:28


Completed: Medway Longboat 1742 - Syren Ship Model Co. 

Member of the Nautical Research Guild


Posted

There is a lot to learn from following along that I will apply to Cheerful.  I'm also looking to see where you go next and at least for me I'm glad you're thinking smaller.  The Winnie is beautiful and amazing but just way bigger than I'm interested in doing, or for that matter have a place to display. 


Nonetheless the craftsmanship and design is incredible as is the work and other logs that are following along.


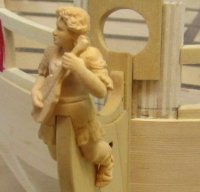
I like the figurine. Not a period sailor but, I'm assuming, a likeness of you just strolling around looking at the work as it progresses.  That's just too funny. (and if I have that all wrong, it would still be a fun thought).

Regards,

Glenn


Current Build: Royal Barge, Medway Long Boat
Completed Builds: HMS Winchelsea HM Flirt (paused) HM Cutter CheerfulLady NelsonAmati HMS Vanguard,  
HMS Pegasus, Fair American, HM Granado, HM Pickle, AVS, Pride of Baltimore, Bluenose

Posted

Thanks....indeed it holds a close resemblance.   I am sad to say.    LOL.  It freaks out my kids when they see it.


Chuckcabinfloor.jpg

Posted
3 hours ago, Chuck said:

Thanks....indeed it holds a close resemblance.   I am sad to say.    LOL.  It freaks out my kids when they see it.

🤣 I thought that was something that was custom made for you and I was going to ask where you were able to have it made like that. I would love one of me standing on the decks of my builds...or maybe a likeness of myself about 35 years ago or more!

Bob Garcia

"Measure once, cuss twice!"


Current Builds: 

Hms Brig-Sloop Flirt 1782 - Vanguard Models

Pen Duick - Artesania Latina 1:28


Completed: Medway Longboat 1742 - Syren Ship Model Co. 

Member of the Nautical Research Guild


Posted

Funny...I will add one.  Its my last vise.  I cant seem to quit.


Yes, she will have guns.   Prototype below.  But with the carriages painted red.   

paintedcoaming.jpg

I havent decided on how many yet.   She was supposedly launched with 26 twelve pounders and 6 six pounders.   But my research indicates that during the revolution she carried 24 twelve pounders and 8 six pounders.   


I am leaning towards the later because that is the time period I am building.  It also allows me to show the last gunport closed which I prefer and also having 6 quarter deck guns and 2 f'castle guns.

Posted

Capstan experiment one.  I got bored and burnt out making inventory items.  So I decided to test out my parts for making the lower capstan.  I have had the parts laser cut for a while.


I didnt take any construction photos as this was just a test but keep in mind this is way before we will actually need it.  I am always just a little ahead with the design stuff.   So I will make another and document each step.   I want to make the center spindle a bit heavier that goes between decks above the capstan drum.   So I will tweak that before I make a new one.


But what I wanted to show you guys is how I did it.  I tried a new design for fitting the chocks into the whelps.


lowercapstan.jpg

Below you can see my very first proof of concept testing to see if I could laser etch notches on both sides of the whelps.  It worked beautifully.  So all you need to do is slide the chocks in after test their fit.   This was a challenge even at this scale because these parts are still pretty tiny.


lowercapstan1.jpg


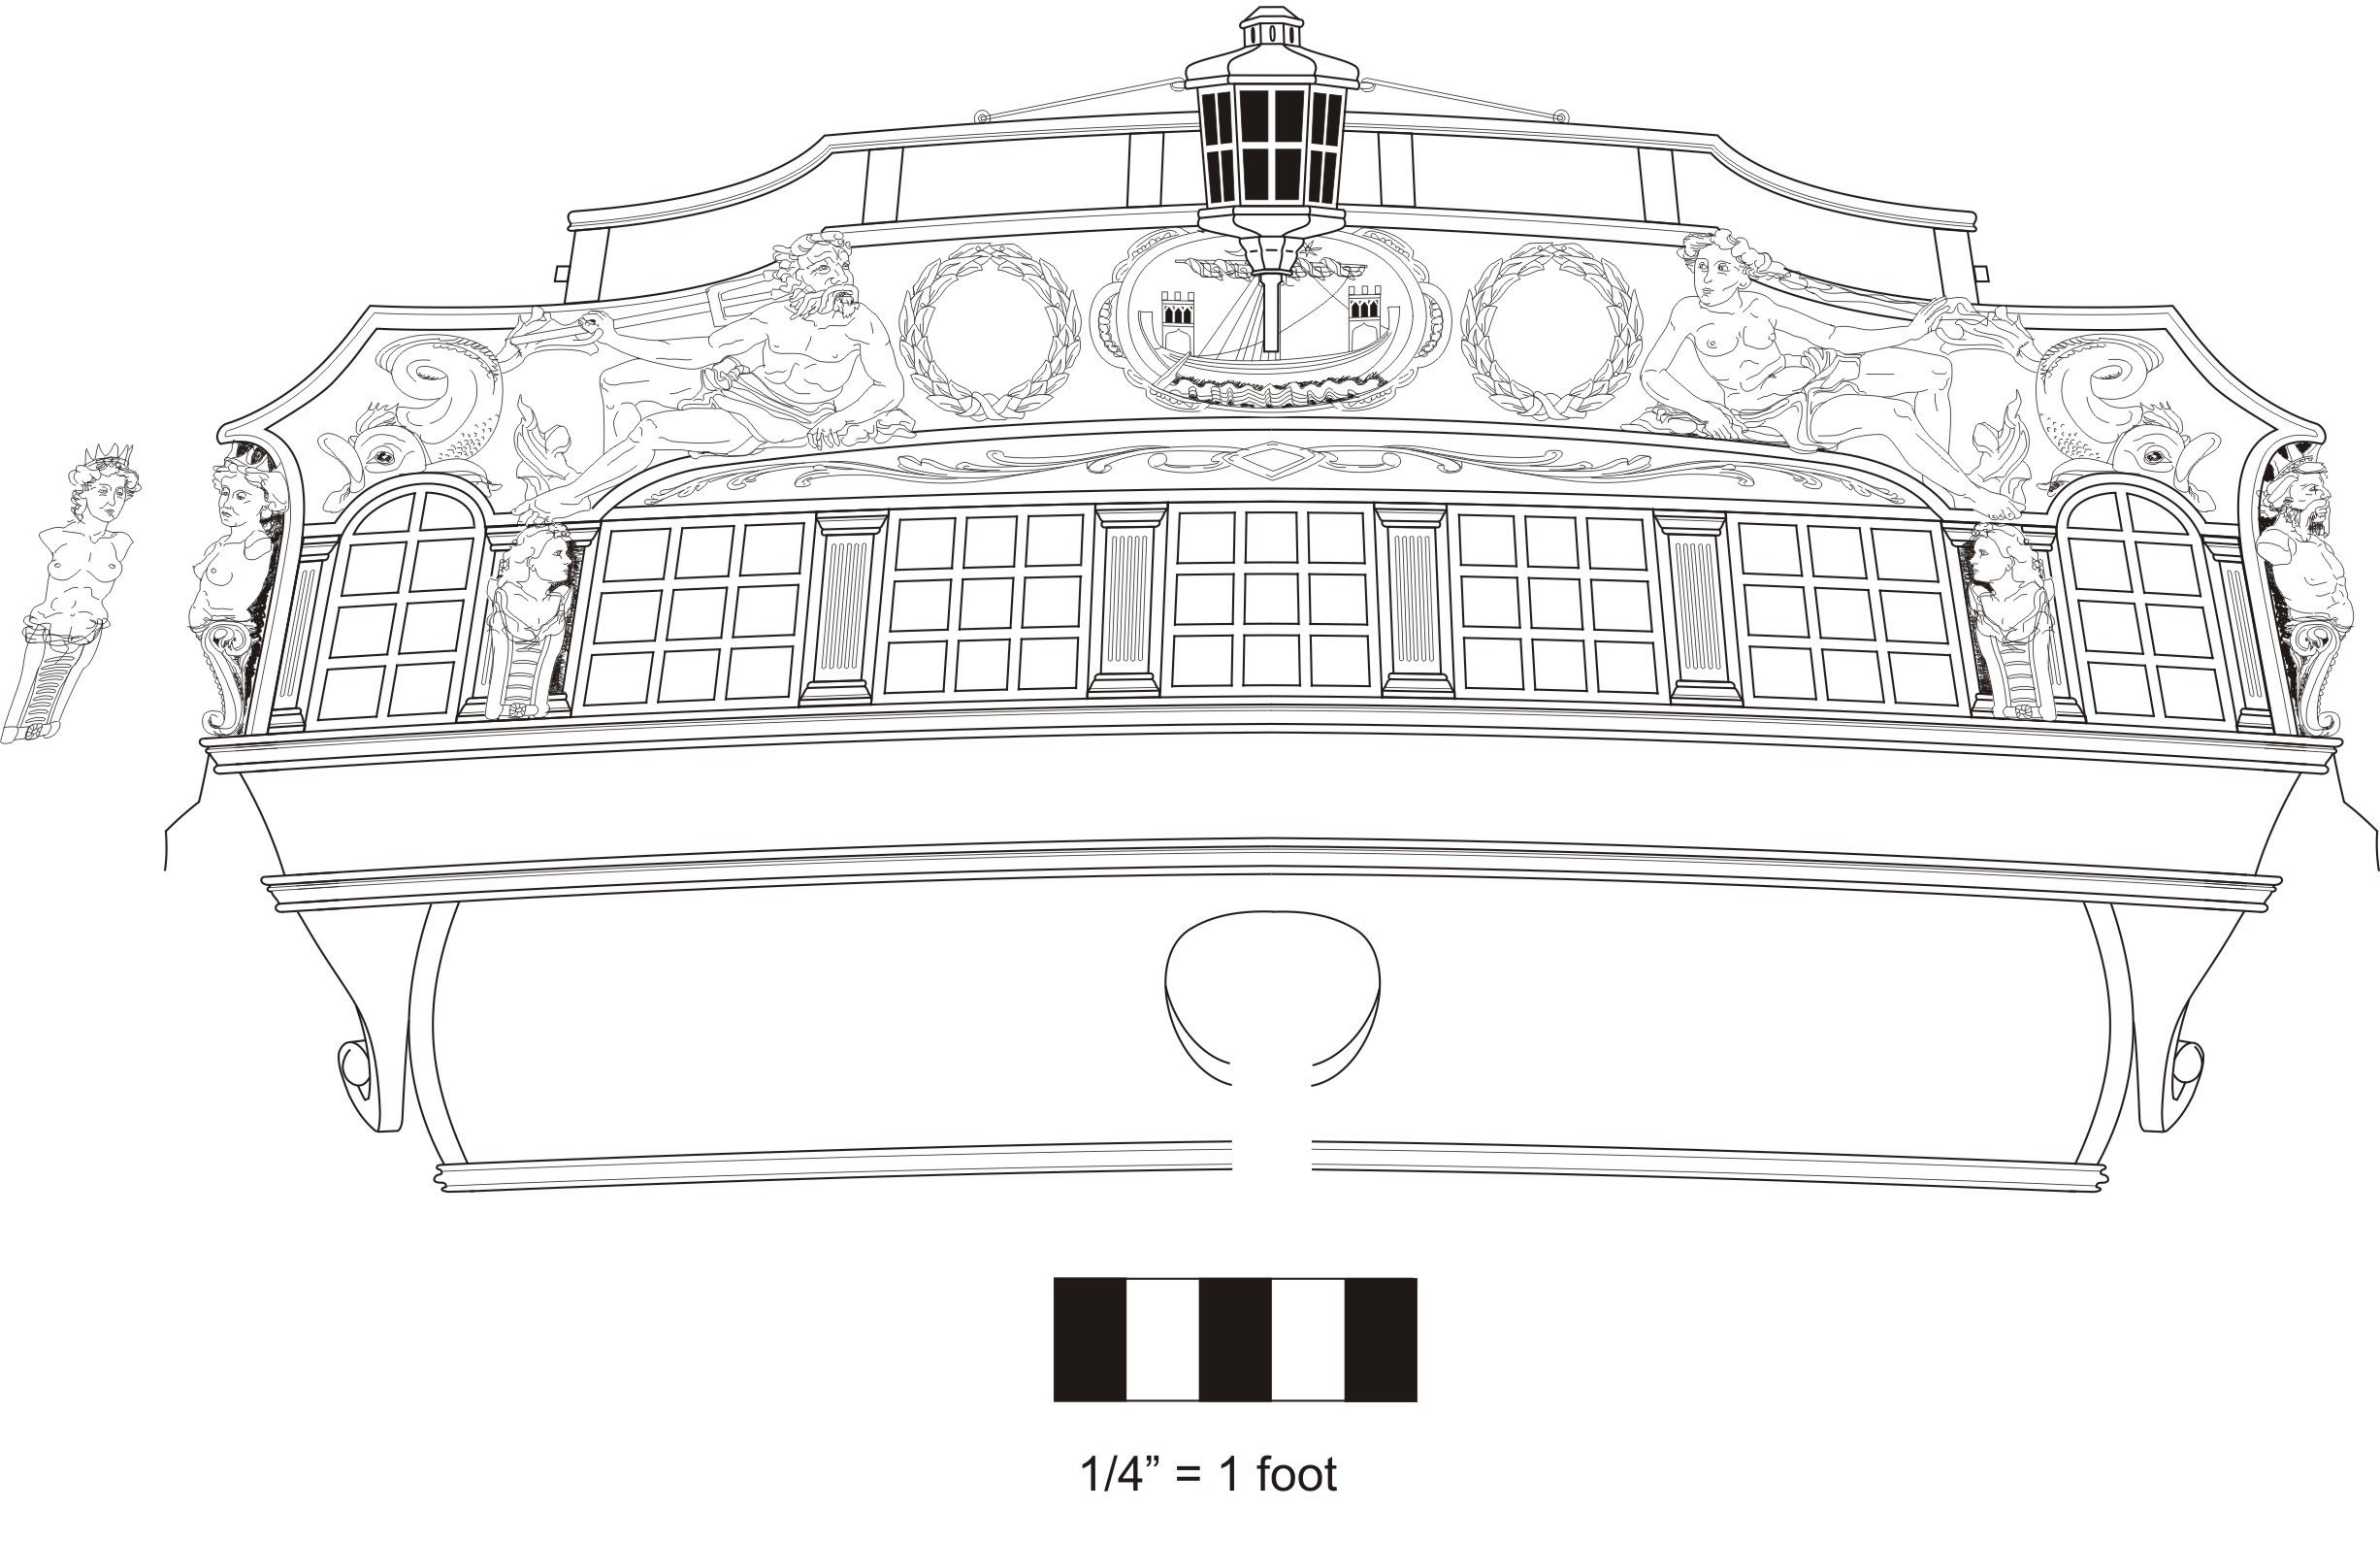
The other parts including the capstan drum are all built as usual in layers on a 1/16" x 1/16" stick to register them.  Very similar to the way I designed the stern lantern mini-kit for the winnie.


This was a fun mini kit to build and will look great painted or left natural.  I will detail its construction in Chapter 5.....sorry to jump the gun.  I couldnt help myself.  These will be made available as stand alone mini kits in 1/4" scale and 3/16" scale as well.


lantern.jpg


Posted

Hello,

   Im just back from a long hiatus from building.  I am finishing up a build of Constitution and am hoping that the timing may be good with a new group build here.  Is this group build still open to new people:?


Thanks,

Frank B. 

  • 1 month later...
Posted

very slow....with all the work on MSW being done while trying to catch up with my rope and block inventory, I havent worked on the Winnie in several weeks.  I hope to resume shortly....😀

Posted
1 hour ago, Chuck said:

very slow....with all the work on MSW being done while trying to catch up with my rope and block inventory, I havent worked on the Winnie in several weeks.  I hope to resume shortly....😀

Chuck: Great news! Im hoping to get at that project soon. Just getting to rig sails on the Agamemnon so the completion of my existing project is in sight.. Cant wait.. 🙂

Mike Draper

Whitehorse, Yukon

Canada

Member, Nautical Research Guild

  • 4 weeks later...
Posted

Sorry for the delay since the last update.  You guys have been buying huge amounts of blocks and rope.


Planking the deck.....


First after making all of the coamings, gratings, stove platform and mast partners, they were all glued into position down the center line of the deck.  Once placed in position, I immediately added a single deck plank (1/4" wide and 3/64" thick) down the center line between the coamings and partners.   Do this very carefully, trying to line it up consistently down the center.  You will be lining off the deck on either side and you want to make sure everything comes out even on both sides of the deck.  In the photo below you can see the strip down the center.  Also note how I decided to paint the frame of the stove platform black to simulate an iron frame instead of a natural wood frame.

deckplank.jpg

You will notice that there are laser etched reference lines that break up the deck into belts just like our hull planking.  There is the center belt of seven planks.....three more on each side of this center plank we added.   Then there are two more belts on either side of this center belt.   They are separated by the etched lines which you will use for reference when lining it off.  There are also etched lines that run across the deck which indicate where the beams would be and will help you locate the butt joints for the deck planking.  NO LASER ETCHED FULL DECK ON THIS MODEL.   We will learn how to properly line off the deck so you can do this on any model you build.


Note in the photo below the small square forward of the mizzen mast.  It has what looks like little sheaves in it.  Those arent sheaves at all.  They are actually slots which are used for the tiller rope that runs around the drum of the ships wheel and down to the tiller.  We will be simulating the rope running below the gun deck and up to the wheels drum later.   This is glued down the center line as well and you will plank the deck carefull around it.

deckplank1.jpg

Now for this era the deck planking wasnt just straight down the deck fore and aft.  It was elegantly curved and tapered at the bow and stern.   This is a common mistake seen in many kits.   See the contemporary model below.  I havent given the planks as drastic a curve and I am being a bit conservative with it.  Although you can see just the forecastle planking its the same curvature.


F9288-005.jpg

In order to create a plan we have to line off the hull to find out how much taper is needed for the planks etc.   Just like the outboard hull planking.


We will first just complete that center belt.   This is easy enough.   Take out your planking fans!!!  Cut some tick strips from some paper.  There are three planks on each side of the center strip.  Take a tick strip and hold it against the edge of the center strip.   Then mark the location of the etched line defining this center belt.   Do this in a few places between all the coamings and hatches. 

deckplank2.jpg

Then take the strip over to your planking fan and fit that space so three plank widths fill it up as shown below.


deckplank3.jpg

Then go back to that spot on your model and transfer those tick strips to the false deck.


deckplank4.jpg

Note how the deck planking will be tabbed around the coamings just like around the gun ports on the hull.   Leaving thin wood planks around the hull would be prone to rot and therefor they would use a tab like shown to avoid such thin strips of deck planking.  This is shown on the plans....check them out.


Now its time to plank the first center belt after you finish your tick marks on both sides of the center strip.  Use 1/4" planks and transfer the width you will need to your strips to cut the tapers.....just like you did when planking the hull.  ANY QUESTIONS???


Posted

Hi Chuck, good to see you back 0n Winnie again.

You mention the curve on the forward planking, will this be curved the same way we did the hull planking or will they be laser cut?

Reg

Posted

No laser cutting....this is the perfect hull and deck to learn this technique.   You wont really even have to bend them with heat.  But you could if you wanted to....these planks should bend fine when you glue them on as the curve isnt very severe at all.  I was very conservative with it.   I saw how folks had a hard time with the hooked scarphs on the Cheerful so I made it so there were just four of them.   This meant less curve to the deck planks.   


Below you can see that the center belt has been planked.  I simulated the seams with pencil like I did with the hull planking.  There are never any butt joints in this center belt between coamings and partners.  This is yet another common mistake seen on models and kits including on kits that provide laser etched planks.   The distance was short enough that it was always one length used between the hatches and partners.  It was stronger this way.   So no need to follow the butt joint pattern you will be developing when we line off the hull on either side of the center belt.

deckplank6.jpg

You will also notice in that picture above and below that on either side of the center belt I have lined off the deck using thin strips of black masking tape.   Looks familiar right?  The thin strips follow tick marks I made for the remaining belts.  I made them the same way as I did for the center belt.  Use your tick strips and planking fan.  Use the laser etched lines that represent the deck beams as you repeat this process until you have tick marks on both sides of the deck for all of the remaining belts.  The tape runs along my tick marks.   You will no doubt have to make adjustments with your tape.  Just run it off the deck and onto the margin planks as shown.


To finish it up.....use a mechanical pencil with a sharp point to run a pencil line down the "good side"  of you tape that follow your tick marks.......then remove your tape.

deckplank5.jpg

When you remove the tape it will look like this......you can do this down the entire deck but I often do just the bow area and the stern where there is a taper and we need to create the hooked scarphs along the margin planks.  Do you see where I created the hooked scarph in the outside deck plank????  I just erased some of the line that followed the tape and added a new short line to create the shape.   On this hull there will be just one along the margin plank at the bow and one more aft........by the checkered floor for the great cabin.  In addition you can mark all of the butt joints on the deck using the typical 4 butt shift pattern.   Use the laser etched reference lines for the deck beams for this and examine the plans for their locations.deckplank7.jpg

deckplank8.jpg

Now I am ready to plank the remaining two belts on each side of the center belt to finish off the deck planking.  I will taper the planks as need to match my lining off just like we did for our external hull planking.


You will need just 1/4" x 3/64" strips to plank the deck and a handful of wider 5/16" strips for the planks around the coamings where you need to shape them around the tabbed areas.


deckplank9.jpg

I feel compelled to mention that you guys could absolutely change the deck planking to a more severe curve at the bow if you want to.  Just adjust the bands before you line off.  
 

Almost no kits or even most scratch builders fail to curve the deck planks like this.  Its very different than what many of you are probably used to seeing.  So I split the difference between the drastic curve at the bow and straight planking to show a more conservative curve so it wouldnt seem so drastic to all of you.  This is something you guys should play with depending on your preference as the contemporary model for Winnie shows the most severe curve I have ever seen on a deck.   Here is a look at the contemporary model of Minerva in the Rogers collection and it shows about the same amount of curvature that I am using on the Winnie.  Much less than the contemporary model for Winnie.  This also shows two hooked scarphs instead of one.   So you can get creative here.   


scraphjointminerva.gif


Posted

Looking really nice! Can't wait to get there. I wonder how difficult it would be curving the deck planks with boxwood. Looks like it be just a straight taper with edge bending?


Mike

Current build - Sloop Speedwell 1752 (POF)

Completed builds - 18 Century Longboat (POB) , HM Cutter Cheerful  1806 (POB), HMS Winchelsea 1764 (POB)


Member: Ship Model Society of New Jersey

  • Recently Browsing   0 members

    • No registered users viewing this page.
×
×
  • Create New...